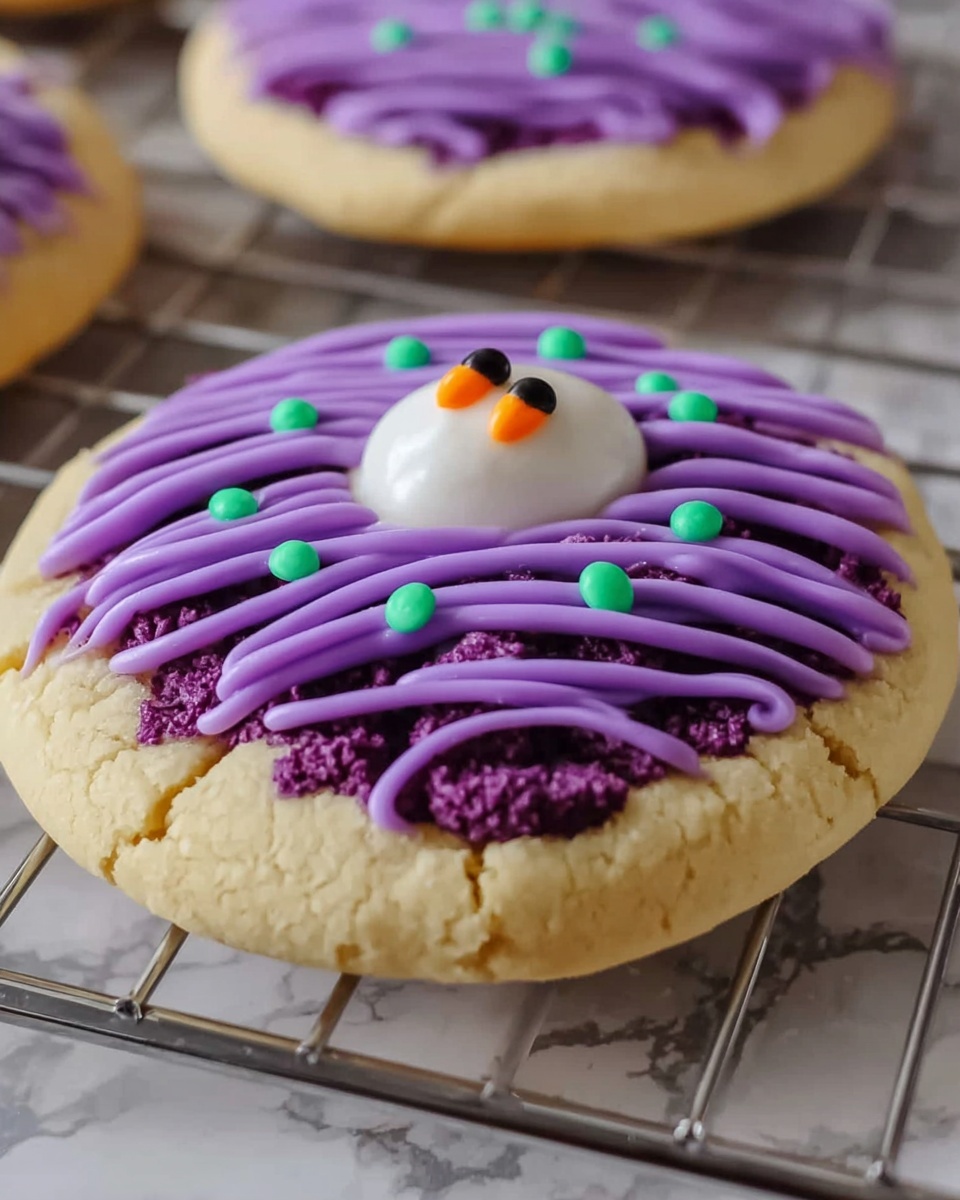
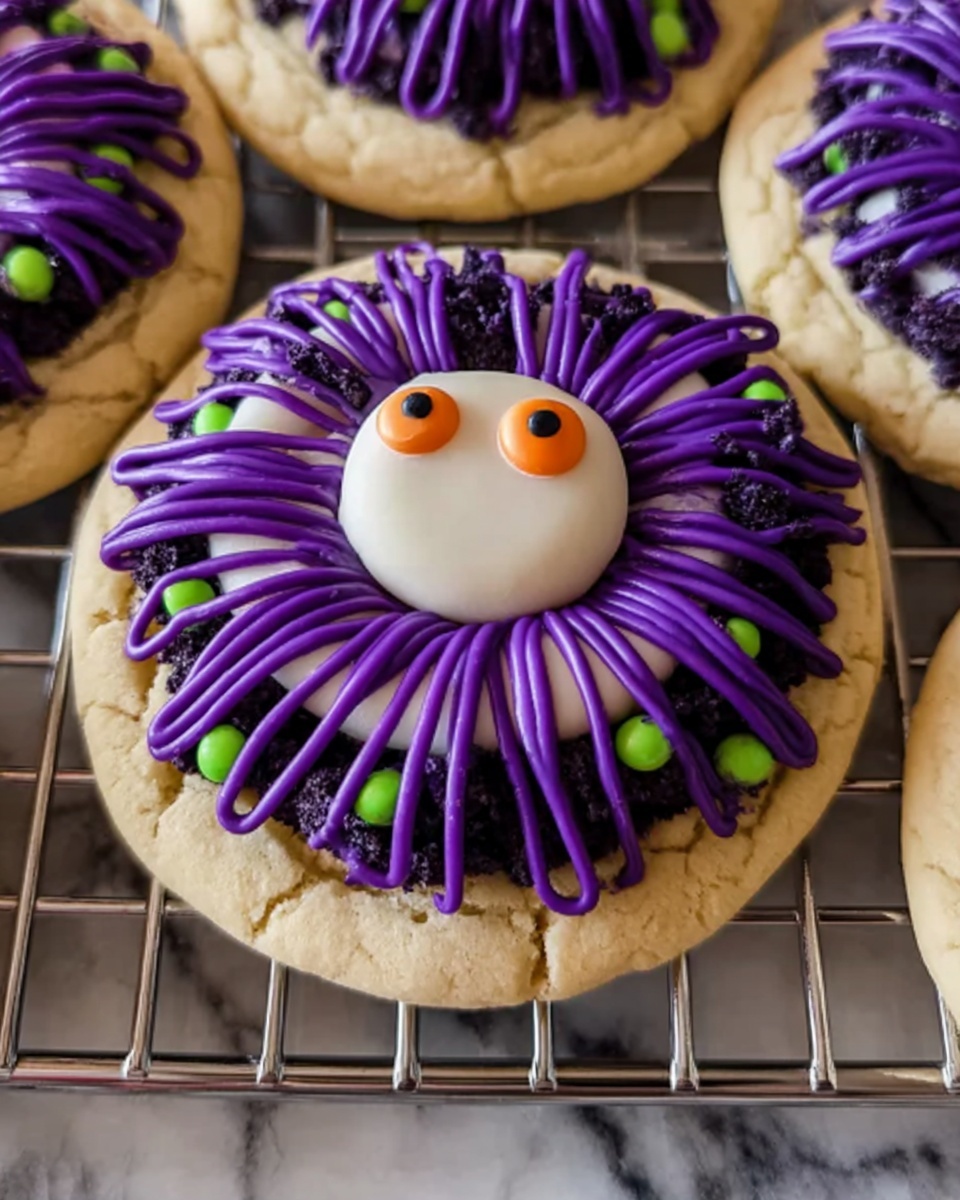
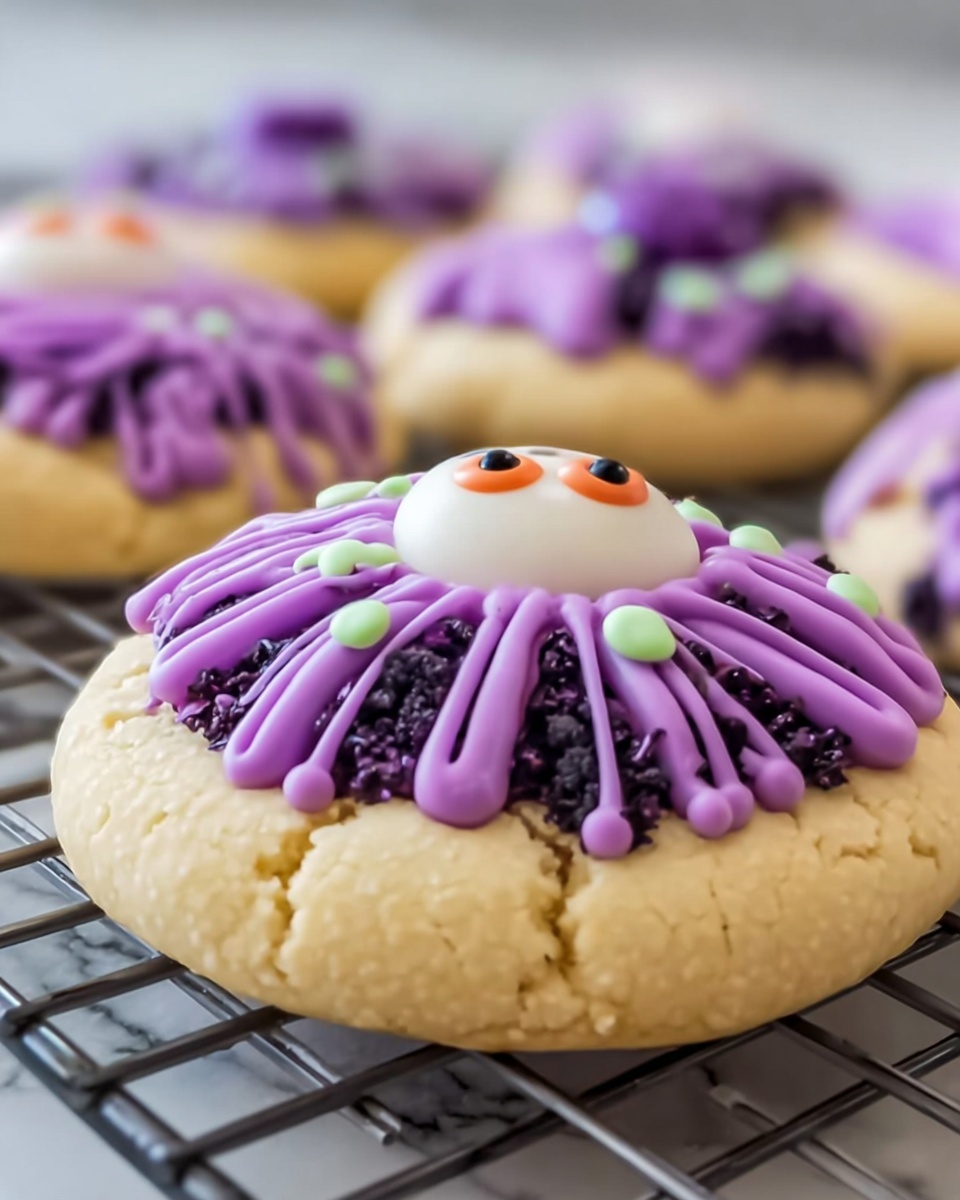
Nothing screams festive and fun quite like these enchanting Witch Hat Cookies Recipe that effortlessly blend rich peanut butter goodness with a splash of vibrant color and a touch of Halloween magic. Imagine soft, buttery cookies crowned with a melting Hershey’s Hug or Kiss, coated in delightful sprinkles that make every bite a celebration. Whether you’re baking for a spooky party or just craving a whimsical treat, these cookies are sure to charm both kids and adults alike.
Ingredients You’ll Need
Every ingredient in this Witch Hat Cookies Recipe plays a crucial role in balancing flavor, texture, and that signature spooky appeal. From the creamy peanut butter that infuses each bite with richness to the purple gel food coloring that gives the cookies their eye-catching hue, these simple pantry staples come together beautifully to create a show-stopping cookie.
- 1 ½ cups all-purpose flour: The foundation for the perfect cookie structure, providing just the right amount of tenderness.
- 2 tsp cornstarch: Adds a gentle softness and helps keep your cookies tender and melt-in-your-mouth.
- ½ tsp baking soda: A leavening agent that helps the cookies rise just enough without spreading too much.
- ¼ tsp baking powder: Works hand-in-hand with baking soda to achieve the ideal cookie texture.
- ⅛ tsp fine sea salt: Enhances the sweet and nutty flavors so nothing tastes flat or dull.
- ½ cup unsalted butter, softened: Brings rich creaminess and moisture to the dough, making every bite luscious.
- 1 cup granulated sugar: Sweetens and helps create a light crumb with just a touch of crunch on the edges.
- 1 large egg: Binds everything together and adds a bit of lift for soft, chewy cookies.
- ¾ cup creamy peanut butter: The star ingredient that gives these cookies their irresistible nutty flavor.
- 1 tsp vanilla extract: Adds warmth and depth that compliments the peanut butter beautifully.
- Purple gel food coloring (or any color of choice): For that festive flair, bringing visual excitement to your cookie batch.
- Halloween sprinkles or purple sanding sugar: Coats the cookies with sparkle and crunch, perfect for the spooky season.
- 33 Hershey’s Hugs or Kisses, unwrapped: The iconic finishing touch, melted to form the witches’ hat tip.
How to Make Witch Hat Cookies Recipe
Step 1: Cream the Butter and Sugar
Start by gathering your softened butter and granulated sugar. Using an electric mixer, beat these two together for about 2 minutes until the mixture is light and fluffy. This process incorporates air that helps give your cookies a tender crumb and slightly risen texture—trust me, it’s worth the extra step!
Step 2: Mix in the Egg, Peanut Butter, and Vanilla
Once your butter and sugar look perfectly whipped, add the egg, creamy peanut butter, and vanilla extract. Blend everything until well combined into a silky, delicious dough that smells like peanut butter heaven.
Step 3: Incorporate the Dry Ingredients
In a separate bowl, whisk together the flour, cornstarch, baking soda, baking powder, and fine sea salt. Gradually add this dry mixture to the wet bowl, stirring gently until just combined. This keeps the cookies tender without overmixing, which can make them tough.
Step 4: Add Color to Candy-Coat the Fun
This is where the magic happens! Add your purple gel food coloring (or your color of choice) to the dough, folding it in until you get a uniform shade that’s festive and vibrant, perfect for your witchy theme.
Step 5: Chill the Dough
Wrap that colorful dough in plastic wrap and pop it into the fridge for at least 2 hours or overnight if you can. This chilling step firms up the dough, prevents spreading, and develops the flavors—patience pays off big time here.
Step 6: Roll and Coat
Once chilled, roll the dough into small balls, then roll each ball in Halloween sprinkles or purple sanding sugar. This sugary coating creates a gorgeous texture contrast and keeps the poisonously fun vibe going strong.
Step 7: Bake to Perfection
Place your sprinkles-coated dough balls 2 inches apart on a lined baking sheet. Bake in a preheated oven for 9 to 11 minutes until the cookies puff up and begin to crack slightly at the edges—perfectly baked and ready to cool.
Step 8: Freeze and Top with Hershey’s Hugs or Kisses
As soon as your cookies come out of the oven, transfer the baking sheet to the freezer for 10 minutes. This quick chill prevents the chocolate from melting too much when you press the unwrapped Hershey’s Hugs or Kisses into the center, forming the signature witch hat tip.
How to Serve Witch Hat Cookies Recipe
Garnishes
To amp up your presentation, sprinkle extra Halloween-themed colorful sugar crystals around the plate or add edible glitter on the hats for a magical shimmer. For a twist, a drizzle of white or dark chocolate across the hat adds whimsy and a touch of elegance.
Side Dishes
These Witch Hat Cookies Recipe beautifully complement a cold glass of milk, rich hot chocolate, or spiced pumpkin latte. These pairings highlight the peanut buttery goodness while keeping your Halloween gathering cozy and indulgent.
Creative Ways to Present
Arrange your cookies on a rustic wooden board surrounded by mini pumpkins, dried autumn leaves, and candles to set the spooky vibrancy. You can also use a tiered dessert stand to showcase the cookies at different heights, creating that eye-catching, festive dessert centerpiece.
Make Ahead and Storage
Storing Leftovers
Store your Witch Hat Cookies in an airtight container at room temperature for up to 5 days. The cookies maintain their wonderful softness and the chocolate will keep its shape without melting or becoming sticky.
Freezing
If you want to bake ahead for a party, freeze the unbaked dough balls (rolled and coated in sprinkles) on a tray, then transfer them to a freezer-safe container. When ready to bake, pop them straight from the freezer into the oven, adding a few extra minutes to the baking time.
Reheating
Warm your stored cookies briefly in a low oven or microwave for a few seconds to revive that fresh-baked softness. Just be careful not to overheat, or the chocolate witch hat tip may melt too much.
FAQs
Can I use crunchy peanut butter instead of creamy?
Absolutely! Crunchy peanut butter will add a lovely texture contrast to your Witch Hat Cookies Recipe, giving each bite an extra nutty surprise. Just remember it might make the dough a little bit thicker.
What can I substitute for the purple gel food coloring?
Any gel food coloring will work perfectly, so feel free to choose your favorite Halloween colors like orange, black, or green. Natural food dyes like beet or spirulina powders could be an option too if you prefer something homemade!
Do I need to refrigerate the dough overnight?
While at least 2 hours in the fridge is necessary for the best texture, refrigerating overnight intensifies flavor and makes the dough easier to handle. If you’re short on time, chilling for a couple of hours still yields excellent results.
Can I make these cookies gluten-free?
Yes! Substitute the all-purpose flour with a gluten-free blend designed for baking. Just check that the blend contains xanthan gum or another binder to ensure the cookies hold together well.
What if I don’t have Halloween sprinkles?
No worries. You can use any colored sanding sugar, finely chopped nuts, or even cocoa powder for a different look. The idea is to have a coating that contrasts with the dough and adds texture for that witchy effect.
Final Thoughts
From the first colorful bite to the last melting kiss of chocolate, this Witch Hat Cookies Recipe is your ticket to creating a magical and delicious Halloween treat that will have everyone asking for more. Don’t hesitate to gather your ingredients, roll up your sleeves, and whip up these festive delights—you’ll find that the joy of baking and sharing these cookies is as sweet as the treats themselves!
Print
Witch Hat Cookies Recipe
- Prep Time: 2 hours 15 minutes
- Cook Time: 10 minutes
- Total Time: 2 hours 25 minutes
- Yield: 33 cookies
- Category: Cookies
- Method: Baking
- Cuisine: American
Description
These festive Witch Hat Cookies are a perfect Halloween treat with a delightful peanut butter base, tinted purple and decorated with sprinkles and Hershey’s Hugs or Kisses to resemble witch hats. They are soft, slightly chewy, and bursting with peanut buttery flavor and a fun seasonal twist.
Ingredients
Dry Ingredients
- 1 ½ cups all-purpose flour
- 2 tsp cornstarch
- ½ tsp baking soda
- ¼ tsp baking powder
- ⅛ tsp fine sea salt
Wet Ingredients
- ½ cup unsalted butter, softened
- 1 cup granulated sugar
- 1 large egg
- ¾ cup creamy peanut butter
- 1 tsp vanilla extract
Additional
- Purple gel food coloring (or any color of choice)
- Halloween sprinkles or purple sanding sugar
- 33 Hershey’s Hugs or Kisses, unwrapped
Instructions
- Cream Wet Ingredients: In a mixing bowl, cream together the softened butter and granulated sugar using an electric mixer for 2 minutes until the mixture is light and fluffy. Then add the egg, creamy peanut butter, and vanilla extract, mixing until all the ingredients are well combined.
- Combine Dry and Wet Ingredients: Gradually add the dry ingredient mixture—composed of all-purpose flour, cornstarch, baking soda, baking powder, and fine sea salt—into the wet ingredients. Stir carefully until the dough comes together uniformly.
- Add Food Coloring: Incorporate purple gel food coloring into the dough and mix thoroughly to ensure an even, vibrant color. You can substitute any other gel color of your choice for a personalized touch.
- Chill the Dough: Cover the dough with plastic wrap and refrigerate it for at least 2 hours, or overnight if possible. This helps the dough firm up for easier handling and better texture when baked.
- Decorate Dough Balls: Once chilled, shape the dough into balls and roll them in Halloween-themed sprinkles or purple sanding sugar to give the cookies a festive, crunchy outer coating.
- Bake Cookies: Place the sprinkled dough balls approximately 2 inches apart on a lined baking sheet. Bake in a preheated oven at 350°F (175°C) for 9-11 minutes, or until the cookies are puffed and just beginning to crack on top.
- Freeze Before Adding Chocolate: Immediately after baking, transfer the cookie tray to the freezer for 10 minutes to cool. This step helps prevent the chocolate toppings from melting when you press the Hershey’s Hugs or Kisses onto each cookie to complete the witch hat look.
Notes
- Refrigerating the dough is crucial to maintain the shape and manageability of the cookies.
- Freezing the cookies briefly before adding the chocolate keeps the chocolate from melting and helps it set neatly on top.
- You can substitute peanut butter with almond or sunflower butter for a different flavor or to accommodate allergies.
- Adjust the baking time slightly if you prefer softer or crisper cookies.
- Use gel food coloring to avoid affecting the dough’s consistency.

