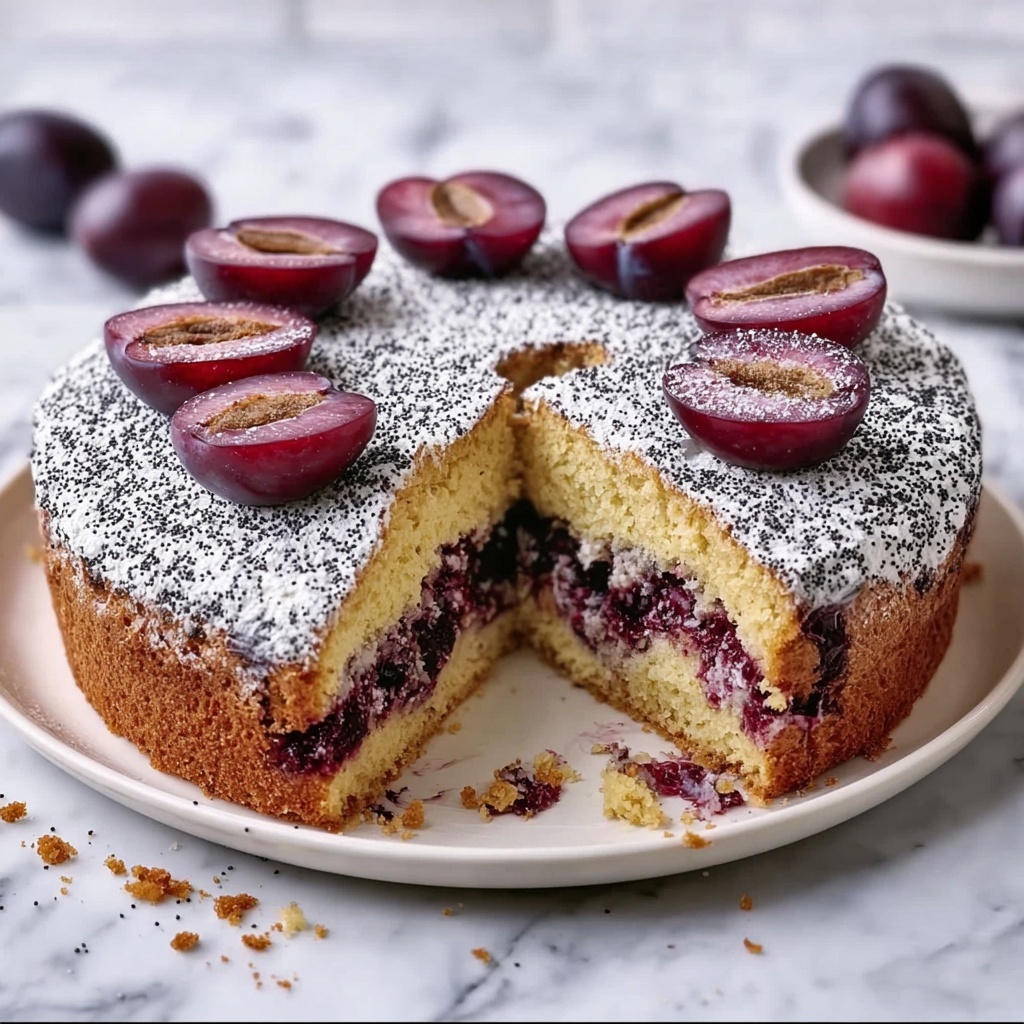
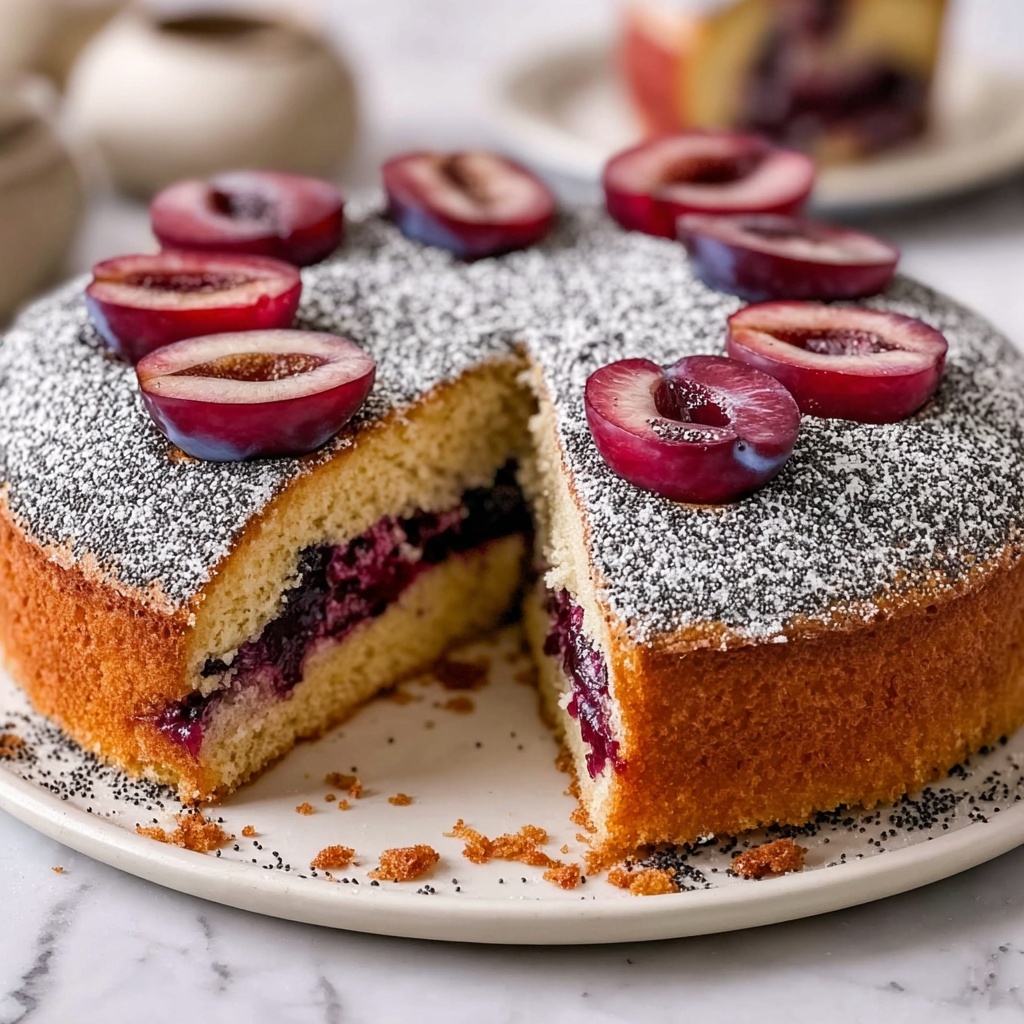
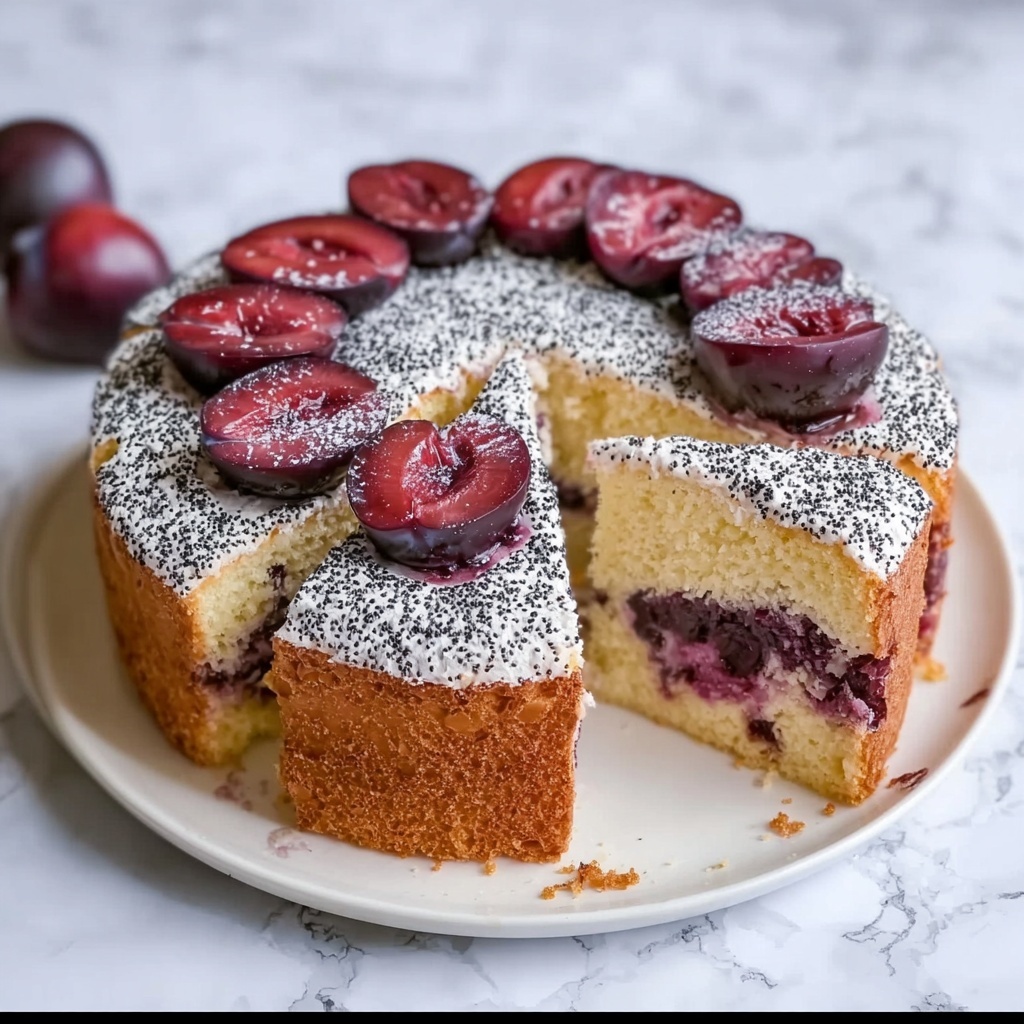
If you are craving a dessert that perfectly balances fruity freshness with a pleasantly nutty crunch, then this Plum Poppy Seed Cake Recipe is exactly what you need to try next. Imagine tender, moist cake dotted with tiny poppy seeds that add delightful texture, crowned with sweet, juicy slices of plums that caramelize as they bake. This cake is a wonderful celebration of simple ingredients coming together to create a dessert that feels both homely and impressively delicious. Whether you’re baking for family, friends, or simply treat yourself, this recipe is an absolute joy to make and share.
Ingredients You’ll Need
Gathering these straightforward yet essential ingredients is the first step to crafting your perfect plum poppy seed cake. Each component plays a distinct role, whether it’s the softness from butter, the slight tanginess of sour cream, or the vibrant burst of ripe plums that make every bite memorable.
- All-purpose flour: The backbone of the cake, providing structure and tenderness.
- Baking powder and baking soda: These help the cake rise beautifully and stay fluffy.
- Salt: Enhances all the flavors without overpowering.
- Poppy seeds: Tiny seeds that add a delightful crunch and eye-catching specks throughout the cake.
- Unsalted butter: Brings richness and moisture, creating a tender crumb.
- Granulated sugar: Sweetens the cake and helps with browning for a lovely crust.
- Large eggs: Bind the ingredients and contribute to the cake’s light texture.
- Vanilla extract: Adds warm aroma and flavor, boosting the overall taste.
- Almond extract (optional): A subtle, fragrant twist that complements the plums beautifully.
- Sour cream: Keeps the cake moist and adds a slight tang.
- Milk: Balances the batter for perfect consistency.
- Fresh plums, pitted and sliced: The star fruit that introduces juicy bursts and color contrast.
- Sugar for topping: Creates a sweet, crunchy layer on top of the plums as the cake bakes.
How to Make Plum Poppy Seed Cake Recipe
Step 1: Prepare Your Oven and Pan
Start by preheating your oven to 350°F. While it warms up, grease a 9-inch round or square baking pan to ensure your cake releases easily after baking. This small prep step is vital to achieving that perfect shape and texture.
Step 2: Combine the Dry Ingredients
In a medium bowl, whisk together the all-purpose flour, baking powder, baking soda, salt, and of course, the poppy seeds. This mixture ensures even distribution of leavening agents and those delightful seeds throughout your batter.
Step 3: Cream Butter and Sugar
In a large bowl, cream the softened butter and granulated sugar until the mixture turns light and fluffy. This step traps air into the batter, contributing to the cake’s tender crumb and slight rise.
Step 4: Add Eggs and Flavorings
Beat in the eggs one at a time for even incorporation, then stir in the vanilla extract. If you decided to add almond extract, this is the moment to add that subtle floral hint that pairs so well with the plums.
Step 5: Alternate Adding Dry Ingredients and Dairy
Now comes the balancing act: gradually add the flour mixture alternately with the sour cream and milk, starting and ending with the flour. This method helps maintain a smooth, uniform batter without overmixing, which can make the cake dense.
Step 6: Arrange Plums and Sugar on Top
Pour your luscious batter into the prepared pan and smooth the surface with a spatula. Then, evenly arrange your plum slices on top and sprinkle with two tablespoons of sugar. The sugar will caramelize nicely in the oven, giving the fruit a beautifully sweet glaze.
Step 7: Bake to Perfection
Bake for 40 to 45 minutes. You’ll know it’s done when a toothpick inserted into the center comes out clean. After baking, let the cake rest in the pan for 10 minutes before transferring it to a wire rack to cool completely. This step is key to allow the cake to set properly.
How to Serve Plum Poppy Seed Cake Recipe
Garnishes
Enhance your serving with a dusting of powdered sugar, a light drizzle of honey, or a dollop of whipped cream or crème fraîche. These toppings add contrast to the cake’s natural sweetness and make every slice look irresistible.
Side Dishes
Consider pairing a slice with a scoop of vanilla ice cream or a bowl of fresh berries. The coolness and additional fruity notes balance the richness of the cake, making your dessert experience even more delightful.
Creative Ways to Present
For a special touch, serve the cake warm in individual ramekins topped with a few plum slices and poppy seeds. You can also layer slices with mascarpone and drizzle with a plum syrup for an elegant dessert parfait that still captures the essence of this Plum Poppy Seed Cake Recipe.
Make Ahead and Storage
Storing Leftovers
Store the cake in an airtight container at room temperature for up to two days to maintain moisture and flavor. If you prefer, refrigeration extends freshness to about five days but may slightly firm the texture.
Freezing
This cake freezes beautifully. Wrap it tightly in plastic wrap and aluminum foil to prevent freezer burn, and freeze for up to two months. When you’re ready to enjoy it, thaw overnight in the refrigerator before serving.
Reheating
Warm slices gently in the microwave for about 20 seconds or in a low oven (around 300°F) for 10 minutes. Reheating revives the tender crumb and enhances the comforting aroma of the plums and poppy seeds.
FAQs
Can I use frozen plums instead of fresh?
Fresh plums are ideal because they provide the perfect amount of moisture and texture. Frozen plums can be used but make sure to thaw and drain any excess liquid to avoid a soggy cake.
What can I substitute for sour cream?
Greek yogurt is a fantastic substitute that will keep the cake moist while adding a slight tang similar to sour cream, making it a lighter alternative.
Do I need to soak the poppy seeds?
Soaking poppy seeds is optional for this recipe. Since they are ground or natural, they will toast and provide texture as is. However, soaking can soften their bite if you prefer a gentler crunch.
How ripe should the plums be?
Choose plums that are ripe but still firm to prevent the cake from becoming too wet. They should yield slightly to pressure and have vibrant color and fragrance.
Can I make this cake gluten-free?
Yes! Use a gluten-free all-purpose flour blend designed for baking. Make sure it contains xanthan gum or a similar binder to achieve the right texture.
Final Thoughts
This Plum Poppy Seed Cake Recipe has become such a treasured favorite of mine because it feels like home in every bite. Its lovely texture and the harmony between sweet plums and crunchy poppy seeds make it perfect for any occasion, whether a casual afternoon with tea or a more special celebration. I encourage you to give it a try — your kitchen will be filled with an irresistible aroma, and you will delight in sharing this wonderful cake with those you love.
Print
Plum Poppy Seed Cake Recipe
- Prep Time: 15 minutes
- Cook Time: 45 minutes
- Total Time: 1 hour
- Yield: 8 servings
- Category: Dessert
- Method: Baking
- Cuisine: European
- Diet: Vegetarian
Description
This Plum Poppy Seed Cake is a moist and flavorful dessert combining the nutty crunch of poppy seeds with the sweet, juicy freshness of ripe plums. Perfectly baked to a golden finish, this cake features a tender crumb enriched with vanilla and subtle almond notes, making it an elegant treat for any occasion.
Ingredients
Dry Ingredients
- 1 1/2 cups all purpose flour
- 1 teaspoon baking powder
- 1/2 teaspoon baking soda
- 1/4 teaspoon salt
- 1/4 cup poppy seeds
Wet Ingredients
- 1/2 cup unsalted butter, softened
- 3/4 cup granulated sugar
- 2 large eggs
- 1 teaspoon vanilla extract
- 1/2 teaspoon almond extract (optional)
- 1/2 cup sour cream
- 3/4 cup milk
Fruit and Topping
- 2 cups pitted and sliced fresh plums
- 2 tablespoons sugar for topping
Instructions
- Preheat and Prepare Pan: Preheat your oven to 350°F (175°C). Grease a 9-inch round or square baking pan thoroughly to ensure the cake doesn’t stick.
- Mix Dry Ingredients: In a medium bowl, whisk together the all-purpose flour, baking powder, baking soda, salt, and poppy seeds until well combined.
- Cream Butter and Sugar: In a large bowl, beat the softened butter and granulated sugar together until the mixture is light and fluffy, indicating air has been incorporated for tenderness.
- Add Eggs and Extracts: Beat in the eggs one at a time, ensuring each is fully mixed before adding the next. Stir in the vanilla extract and almond extract if using, to enhance flavor.
- Combine Batter: Alternately add the dry flour mixture and the sour cream with milk to the butter mixture, beginning and ending with the flour. Stir gently until just combined to avoid overmixing which can toughen the cake.
- Assemble and Add Fruit: Pour the batter into the greased pan, smoothing the top evenly. Arrange the sliced plums evenly over the batter surface and sprinkle with 2 tablespoons of sugar to encourage caramelization during baking.
- Bake the Cake: Place the pan in the preheated oven and bake for 40 to 45 minutes. Check doneness by inserting a toothpick in the center; it should come out clean.
- Cool: Allow the cake to cool in the pan for 10 minutes before transferring it to a wire rack to cool completely, ensuring clean slicing and enhanced flavor development.
Notes
- Ripe but firm plums work best to prevent excess moisture which can make the cake soggy.
- You can substitute Greek yogurt for sour cream for a lighter version of this cake.
- This cake pairs wonderfully with a dollop of whipped cream or a dusting of powdered sugar for extra indulgence.


