
If you’re craving a dessert that’s refreshingly tangy, incredibly creamy, and comes together without ever firing up your oven, this No-Bake Key Lime Pie Recipe is exactly what you need. It’s a delightful balance of zesty key lime juice and sweet, velvety filling nestled in a buttery graham cracker crust that sets perfectly in the fridge. Whether you’re serving it on a sunny afternoon or bringing it to a gathering, this pie is guaranteed to become a beloved favorite in your dessert rotation.
Ingredients You’ll Need
Simple, everyday ingredients come together in this No-Bake Key Lime Pie Recipe to create a harmony of flavors and textures. Each component plays a crucial role, making the preparation effortless yet the final pie unforgettable.
- Graham cracker crumbs: Provide that classic crunchy base with a subtle sweetness and a hint of toasted flavor.
- Sugar: Balances the tartness of the lime and adds extra sweetness to the crust.
- Butter, melted: Binds the graham cracker crumbs together and gives the crust a rich, buttery essence.
- Sweetened condensed milk: Creates a luscious, creamy filling that’s naturally sweet and smooth.
- Key lime juice: The star of the show, delivering a bright, tangy punch that defines this pie’s signature taste.
- Whipped topping, thawed: Adds lightness and airy texture, making the filling delightfully fluffy.
- Lime slices (optional): For a fresh, decorative touch that highlights the citrus theme.
How to Make No-Bake Key Lime Pie Recipe
Step 1: Prepare the Crust
Start by combining the graham cracker crumbs, sugar, and melted butter in a medium bowl. This step is where you build the foundation of your pie, ensuring the crust holds together without being soggy. Press the mixture firmly into the bottom and up the sides of a 9-inch pie dish so you have an even layer that will crisply support the cooling filling.
Step 2: Mix the Filling
In a separate bowl, whisk together the sweetened condensed milk and fresh key lime juice until the mixture is smooth and slightly thickened. This is where the magic begins as the lime juice reacts with the milk for that signature creamy, tangy filling. Then, gently fold in the whipped topping to incorporate airiness without deflating those fluffy peaks.
Step 3: Assemble and Chill
Pour the luscious filling mixture into your prepared graham cracker crust, spreading it evenly to the edges. Cover the pie and place it in the refrigerator for at least four hours. This chilling time is essential for the filling to fully set and develop its creamy, sliceable texture. Patience here truly rewards you with perfect pie slices.
Step 4: Garnish and Serve
Once the pie is set, it’s time to garnish with fresh lime slices or any other decorative touches you love. These little accents brighten the appearance and hint at the delicious citrus flavors waiting inside. Now, slice it up, serve, and watch your friends and family delight in every bite.
How to Serve No-Bake Key Lime Pie Recipe
Garnishes
Adding garnishes like thin lime slices, a sprinkle of graham cracker crumbs, or even a few sprigs of fresh mint can elevate your pie from simple to stunning. Garnishes enhance the visual appeal and add complementary flavors, making each serving feel like a special treat.
Side Dishes
This No-Bake Key Lime Pie Recipe pairs beautifully with fresh berries, like raspberries or blueberries, which add a burst of color and sweetness. A light, bubbly beverage such as sparkling water with a twist of lime or a crisp white wine also complements the pie’s brightness perfectly.
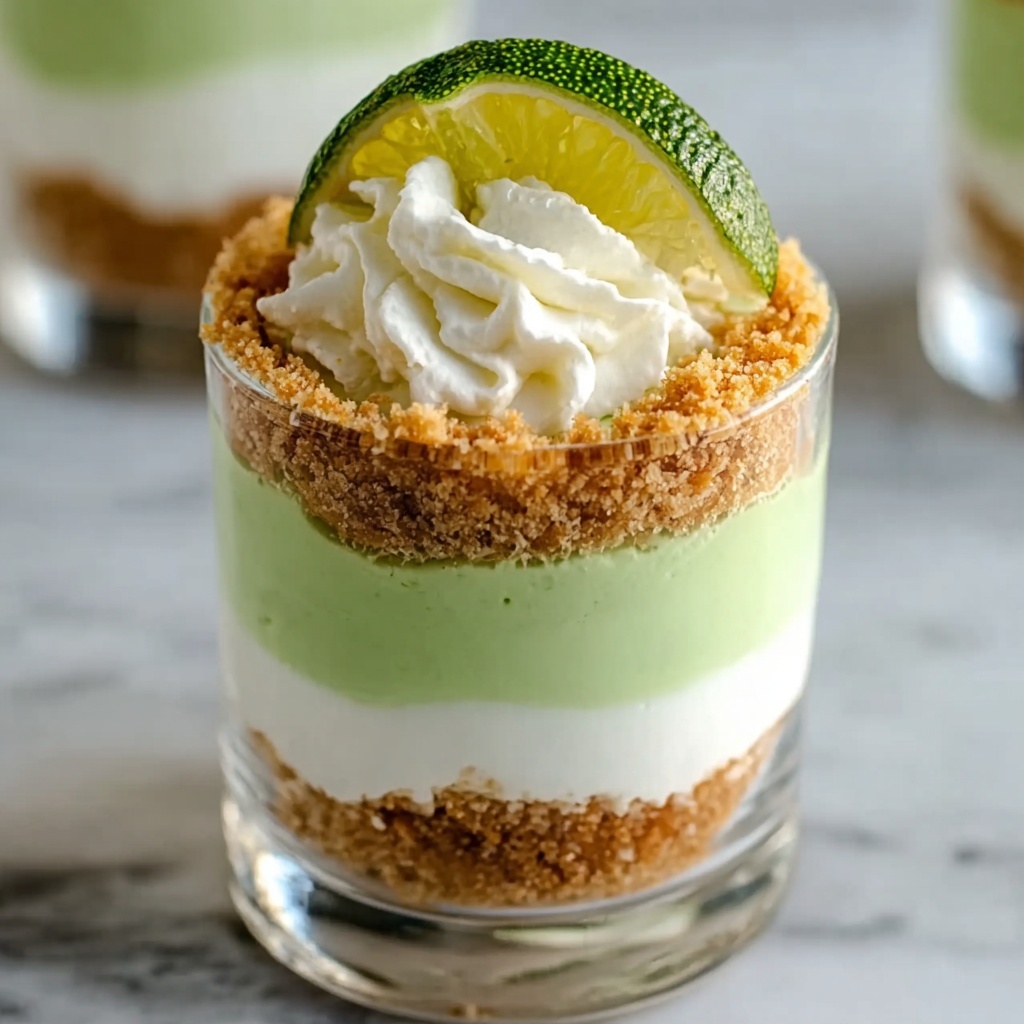
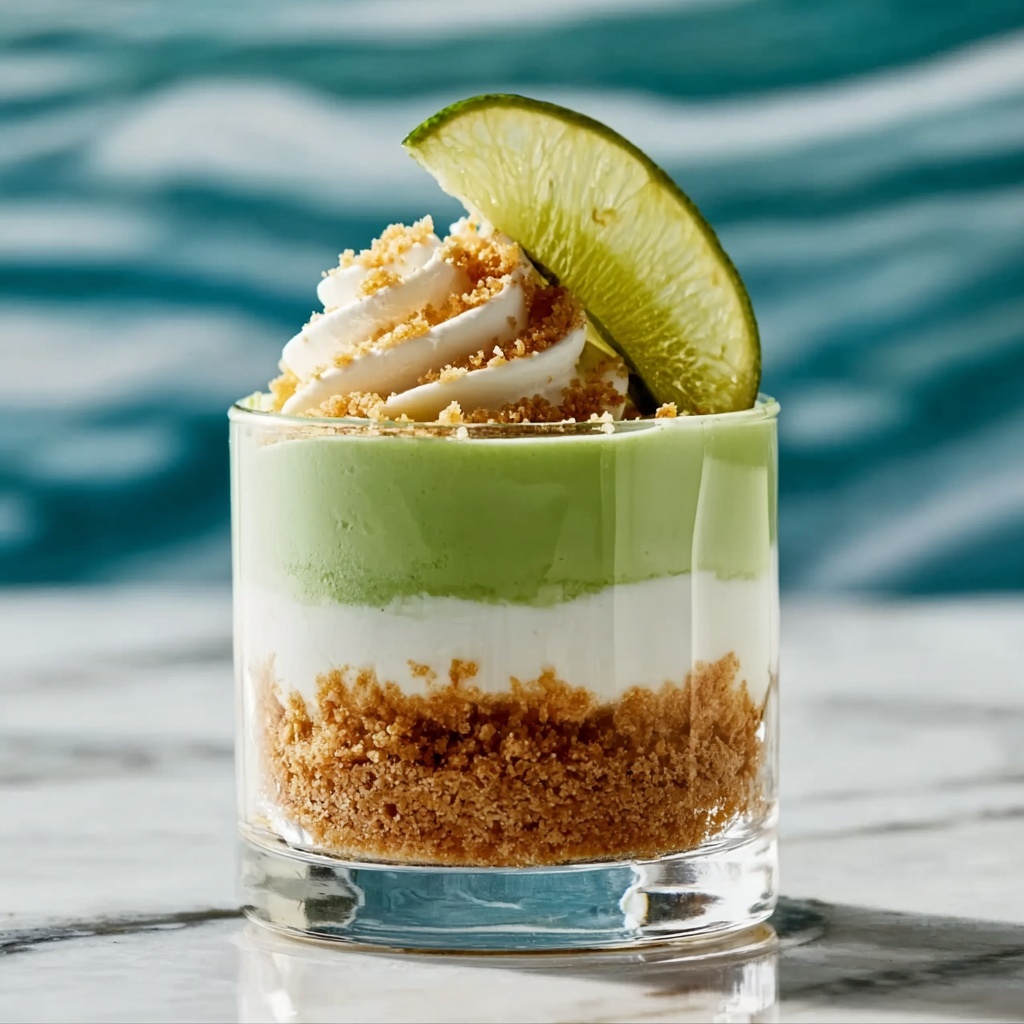
Creative Ways to Present
For an extra fun presentation, try making individual mini pies in small jars or ramekins; it’s a charming way to serve guests or package for gifting. Another idea is to layer the filling between crushed graham crackers in parfait glasses for a no-fuss, make-ahead dessert that looks elegant and tastes just as delightful.
Make Ahead and Storage
Storing Leftovers
Leftover pie should be covered tightly with plastic wrap or stored in an airtight container in the refrigerator. It will maintain its creamy texture and bright flavor for up to three days, making it a perfect make-ahead dessert if you want to plan ahead.
Freezing
While the filling’s delicate texture means freezing isn’t ideal, you can freeze the pie crust separately to prepare in advance. If you do freeze the assembled pie, wrap it securely and thaw overnight in the refrigerator before serving, but know the texture might be slightly different from fresh.
Reheating
This No-Bake Key Lime Pie Recipe is best enjoyed chilled, so reheating is not necessary. Simply allow any refrigerated leftovers to come to your preferred serving temperature right from the fridge, ensuring the filling stays firm and refreshingly cool.
FAQs
Can I substitute regular lime juice for key lime juice?
Yes, you can use regular lime juice if key limes aren’t available. The flavor will be slightly different but still deliciously tangy and citrusy.
Is it possible to make this pie vegan?
You would need to substitute vegan-friendly ingredients like coconut condensed milk and dairy-free whipped topping, but it may alter the traditional taste and texture.
How long can the pie be refrigerated before serving?
The pie should ideally be refrigerated for at least four hours to set properly, but you can leave it refrigerated overnight to enhance the flavors even more.
Can I add gelatin to make it firmer?
This recipe naturally sets thanks to the interaction between condensed milk and lime juice, so gelatin isn’t necessary. Adding it could change the texture undesirably.
What can I use instead of graham cracker crumbs?
You can try crushed digestive biscuits, vanilla wafers, or even shortbread cookies to create a unique crust, just keep in mind the flavor and sweetness might vary.
Final Thoughts
This No-Bake Key Lime Pie Recipe is a shining example of how simple ingredients and a little patience can create something incredibly special. It’s perfect for warm days, last-minute gatherings, or whenever you want a luscious dessert without turning on the oven. I can’t recommend it enough—once you make it, it’s bound to become your go-to pie for years to come.
Print
No-Bake Key Lime Pie Recipe
- Prep Time: 15 minutes
- Cook Time: 0 minutes
- Total Time: 4 hours 15 minutes
- Yield: 8 servings
- Category: Dessert
- Method: No-Cook
- Cuisine: American
Description
This No-Bake Key Lime Pie is a refreshing and tangy dessert perfect for warm days or any time you want a light, creamy treat without turning on the oven. Featuring a buttery graham cracker crust and a smooth filling made with sweetened condensed milk, fresh key lime juice, and whipped topping, this pie sets in the refrigerator for a few hours to achieve its signature silky texture and bright lime flavor.
Ingredients
Crust
- 1 1/2 cups graham cracker crumbs
- 1/3 cup sugar
- 1/2 cup butter, melted
Filling
- 1 (14 oz) can sweetened condensed milk
- 1/2 cup key lime juice
- 1 (8 oz) container whipped topping, thawed
Garnish
- Lime slices (optional)
Instructions
- Prepare the crust: In a medium bowl, combine graham cracker crumbs, sugar, and melted butter thoroughly. Press this mixture evenly into the bottom and up the sides of a 9-inch pie dish to form the crust.
- Make the filling: In a separate bowl, whisk together the sweetened condensed milk and key lime juice until the mixture thickens slightly. Gently fold in the thawed whipped topping to maintain the airy texture.
- Assemble the pie: Pour the lime filling into the prepared graham cracker crust, smoothing the top with a spatula or spoon.
- Chill the pie: Refrigerate the pie for at least 4 hours, or until the filling is firm and fully set.
- Garnish and serve: Just before serving, decorate the pie with lime slices for a fresh, decorative touch. Slice and enjoy your cool, tangy key lime pie.
Notes
- For best flavor, use fresh key lime juice if possible; bottled juice works as a convenient alternative.
- Make sure the whipped topping is fully thawed before folding it into the filling for the smoothest texture.
- This pie should be kept refrigerated and consumed within 2-3 days for optimal freshness.
- You can add a little grated lime zest to the filling for an extra burst of citrus aroma.
- If a firmer crust is desired, chill the crust for 15 minutes before adding the filling.


