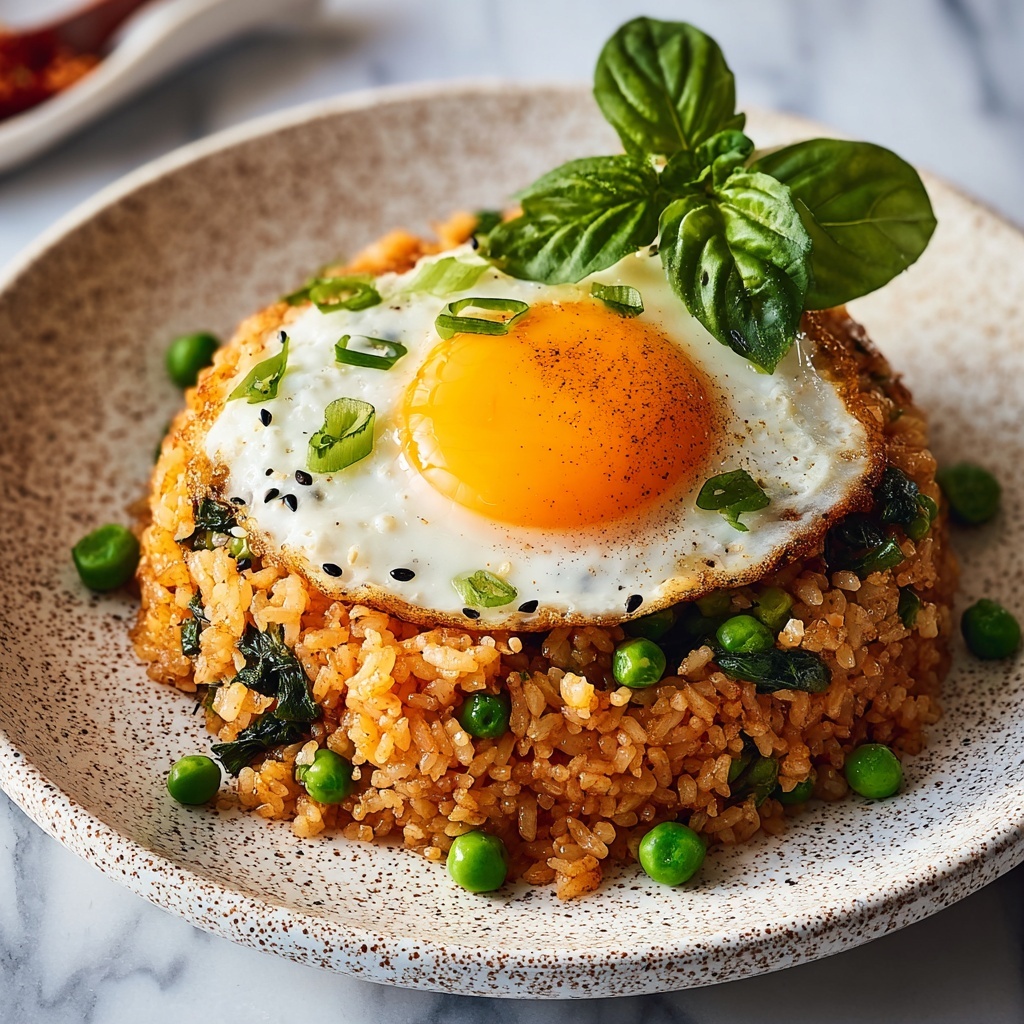
If you love bold, vibrant flavors that come together in a comforting, easy-to-make dish, then you are going to adore this Kimchi Fried Rice Recipe. This classic Korean favorite combines tangy, spicy kimchi with fluffy day-old rice and savory seasonings for a meal that’s packed with color, texture, and personality. Whether you’re cooking for a busy weeknight or just craving something that feels like a big, warm hug in a bowl, this recipe delivers every time with its delightful balance of crisp vegetables, tender proteins, and that irresistible caramelized kimchi flavor.
Ingredients You’ll Need
Getting a great Kimchi Fried Rice Recipe is all about having simple, high-impact ingredients on hand. Each element plays a crucial role, whether it’s imparting savory depth, adding a bit of crunch, or bringing a splash of vibrant color to your plate.
- Cooked rice (2 cups): Use day-old rice to ensure it fries up nicely without clumping or becoming mushy.
- Kimchi, chopped (1 cup) with juice reserved: The star of the show—fermented cabbage adds that signature tang and spice.
- Cooked protein (1/2 cup, optional): Chicken, pork, or tofu all work to make this dish more filling and satisfying.
- Vegetable oil (2 tablespoons): Perfect for sautéing without overpowering the flavors.
- Garlic cloves, minced (2): Adds fragrant depth and a touch of warmth.
- Small onion, diced (1): Gives gentle sweetness and texture.
- Soy sauce (1 tablespoon): Essential umami to tie everything together.
- Sesame oil (1 teaspoon): A small drizzle lifts the dish with its nutty aroma.
- Gochugaru (1/2 teaspoon, optional): Korean red pepper flakes for those who love a little extra heat.
- Green onions, chopped (2): Bright and fresh garnish to finish off your dish.
- Sesame seeds (2 teaspoons): Adds crunch and toasty flavor.
- Fried eggs (2, optional): A luscious topping that adds richness and makes it a complete meal.
How to Make Kimchi Fried Rice Recipe
Step 1: Sauté the Aromatics
Start by heating the vegetable oil in a large skillet or wok over medium-high heat. Toss in the minced garlic and diced onion, cooking them for 2 to 3 minutes until they become fragrant and translucent. This step builds the flavorful foundation for your Kimchi Fried Rice Recipe, drawing out sweet and savory notes that’ll marry perfectly with the tangy kimchi.
Step 2: Cook the Kimchi
Add the chopped kimchi along with its vibrant juice to the skillet. Let everything cook together for about 2 to 3 minutes until the kimchi softens and starts to caramelize slightly. This not only mellows the acidity but also deepens the complex, yummy flavors that kimchi brings to this beloved rice dish.
Step 3: Add Protein (Optional)
If you’re adding cooked chicken, pork, or tofu, now’s the time to stir it in. Incorporate your chosen protein to ensure every bite has an extra element of heartiness. This flexibility is one of the reasons the Kimchi Fried Rice Recipe fits so easily into any meal.
Step 4: Mix in the Rice and Seasonings
Next, add your day-old cooked rice to the skillet. Break up any clumps gently with your spatula to spread out the grains for even frying. Drizzle with soy sauce and sesame oil, then sprinkle the gochugaru if you want that classic Korean spicy kick. Stir everything continuously for 3 to 4 minutes until the rice is well coated with all those savory, tangy, umami-packed flavors and heated through.
Step 5: Finish and Garnish
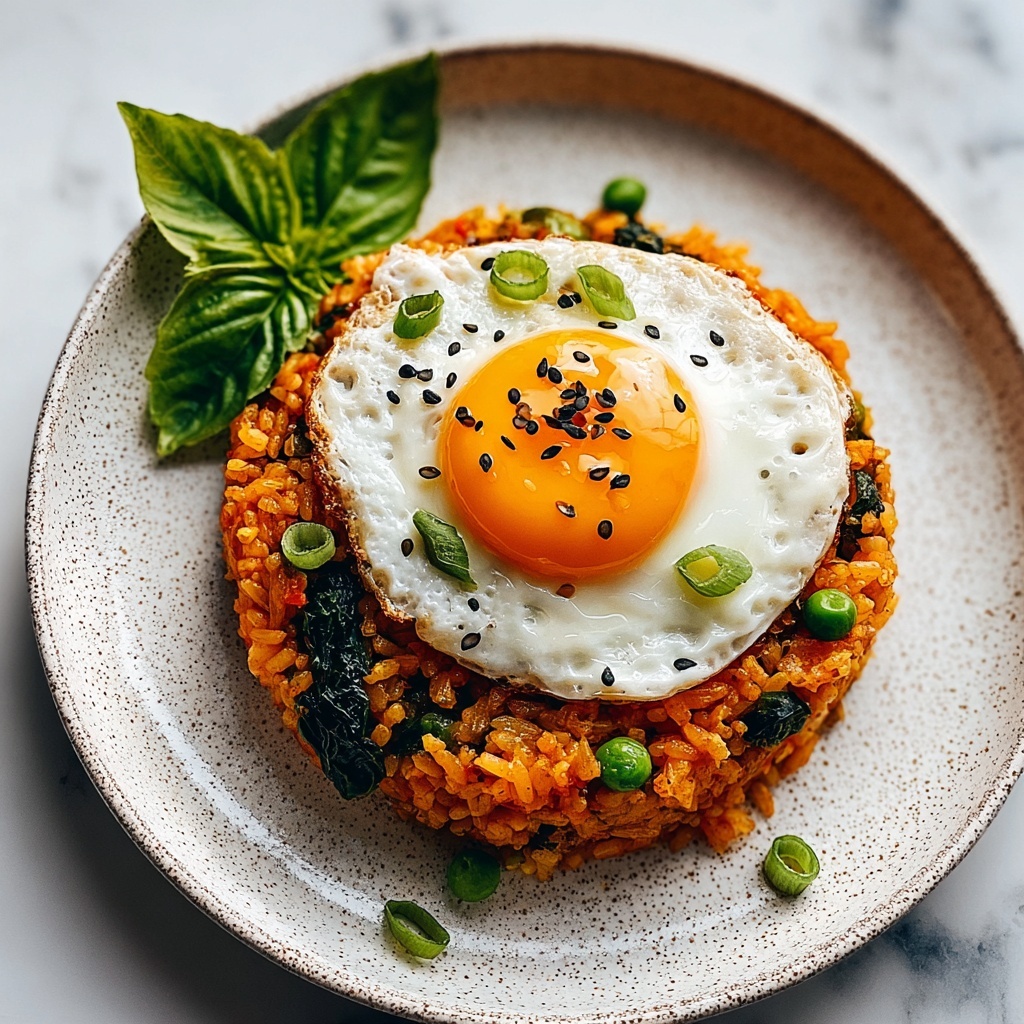
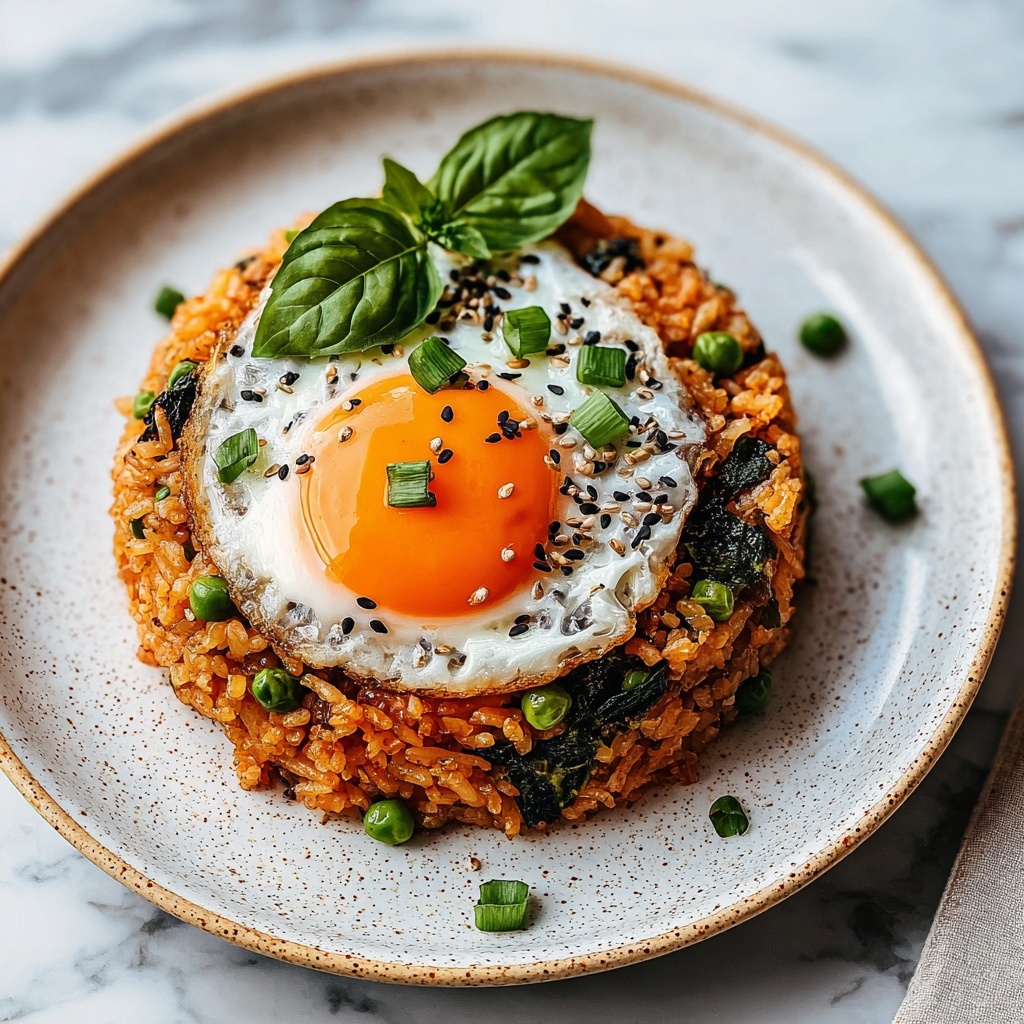
Once your skillet is off the heat, shower your Kimchi Fried Rice Recipe with freshly chopped green onions and a sprinkle of toasted sesame seeds. For an unbeatable finish, top each serving with a golden fried egg. The oozing yolk adds richness and brings an irresistible silkiness to each bite.
How to Serve Kimchi Fried Rice Recipe
Garnishes
Fresh green onions and toasted sesame seeds are classic garnishes that add crispness and nutty flavor, but don’t stop there. For a touch of cool contrast, try a few slices of cucumber or a dollop of creamy kimchi mayonnaise to balance the spice and tang.
Side Dishes
While this Kimchi Fried Rice Recipe can stand alone perfectly, it pairs wonderfully with light Korean sides like crisp bean sprouts, steamed spinach with garlic, or kimchi pancakes for a more festive meal. Complement with pickled vegetables or a simple miso soup for a full Korean-inspired feast.
Creative Ways to Present
Serve your Kimchi Fried Rice Recipe in individual bowls topped with a fried egg and a sprinkle of seaweed flakes for added umami and texture. You can also scoop it into lettuce leaves for a refreshing hand-held bite, or crumble in some crunchy ramen noodles on top to add a fun twist of texture.
Make Ahead and Storage
Storing Leftovers
Kimchi Fried Rice Recipe leftovers stay fresh in an airtight container in the fridge for up to 3 days. The flavors often deepen after resting, making for an even tastier next-day meal.
Freezing
Because kimchi contains live cultures, freezing can alter its texture and flavor slightly. However, if you want to freeze your fried rice, make sure it’s cooled completely before placing it in a freezer-safe container for up to 2 months. Thaw it slowly in the refrigerator for best results.
Reheating
To reheat, warm your Kimchi Fried Rice Recipe in a skillet over medium heat with a splash of water or broth to revive moisture. Stir frequently until evenly heated. Avoid microwaving if possible to keep the rice from becoming dry or mushy.
FAQs
Can I use freshly cooked rice instead of day-old rice?
While freshly cooked rice can work, it tends to be stickier and more clumpy, which makes frying harder. For the best texture in your Kimchi Fried Rice Recipe, day-old rice is highly recommended since it’s drier and fries up beautifully.
Is kimchi very spicy? Can I adjust the spice level in this recipe?
Kimchi naturally has varying levels of spice depending on the brand or recipe, but you can control the heat in your Kimchi Fried Rice Recipe by adjusting the amount of gochugaru you add or skipping it entirely if you prefer milder flavors.
Can I make this recipe vegetarian or vegan?
Absolutely! Simply omit the meat and eggs or replace the eggs with tofu scramble or a plant-based alternative. Use soy sauce that’s labeled gluten-free and vegan to keep it friendly for all diets while retaining those fantastic flavors.
What protein pairs best with Kimchi Fried Rice Recipe?
Chicken, pork, tofu, or even shrimp all complement the tangy and spicy notes of the kimchi beautifully. Choose based on your preference or pantry availability—each will add a satisfying dimension to the dish.
How spicy is the Kimchi Fried Rice Recipe traditionally?
The traditional Kimchi Fried Rice Recipe offers a moderate level of heat thanks to fermented kimchi and optional gochugaru. The spice is balanced with umami and richness from soy sauce and sesame oil, making it approachable for most palates.
Final Thoughts
There’s something truly special about the humble Kimchi Fried Rice Recipe—how it transforms simple ingredients into a dish bursting with personality and comfort. It’s quick, versatile, and perfect for using up leftovers while delighting your taste buds with every bite. I hope you feel inspired to whip up a batch soon and make this flavorful Korean classic a regular part of your cooking repertoire.
Print
Kimchi Fried Rice Recipe
- Prep Time: 5 minutes
- Cook Time: 10 minutes
- Total Time: 15 minutes
- Yield: 2-3 servings
- Category: Main Course
- Method: Stovetop
- Cuisine: Korean
- Diet: Gluten Free
Description
Kimchi Fried Rice is a flavorful Korean comfort food made by stir-frying day-old rice with spicy kimchi, garlic, onions, and your choice of protein. This quick and easy recipe is perfect for a satisfying weeknight meal, garnished with green onions, sesame seeds, and optionally topped with a fried egg for extra richness.
Ingredients
Base Ingredients
- 2 cups cooked rice (preferably day-old)
- 1 cup kimchi, chopped with juice reserved
- 1/2 cup cooked protein (optional: chicken, pork, or tofu)
Flavorings
- 2 tablespoons vegetable oil
- 2 cloves garlic, minced
- 1 small onion, diced
- 1 tablespoon soy sauce
- 1 teaspoon sesame oil
- 1/2 teaspoon gochugaru (Korean red pepper flakes, optional)
Garnishes
- 2 green onions, chopped
- 2 teaspoons sesame seeds
- 2 fried eggs (optional, for topping)
Instructions
- Heat the oil: Heat vegetable oil in a large skillet or wok over medium-high heat, preparing the pan for sautéing.
- Sauté aromatics: Add minced garlic and diced onion to the pan and sauté for 2-3 minutes until they become fragrant and softened.
- Cook the kimchi: Add the chopped kimchi along with its reserved juice and cook for 2-3 minutes until it slightly caramelizes, enhancing its flavor.
- Add protein (optional): Stir in your choice of cooked protein like chicken, pork, or tofu if desired, ensuring it heats through.
- Add rice and seasonings: Add the day-old cooked rice, breaking up any clumps, then drizzle with soy sauce and sesame oil. Sprinkle gochugaru if using, to add spice.
- Combine and heat through: Cook everything together for another 3-4 minutes, stirring frequently to evenly combine flavors and heat through.
- Garnish and serve: Remove from heat and top the fried rice with chopped green onions, sesame seeds, and a fried egg if desired. Serve hot.
Notes
- Use day-old rice for the best texture as it fries better and is less sticky.
- Adjust the spice level by increasing gochugaru or adding sriracha according to preference.
- Feel free to add extra vegetables like peas, carrots, or bell peppers for added nutrition and color.


