
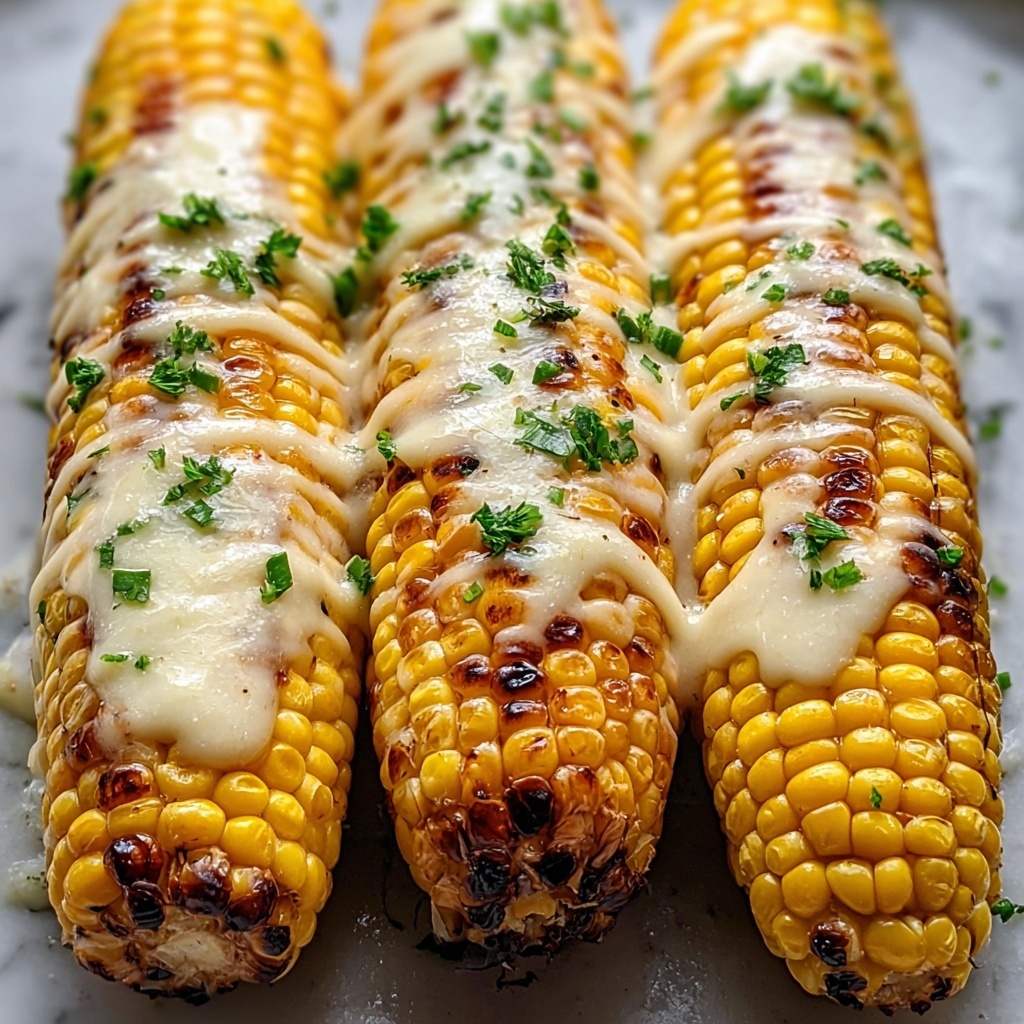
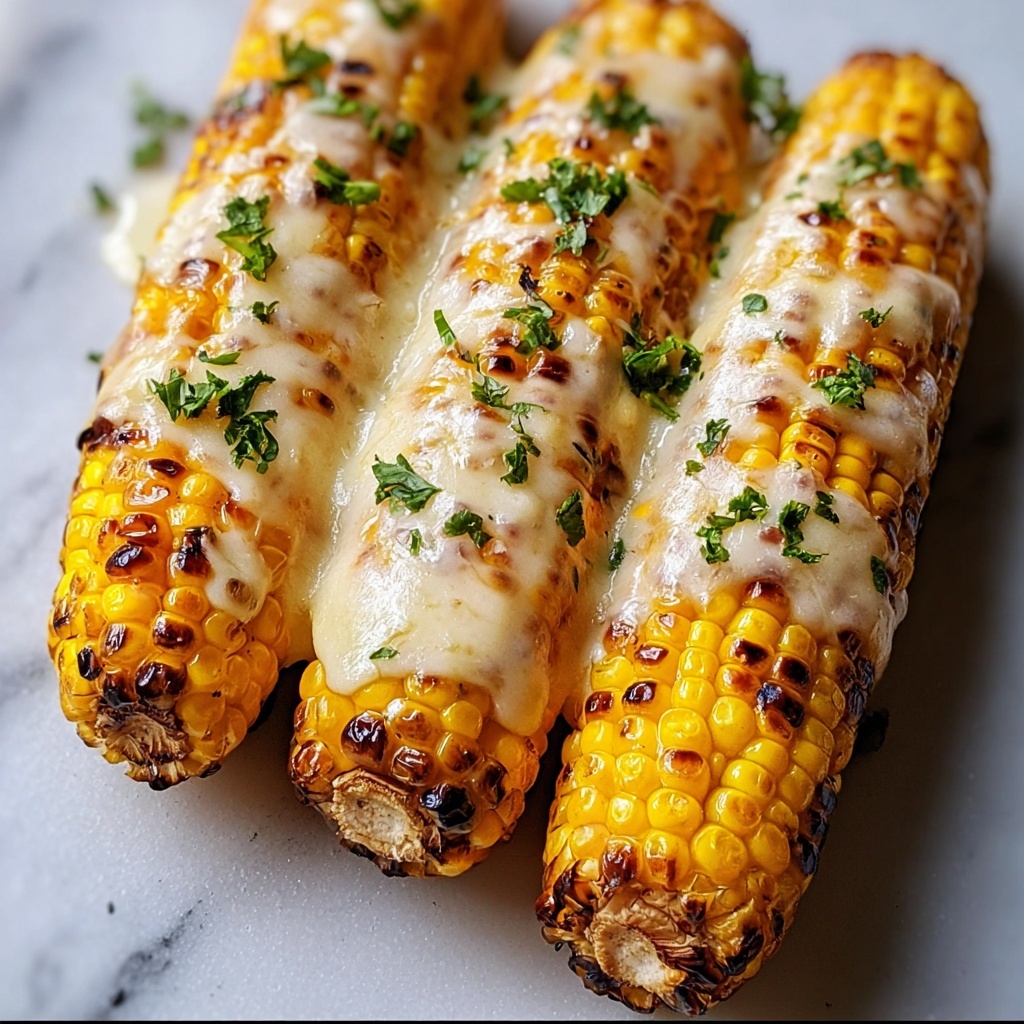
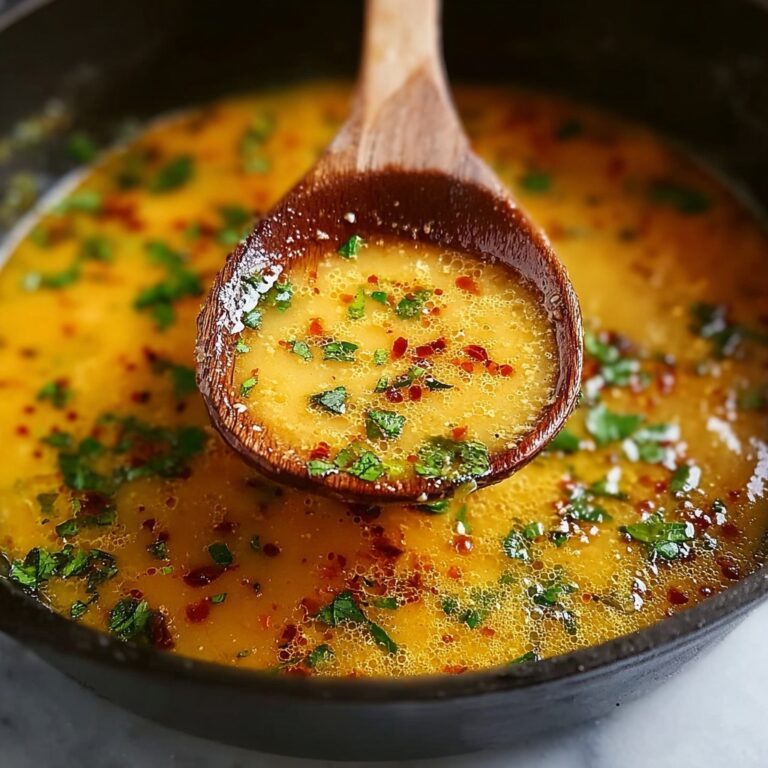
Let me introduce you to a dish that will instantly become your next favorite: Garlic Butter Corn Cheese: A Deliciously Creamy Side Dish Recipe. This recipe features sweet corn kernels mingling with rich, melted cheeses and savory garlic butter, creating a creamy, comforting delight that’s perfect for any occasion. Whether you’re looking for a show-stopping side or a cozy snack, this dish serves up warmth and flavor in every bite.
Ingredients You’ll Need
Every ingredient in this recipe plays a key role in building that perfect flavor profile and creamy texture. From the sweetness of fresh corn to the sharpness of Parmesan and the luscious meltiness of cream cheese and mozzarella, these essentials come together beautifully to make this dish unforgettable.
- Fresh corn kernels (4 cups): Using fresh corn adds vibrant sweetness and texture; canned works too for convenience.
- Unsalted butter (4 tablespoons): Butter enriches the dish with a smooth, velvety base and helps garlic release its flavor.
- Garlic cloves, minced (4): Garlic adds pungent warmth and depth that balances the sweetness of corn.
- Cream cheese, softened (1 cup): This gives an irresistibly creamy dimension and binds everything perfectly.
- Shredded mozzarella cheese (1 cup): Mozzarella provides melty stretchiness and mild flavor.
- Grated Parmesan cheese (1/2 cup): Parmesan brings a tangy, salty kick that elevates the savory profile.
- Mayonnaise (1/4 cup): Helps keep the mixture smooth and adds a subtle tangy richness.
- Chili powder (1 teaspoon, optional): A hint of spice for those who love a subtle kick.
- Salt and pepper: Essential seasonings that enhance all the other flavors.
- Fresh parsley or cilantro, chopped: For a fresh, herbal garnish that brightens the final dish.
How to Make Garlic Butter Corn Cheese: A Deliciously Creamy Side Dish Recipe
Step 1: Prepare Your Corn
If you’re using fresh corn, start by shucking the ears and removing the silky silk. Give them a quick rinse under cold water to remove any leftover husk bits. Then, hold each ear upright in a bowl and carefully slice off the kernels with a sharp knife. If canned corn is your choice, simply drain it well and set it aside. This freshness or convenience sets the foundation for your creamy masterpiece.
Step 2: Sauté Garlic and Corn
In a large skillet over medium heat, melt your butter until it glistens. Toss in the minced garlic and sauté gently for 1 to 2 minutes—just until it wakes up with a fragrant aroma and turns a soft golden color. Be mindful not to let it burn. Next, stir in the corn and cook it until it’s warmed through; fresh corn takes about 5 to 7 minutes, while canned needs just 3 to 4 minutes. This step infuses the corn with buttery garlic goodness, making it positively irresistible.
Step 3: Mix the Cheesy Base
While your corn is cooking, grab a large mixing bowl and blend your softened cream cheese, shredded mozzarella, grated Parmesan, and mayonnaise until they become a smooth, creamy dream. If you like things a little spicy, add the chili powder now. Don’t forget to season with salt and pepper to taste, because these little adjustments make a world of difference in flavor balance.
Step 4: Combine and Bake
Take the skillet off the heat and allow the corn to cool for just a minute—this avoids any cooking surprises when combining. Pour your corn mixture into the cheesy base and stir until every kernel is thoroughly coated in that luscious mix. Then preheat your oven to 350°F (175°C). Transfer the blend into a greased 9×13 inch baking dish and even out the surface with a spatula. If you want extra cheesy indulgence, sprinkle additional mozzarella and Parmesan cheese on top before sliding it into the oven.
Step 5: Bake to Perfection
Pop the dish into your preheated oven and bake for 20 to 25 minutes. You’re looking for bubbling cheese with a beautiful golden brown crust forming on top. Once out, let it cool for just a few minutes. The anticipation while it’s still warm makes this creamy side dish all the more delightful.
Step 6: Garnish and Serve
Finish with a sprinkling of freshly chopped parsley or cilantro to add a pop of color and fresh flavor contrast. Now you’re ready to enjoy each spoonful of your homemade Garlic Butter Corn Cheese: A Deliciously Creamy Side Dish Recipe, perfect for sharing or savoring on your own!
How to Serve Garlic Butter Corn Cheese: A Deliciously Creamy Side Dish Recipe
Garnishes
Fresh herbs like parsley or cilantro bring a lively brightness to this rich dish. You can also add a pinch of smoked paprika or a dash of chili flakes if you want a subtle smoky or spicy touch. A squeeze of fresh lime juice just before serving adds a wonderful, tangy accent that complements the creamy and buttery flavors beautifully.
Side Dishes
This dish pairs wonderfully with grilled meats, roasted chicken, or a vibrant salad to balance the richness. It also shines alongside barbecue fare, making it a crowd-pleaser at summer cookouts or cozy winter meals. The creamy texture and warm cheesy flavor act as a comforting foil to crunchy, fresh, or spicy companions on your plate.
Creative Ways to Present
For a fun twist, serve Garlic Butter Corn Cheese: A Deliciously Creamy Side Dish Recipe as a dip with tortilla chips, crusty bread, or fresh vegetable sticks. You can also stuff it into baked potatoes or use it as a decadent topping for burgers and sandwiches. This dish is a versatile superstar that adapts to any mealtime mood or setting.
Make Ahead and Storage
Storing Leftovers
If you find yourself with leftovers (and believe me, it might not last long), store them in an airtight container in the refrigerator. It keeps well for up to 3 days, maintaining its creamy texture and vibrant flavor for quick reheats.
Freezing
You can freeze this delicious side dish in a freezer-safe container for up to 2 months. Just make sure to thaw it slowly in the fridge overnight before reheating to preserve that delightful creaminess without separating.
Reheating
Reheat gently in a microwave or oven at low temperature, covering the dish to keep moisture in. Stir halfway through to ensure even warming. If it seems a bit thick, a splash of milk or cream will bring it back to that luscious texture you love.
FAQs
Can I use frozen corn in this recipe?
Absolutely! Frozen corn works well — just thaw and drain it before sautéing to avoid excess water that might dilute the creamy texture.
Is it possible to make this dish vegan?
You can try substituting dairy ingredients with plant-based cream cheese, vegan mozzarella, and margarine. Adjust seasonings carefully, but keep in mind the flavor and texture will differ slightly.
Can I prepare Garlic Butter Corn Cheese ahead of time?
Yes! You can prepare the corn and cheese mixture in advance and bake it just before serving to keep it fresh and warm.
What can I use instead of mayonnaise?
If you prefer to skip mayonnaise, sour cream or Greek yogurt are great options that will add tang and creaminess to the dish.
How spicy can I make the dish?
The chili powder is totally optional. You can increase the amount or add a dash of cayenne pepper or hot sauce if you like a real kick, but start slow to avoid overpowering the cheesy balance.
Final Thoughts
If you’re craving a side dish that hits all the right notes of creamy, cheesy, buttery, and just a little bit special, you need to try Garlic Butter Corn Cheese: A Deliciously Creamy Side Dish Recipe. It’s cozy enough to warm your soul and flexible enough to shine at any meal. Once you make it, this dish will become one of your kitchen staples for good reason!
Print
Garlic Butter Corn Cheese: A Deliciously Creamy Side Dish Recipe
- Prep Time: 15 minutes
- Cook Time: 30 minutes
- Total Time: 45 minutes
- Yield: 8 servings
- Category: Side Dish
- Method: Baking
- Cuisine: American
- Diet: Vegetarian
Description
Garlic Butter Corn Cheese is a creamy, cheesy side dish featuring fresh or canned corn cooked in garlic butter and blended with a luscious mix of cream cheese, mozzarella, Parmesan, and mayonnaise. Baked until bubbly and golden, this comforting dish is perfect for serving warm alongside meals or as a dip with chips and veggies.
Ingredients
Corn:
- 4 cups fresh corn kernels (about 6–8 ears of corn) or 2 cans of corn, drained
Dairy & Fats:
- 4 tablespoons unsalted butter
- 1 cup cream cheese, softened
- 1 cup shredded mozzarella cheese
- 1/2 cup grated Parmesan cheese
- 1/4 cup mayonnaise
Seasonings & Garnish:
- 4 cloves garlic, minced
- 1 teaspoon chili powder (optional, for a kick)
- Salt and pepper to taste
- Fresh parsley or cilantro, chopped (for garnish)
Instructions
- Prepare Corn: If using fresh corn, shuck the ears and remove husks and silk, then rinse under cold water. Cut the kernels off the cob by standing the ear upright in a bowl to catch the kernels. If using canned corn, drain and set aside.
- Sauté Garlic: In a large skillet, melt the butter over medium heat. Add the minced garlic and sauté for 1-2 minutes until fragrant and slightly golden, ensuring it doesn’t burn.
- Cook Corn: Stir in the corn kernels and cook for 5-7 minutes if fresh, or 3-4 minutes if canned, until heated through.
- Mix Cheeses: In a large mixing bowl, combine the softened cream cheese, shredded mozzarella, grated Parmesan, and mayonnaise.
- Season Cheese Mixture: Add chili powder if using, then season with salt and pepper to taste. Blend until the mixture is smooth and creamy.
- Combine Corn and Cheese: Remove the skillet from heat and let corn cool slightly. Add the corn mixture to the cheese mixture and stir well. Adjust seasoning if needed.
- Prepare for Baking: Preheat the oven to 350°F (175°C). Transfer the combined mixture into a greased 9×13 inch baking dish and smooth the top with a spatula.
- Add Extra Cheese: Sprinkle additional mozzarella and Parmesan cheese on top for extra cheesiness.
- Bake: Bake for 20-25 minutes until the top is bubbly and golden brown.
- Serve: Allow to cool for a few minutes after baking. Garnish with chopped parsley or cilantro and serve warm as a side dish or dip with tortilla chips, bread, or fresh vegetables.
Notes
- Using fresh corn enhances flavor, but canned corn is a convenient alternative.
- Adjust the chili powder quantity or omit it to control the spice level.
- Make sure not to burn the garlic as it can develop a bitter taste.
- This dish can be prepared ahead and baked before serving for convenience.
- Leftovers can be stored in the refrigerator for up to 3 days and reheated gently in the oven.


