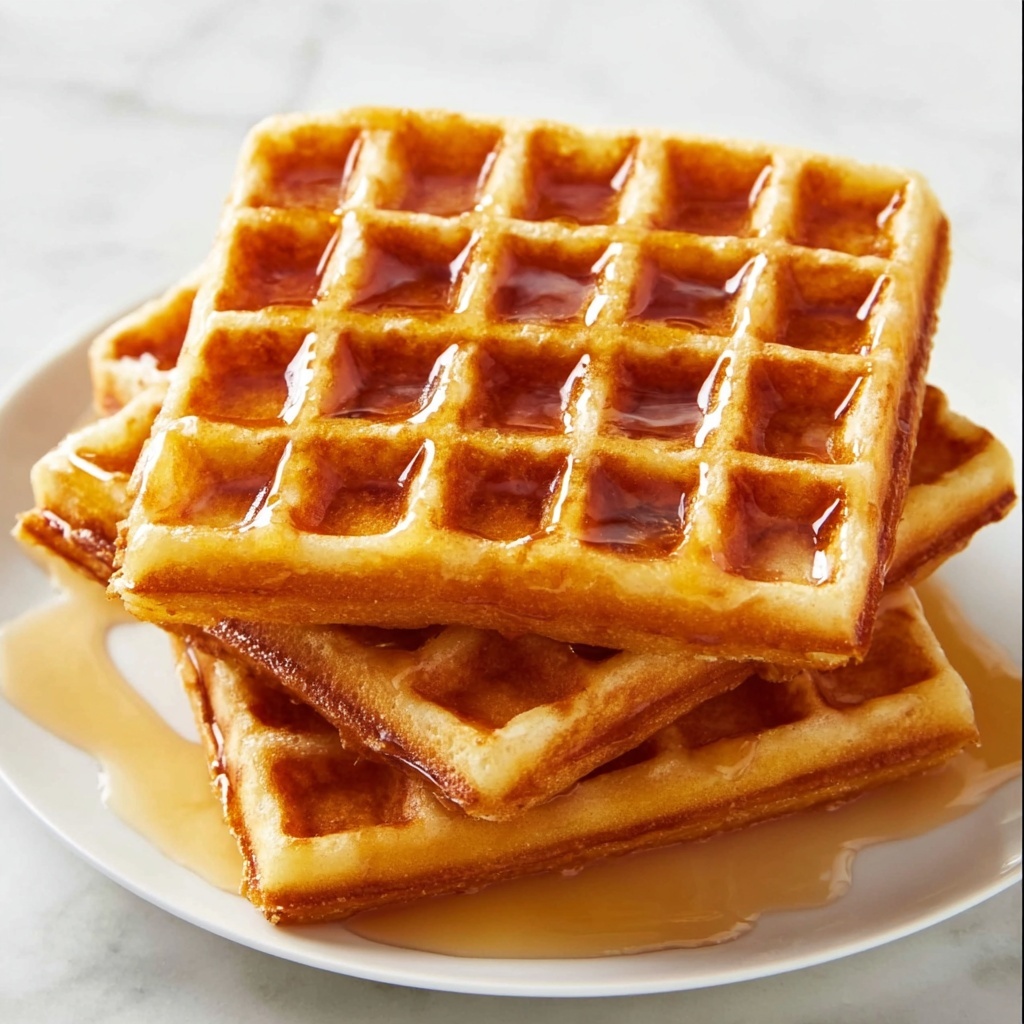
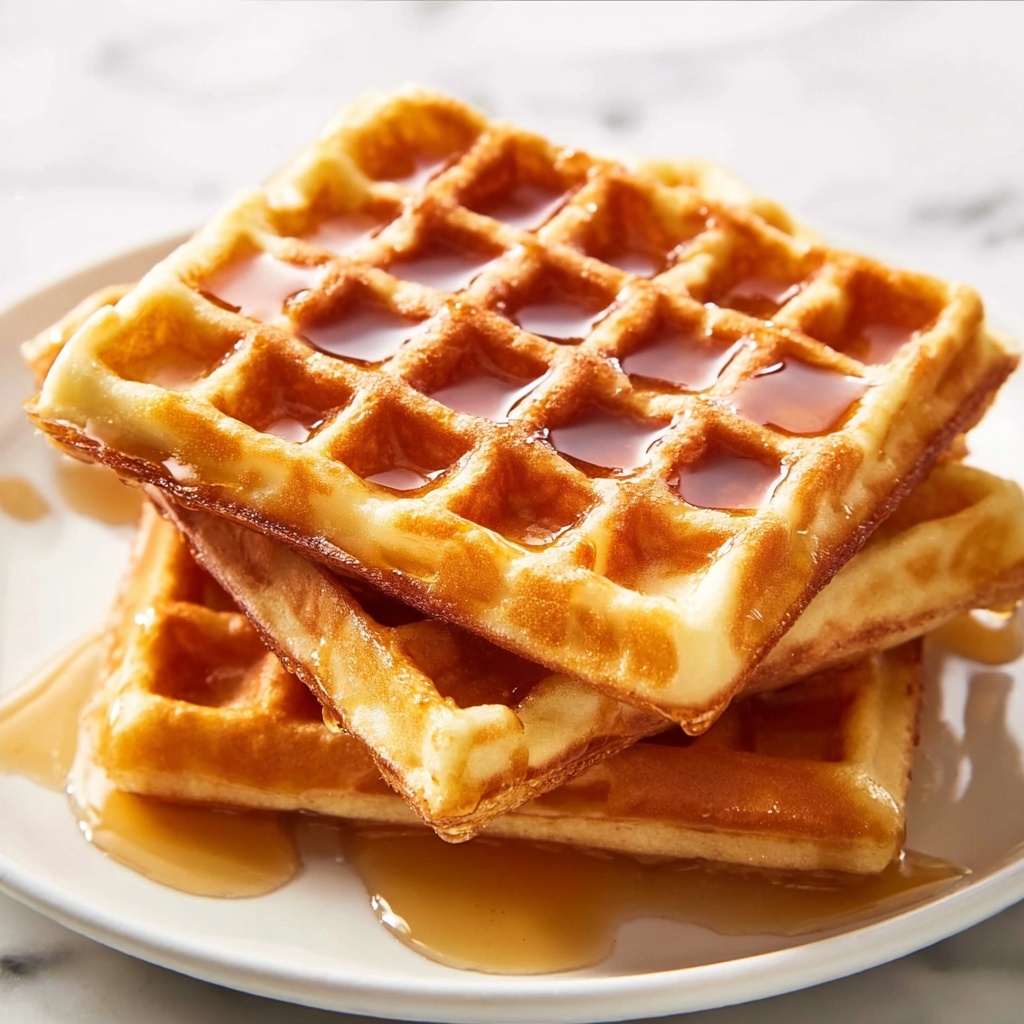
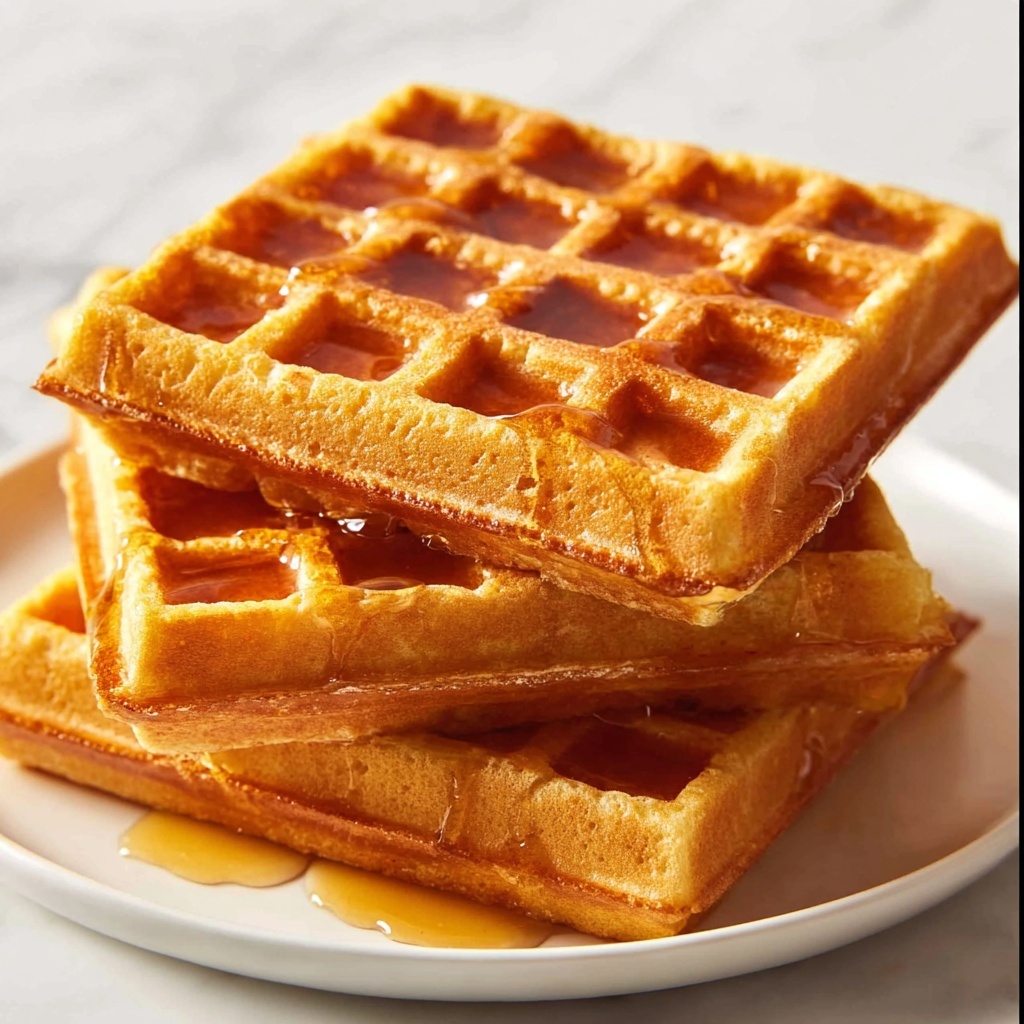
If you’re craving a delightful breakfast that’s both wholesome and accommodating to dietary needs, you’re going to love this Easy Gluten Free Oat Waffles Recipe. It combines the hearty, nutty flavor of oat flour with simple, everyday ingredients to create waffles that are crispy on the outside and tender on the inside. Whether you’re naturally gluten-free or just exploring new breakfast options, these waffles offer a comforting, naturally sweet start to your day that’s as satisfying as your favorite brunch spot’s but made in your own kitchen.
Ingredients You’ll Need
Gathering the right ingredients is half the fun and the magic behind these waffles. Each component plays a vital role from texture to flavor, ensuring a perfect balance between fluffiness and crispness while keeping things gluten-free and wholesome.
- 1 ½ cups oat flour: Use certified gluten-free oat flour to keep it safe for gluten-sensitive folks and deliver that wonderful oat essence.
- 2 teaspoons baking powder: This gives your waffles a lovely lift and lightness.
- ½ teaspoon salt: Just enough to enhance all the flavors without overpowering.
- Pinch of cinnamon (optional): Adds a hint of warmth and spice that complements the oats superbly.
- ¾ cup room temperature milk: Choose coconut milk, nut milk, or cow’s milk depending on your preference—each brings its own unique creaminess.
- ¼ cup + 1 tablespoon melted coconut oil or 5 tablespoons unsalted butter: Fats help achieve that golden, crispy exterior and tender interior.
- 2 large eggs: These bind everything together and add protein.
- 2 tablespoons maple syrup: Natural sweetness that gives the waffles a subtle, caramel-like note.
- 1 teaspoon vanilla extract: A classic flavor enhancer that lifts the entire batter.
How to Make Easy Gluten Free Oat Waffles Recipe
Step 1: Mix Dry Ingredients
Start by whisking together your oat flour, baking powder, salt, and cinnamon in a large bowl. Getting these evenly combined is key for a consistent texture and flavor in every bite.
Step 2: Combine Wet Ingredients
In a separate bowl, mix the room temperature milk, melted coconut oil or butter, eggs, maple syrup, and vanilla extract thoroughly. If the coconut oil has hardened while mixing, warming it gently in short bursts in the microwave will help you achieve a smooth blend.
Step 3: Bring Wet and Dry Together
Pour your wet mixture into the bowl with dry ingredients and fold gently with a spoon until everything is just combined. A few lumps in the batter are perfectly normal and actually desirable. Let the batter rest for 10 minutes; this gives the oat flour time to soak up moisture and develop the perfect waffle texture.
Step 4: Preheat Your Waffle Iron
While you’re waiting, plug in your waffle iron and set it to medium-high if your model has temperature controls. A hot waffle iron is essential for creating those signature crispy edges.
Step 5: Cook the Waffles
After the rest period, give the batter one last gentle stir. Spoon a ladle of batter onto the center of the waffle iron, spreading it slightly but not too thin. Close the lid and cook until the waffles turn a beautiful deep golden brown and crisp up nicely.
Step 6: Cool and Serve
Once cooked, transfer your waffles to a cooling rack or a baking sheet—avoid stacking them while hot to keep that crispy exterior intact. If you want to keep them warm before serving, pop them into a 200°F oven. Repeat the process with the remaining batter until all waffles are ready.
How to Serve Easy Gluten Free Oat Waffles Recipe
Garnishes
Waffles are like a blank canvas waiting for your favorite toppings. Fresh berries, a drizzle of pure maple syrup, or a smear of your favorite nut butter add bursts of flavor and texture. A sprinkle of powdered sugar or a dollop of whipped cream can instantly make your waffles feel like a special treat.
Side Dishes
Complement your Easy Gluten Free Oat Waffles Recipe with sides that bring balance and variety. Crispy turkey bacon, a colorful fruit salad, or a simple yogurt parfait are excellent companions. These sides offer different textures and flavors that elevate your breakfast experience.
Creative Ways to Present
Think beyond a stack! Serve your waffles with scoops of ice cream for a decadent dessert twist or cut them into strips for fun dippable “waffle fries.” Layering them with yogurt and berries in a parfait glass can transform breakfast into a visually stunning treat that’s fun to eat.
Make Ahead and Storage
Storing Leftovers
If you end up with leftover waffles, store them in an airtight container in the refrigerator for up to 3 days. Proper storage helps maintain moisture without sogginess, so your waffles stay tasty and ready for a quick breakfast.
Freezing
Waffles freeze wonderfully! Lay them flat on a baking sheet to freeze individually before transferring to a sealed freezer bag. This way, you can pop out as many as you need without thawing the whole batch. They’ll keep for up to 2 months.
Reheating
The best way to bring frozen waffles back to life is by toasting them. This method crisps up the edges nicely, reviving that freshly-made feeling. You can also warm them in an oven preheated to 350°F for about 10 minutes if you want to reheat multiple waffles at once.
FAQs
Can I use regular flour instead of oat flour for this recipe?
You can substitute with regular all-purpose flour, but it won’t be gluten-free anymore. The texture and flavor will also change, as oat flour lends a lovely naturally sweet and hearty quality to these waffles.
Is it necessary to let the batter rest?
Yes, letting the batter rest for 10 minutes is important for the oat flour to fully absorb the liquids. This makes the waffles tender inside rather than crumbly or dry and improves overall texture.
Can I make these waffles vegan?
Absolutely! Swap the eggs with flax eggs or a commercial egg replacer, and use a plant-based milk and coconut oil to keep everything vegan-friendly while maintaining that delicious flavor.
What’s the best way to get crispy waffles?
Using a well-preheated waffle iron and including fat like melted butter or coconut oil in the batter are the keys to crispy edges. Also, avoid stacking hot waffles—cool them on a rack or keep warm in the oven to preserve their crispness.
Can I add mix-ins like chocolate chips or nuts?
Definitely! Stir in chocolate chips, chopped nuts, or even berries just before cooking to customize your waffles. These additions add delightful bursts of flavor and texture to the base batter.
Final Thoughts
There’s something wonderfully comforting about making waffles from scratch, and this Easy Gluten Free Oat Waffles Recipe is a shining example of how simple ingredients can create breakfast magic. Whether you serve them plain or with your favorite toppings, they’re sure to become a beloved staple in your kitchen. Give this recipe a try—you might just find your new favorite way to start the day!
Print
Easy Gluten Free Oat Waffles Recipe
- Prep Time: 10 minutes
- Cook Time: 15 minutes
- Total Time: 25 minutes
- Yield: 6 servings
- Category: Breakfast
- Method: Stovetop
- Cuisine: American
- Diet: Gluten Free
Description
This Easy Gluten Free Oat Waffles recipe offers a delicious and healthy breakfast option, using certified gluten-free oat flour for a light, crispy texture with a hint of cinnamon. Made with simple ingredients like eggs, milk, and melted coconut oil or butter, these waffles are naturally sweetened with maple syrup and flavored with vanilla extract. Perfectly crisp on the outside and tender on the inside, they’re quick to prepare and ideal for a wholesome gluten-free meal.
Ingredients
Dry Ingredients
- 1 ½ cups (128 grams) oat flour, certified gluten-free if necessary
- 2 teaspoons baking powder
- ½ teaspoon salt
- Pinch of cinnamon (optional)
Wet Ingredients
- ¾ cup room temperature milk of choice (light coconut milk, nut milk, or cow’s milk)
- ¼ cup + 1 tablespoon melted coconut oil, or 5 tablespoons unsalted butter, melted
- 2 large eggs
- 2 tablespoons maple syrup
- 1 teaspoon vanilla extract
Instructions
- Mix Dry Ingredients: In a large mixing bowl, whisk together the oat flour, baking powder, salt, and cinnamon (if using) until thoroughly combined to ensure even distribution of leavening agents.
- Combine Wet Ingredients: In a separate bowl, whisk together the milk, melted coconut oil or butter, eggs, maple syrup, and vanilla extract until the mixture is smooth. If the coconut oil solidifies, warm gently in short microwave intervals to achieve a liquid consistency.
- Combine Wet and Dry Mixtures: Pour the wet mixture into the dry ingredient bowl and stir gently with a large spoon just until combined. It’s okay if the batter is slightly lumpy. Let the batter rest for 10 minutes to allow the oat flour to fully hydrate.
- Preheat Waffle Iron: While the batter rests, plug in your waffle iron and preheat it. Set the temperature or browning dial to medium-high for optimal crispiness.
- Cook Waffles: After resting, gently stir the batter again. Pour enough batter onto the hot waffle iron to cover the center and most of the surface, then close the lid. Cook until the waffles are deeply golden brown and crispy.
- Cool and Serve: Transfer the cooked waffles to a cooling rack or baking sheet without stacking to keep them crisp. Keep warm in a 200°F oven if needed. Repeat with the remaining batter and serve hot with maple syrup, nut butter, or preferred toppings.
Notes
- Resting the batter is crucial to allow oat flour to absorb moisture, improving the texture.
- Adjust the waffle iron temperature based on your appliance’s performance for perfect browning.
- If the batter thickens too much after resting, add a splash of milk to loosen it slightly.
- Use certified gluten-free oat flour to ensure the recipe remains gluten-free.
- Waffles are best enjoyed fresh but can be stored in the refrigerator and reheated in a toaster or oven for crispness.

