
“`html
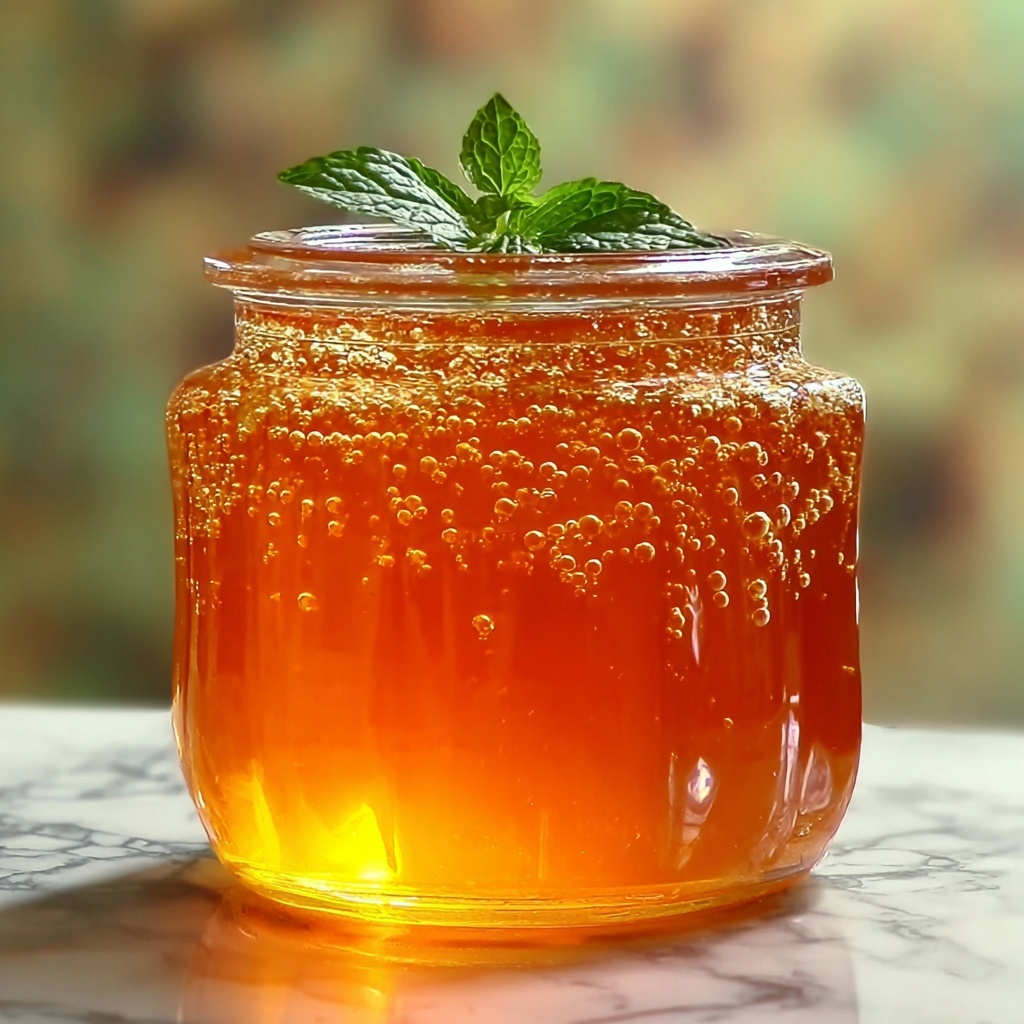
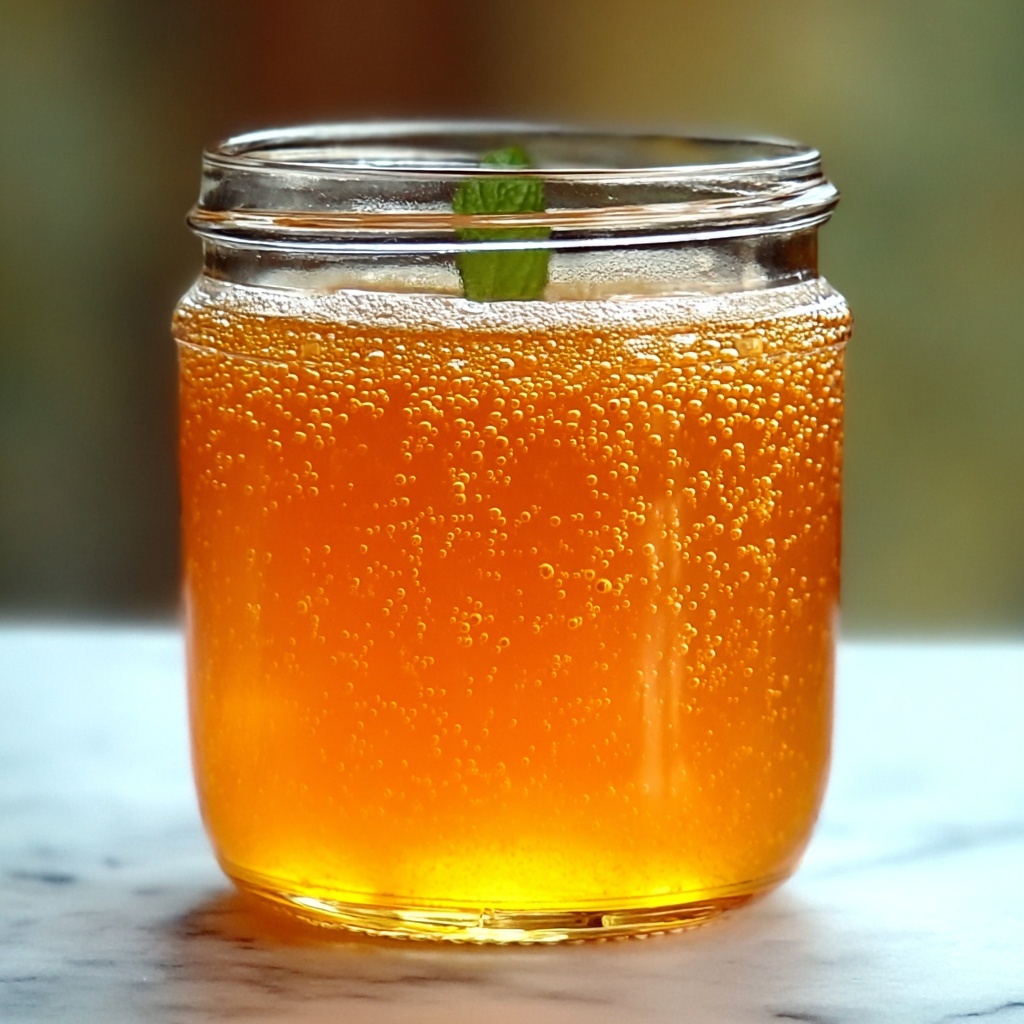
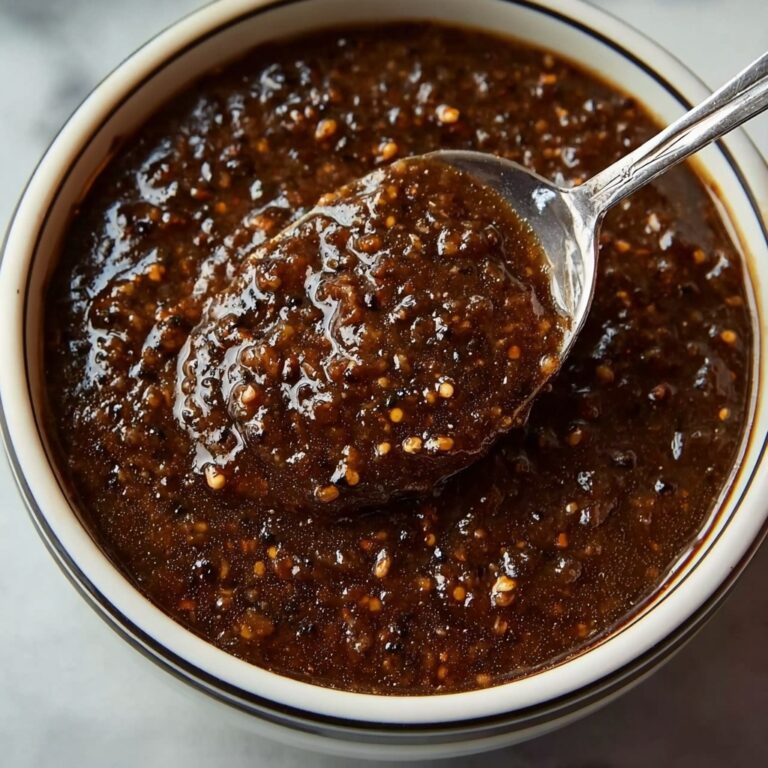
If you’ve ever dreamed of capturing the nostalgic, creamy brightness of a classic Dreamsicle treat in a spreadable form, this Dreamsicle Jelly Recipe is your ticket to flavor heaven. Blending the tangy sweetness of fresh orange juice with a hint of warm vanilla, this jelly bursts with sunshine and a subtle creaminess that will brighten your breakfasts, snacks, and even desserts. It’s delightfully simple but delivers that unique “orange creamsicle” magic in every spoonful, making it a must-have in your pantry.
Ingredients You’ll Need
Creating this delightful Dreamsicle Jelly Recipe is wonderfully straightforward, relying on just a few key ingredients that each play a crucial role. The fresh orange juice provides vibrant citrus brightness, while sugar and pectin work together to give your jelly that perfect, spreadable consistency. Vanilla adds that unmistakable creamy note, and the optional lemon juice and citric acid boost the citrus zing and balance the sweetness beautifully.
- Orange juice: Four cups of freshly squeezed or bottled juice — fresh is best for vibrant flavor and natural sweetness.
- Sugar: One cup, to sweeten the tartness and help with the jelly’s texture.
- Fruit pectin: One 1.75 oz packet (like Sure-Jell) — essential for thickening your jelly perfectly.
- Water: Half a cup, to dissolve the pectin evenly and start the cooking process.
- Vanilla extract: One teaspoon — this adds the signature creamy warmth reminiscent of a classic Dreamsicle.
- Lemon juice (optional): One tablespoon — enhances the citrus flavor and adds a fresh zing.
- Citric acid (optional): Quarter teaspoon — adds a subtle tartness that balances the sweetness beautifully.
How to Make Dreamsicle Jelly Recipe
Step 1: Combine the Base Ingredients
Begin by pouring your orange juice, sugar, and fruit pectin into a large saucepan. Stir them together thoroughly to dissolve the pectin completely before heating. This ensures your jelly will set evenly without clumps, setting the foundation for that smooth, luscious texture.
Step 2: Bring to a Rolling Boil
Place the saucepan over medium-high heat and stir constantly. This prevents the mixture from sticking and burning as it heats. When it reaches a rolling boil—a boil that cannot be stirred away—maintain it for about 1 to 2 minutes to activate the pectin fully and start thickening your jelly.
Step 3: Add the Flavor Enhancers
After boiling, remove the saucepan from heat and stir in the vanilla extract. This little addition transforms the jelly, giving it that creamy, dreamy flavor reminiscent of your favorite childhood treat. If you’re using lemon juice or citric acid, add them now—these will brighten the citrus notes and sharpen the overall flavor profile.
Step 4: Check the Jelly’s Set
To make sure your jelly has the perfect set, spoon a bit onto a cold plate and let it cool for a minute. Run your finger through the jelly; if it wrinkles and holds its shape, you’re all set to jar your creation. This simple test saves you any disappointment later and guarantees delicious results.
Step 5: Jar and Cool
Pour the hot jelly into sterilized jars, leaving just a little space at the top to allow for expansion. Seal the jars tightly while the jelly is still hot to create a good vacuum seal. Then, let them cool completely at room temperature before moving them to the fridge for at least 12 hours. This resting period allows the flavors to meld beautifully and the jelly to fully set.
How to Serve Dreamsicle Jelly Recipe
Garnishes
Adding a fresh garnish can elevate your Dreamsicle Jelly experience tremendously. Imagine a thin twist of orange peel or a sprinkle of finely chopped fresh mint leaves—it adds a pop of color and a hint of complexity to each bite, perfect for serving on toast or alongside cheese plates.
Side Dishes
This jelly pairs wonderfully with simple breakfasts like warm buttered toast, soft cream cheeses, or even spread on fluffy pancakes or waffles. It’s also a surprisingly delightful companion to vanilla ice cream or yogurt, amplifying the cream-orange flavor combo that dreams are made of.
Creative Ways to Present
For a fun serving idea, try spooning the Dreamsicle Jelly onto mini tart shells topped with a dollop of whipped cream for a quick dessert. Alternatively, drizzle it over a cheesecake or swirl it into homemade salad dressings for an unexpected citrus twist. These creative presentations will wow your friends and family, adding delight to every occasion.
Make Ahead and Storage
Storing Leftovers
If you find yourself with extra jars of this luscious jelly, no worries at all. Store them in a cool, dark place like your pantry for up to a year unopened. Once opened, keep your Dreamsicle Jelly refrigerated and use it within three weeks to enjoy the freshest flavor and best texture.
Freezing
Freezing jelly isn’t usually recommended because it can affect the texture, but if you need to, transfer the jelly into airtight, freezer-safe containers. Thaw it gradually in the fridge, stir gently before use, and use within a month for the best results.
Reheating
Typically, reheating jelly isn’t necessary since it’s served cold or at room temperature. However, if you want to warm it slightly to spread on toast more easily, do so gently in a microwave or on the stove over low heat—just be careful not to boil it again, which can change the texture.
FAQs
Can I use store-bought orange juice for this recipe?
Absolutely! Freshly squeezed juice gives the brightest flavor, but good-quality bottled orange juice works well and makes the recipe even more convenient without sacrificing much taste.
What if I don’t have citric acid or lemon juice?
Don’t worry if you’re missing these—they’re optional. The jelly will still set beautifully and taste delicious. The lemon juice and citric acid just add a sharper balance to the sweetness if you want that extra zing.
How much jelly does this recipe make?
This recipe yields about 3 standard-sized jars, perfect for sharing or enjoying over a few weeks. It’s enough to feel generous but still fresh.
Can I adjust the sweetness?
You can reduce the sugar slightly if you prefer a tarter jelly, but remember the sugar also helps the jelly set properly. For best texture, don’t reduce it drastically without adjusting the pectin.
Is this jelly suitable for gifts?
Yes! The vibrant color and nostalgic flavor make this Dreamsicle Jelly Recipe a charming homemade gift. Just be sure to label your jars with the date and ingredients to delight your friends and family.
Final Thoughts
There’s something truly special about making your own jelly, especially one as bright and comforting as this Dreamsicle Jelly Recipe. It’s a beautiful way to bring a little sunshine into your kitchen and onto your table, whether you’re enjoying it at breakfast or adding a splash of sweetness to your desserts. I hope you find as much joy in making and sharing this recipe as I have—go ahead, dive in and let those classic Dreamsicle flavors brighten your day!
“`
Print
Dreamsicle Jelly Recipe
- Prep Time: 5 minutes
- Cook Time: 20 minutes
- Total Time: 25 minutes
- Yield: 3 half-pint jars (about 3 servings)
- Category: Preserves & Jams
- Method: Stovetop
- Cuisine: American
- Diet: Vegetarian
Description
Dreamsicle Jelly is a delightful, citrusy treat that captures the nostalgic flavors of the classic Dreamsicle ice cream in a vibrant orange jelly form. Made with fresh orange juice, sugar, fruit pectin, and a hint of vanilla, this jelly offers a perfect balance of sweet and tangy, ideal for spreading on toast, dolloping on desserts, or gifting to friends and family.
Ingredients
Jelly Ingredients
- 4 cups orange juice (freshly squeezed or bottled)
- 1 cup sugar
- 1 packet (1.75 oz) fruit pectin (such as Sure-Jell)
- 1/2 cup water
- 1 tsp vanilla extract
- 1 tbsp lemon juice (optional, to enhance citrus flavor)
- 1/4 tsp citric acid (optional, for extra tartness)
Instructions
- Combine Ingredients: In a large saucepan, combine the orange juice, sugar, and fruit pectin. Stir thoroughly to help dissolve the pectin evenly.
- Boil the Mixture: Place the saucepan over medium-high heat and bring the mixture to a boil, stirring constantly to prevent any burning or sticking to the bottom.
- Cook the Jelly: Once the mixture reaches a rolling boil, continue cooking it for 1-2 minutes to activate the pectin and achieve the right consistency.
- Add Flavorings: Remove from heat and stir in the vanilla extract. If using, add the lemon juice and citric acid now to enhance and balance the citrus flavor.
- Test Jelly Set: Spoon some jelly onto a cold plate and let it cool for a minute. Run your finger through it; if it wrinkles and holds shape, it is ready.
- Jar the Jelly: Pour the hot jelly carefully into sterilized jars, leaving about 1/4-inch headspace at the top. Seal with lids immediately while hot to ensure proper preservation.
- Cool and Store: Allow the jars to cool completely at room temperature, then refrigerate for at least 12 hours before serving to let the jelly fully set.
Notes
- For best flavor, use freshly squeezed orange juice; bottled juice works in a pinch but may affect the final taste.
- The optional lemon juice and citric acid add brightness and help with jelly setting but can be omitted if preferred.
- Ensure jars are properly sterilized to prevent spoilage and extend shelf life.
- This jelly is best stored refrigerated and consumed within a few weeks for optimal freshness.
- Test the jelly set carefully; if it’s too runny, you can re-boil with a little more pectin following package instructions.
