If you are on the lookout for a dessert that balances rich, velvety texture with a caramelized, slightly smoky top, then this Creamy Burnt Basque Cheesecake Recipe is going to become your new favorite indulgence. Combining simple ingredients into a luscious, custardy center with a burnt crust that adds a wonderfully deep flavor, this cheesecake stands apart from the traditional variety. Whether you’re hosting a special occasion or craving a decadent treat, its effortless preparation and unique charm will have everyone asking for seconds.
Ingredients You’ll Need
Each ingredient in this Creamy Burnt Basque Cheesecake Recipe plays a key role in creating its silky texture, perfect sweetness, and that signature burnt top. The ingredient list is straightforward but essential to capture the authentic flavor and consistency.
- Cream cheese (2 pounds, softened): The star of the cheesecake, providing richness and a smooth base for the batter.
- Granulated sugar (1 1/4 cups): Adds balanced sweetness and helps with caramelization of the crust.
- Vanilla extract (1 teaspoon): Enhances the overall flavor with a subtle aromatic warmth.
- Salt (1/4 teaspoon): A small pinch to round out the sweetness and deepen the flavors.
- Large eggs (6): Bind the ingredients and contribute to the creamy, custard-like texture.
- Heavy cream (1 cup): Adds extra body and richness to keep the cheesecake ultra creamy.
- All-purpose flour (1/4 cup): Provides just enough structure without sacrificing tenderness.
How to Make Creamy Burnt Basque Cheesecake Recipe
Step 1: Prep Your Oven and Pan
Preheat your oven to 400°F (200°C) to get it hot enough for that trademark burnt top. Line a 9-inch springform pan with parchment paper, letting the paper overhang the edges for easy removal later. This step is simple but crucial for a clean release and perfect shape.
Step 2: Beat the Cream Cheese Until Smooth
In a large mixing bowl, beat your softened cream cheese until it’s wonderfully smooth with no lumps. This ensures your cheesecake will have that unrivaled creamy texture everyone loves.
Step 3: Add Sugar, Vanilla, and Salt
Mix in the granulated sugar, vanilla extract, and salt. These ingredients not only provide sweetness but also deepen the flavor profile, making each bite more satisfying.
Step 4: Incorporate the Eggs One at a Time
Add the eggs individually, mixing well after each addition. This technique helps your batter stay perfectly emulsified and gives the cheesecake a gentle lift and creaminess.
Step 5: Stir in Heavy Cream and Flour
Gently fold in the heavy cream and sifted flour until everything is just combined. The heavy cream adds silkiness, while the flour ensures the cheesecake sets with a delicate structure without becoming dense.
Step 6: Bake to Perfection
Pour the batter into your prepared springform pan and place it in the oven. Bake for 50 to 60 minutes until the top achieves a deep golden brown with some darkened spots—the unmistakable burned look—while the center remains slightly jiggly. This contrast creates the unique experience of this cheesecake.
Step 7: Cool and Chill
Once baked, let the cheesecake cool at room temperature for a short while before refrigerating for at least 4 hours or overnight. Chilling solidifies the texture and intensifies the flavors, making it easier to slice and enjoy.
Step 8: Slice and Serve
Carefully remove the cheesecake from the springform pan using the parchment paper edges. Then slice into generous wedges, ready to delight your guests or satisfy your sweet tooth.
How to Serve Creamy Burnt Basque Cheesecake Recipe
Garnishes
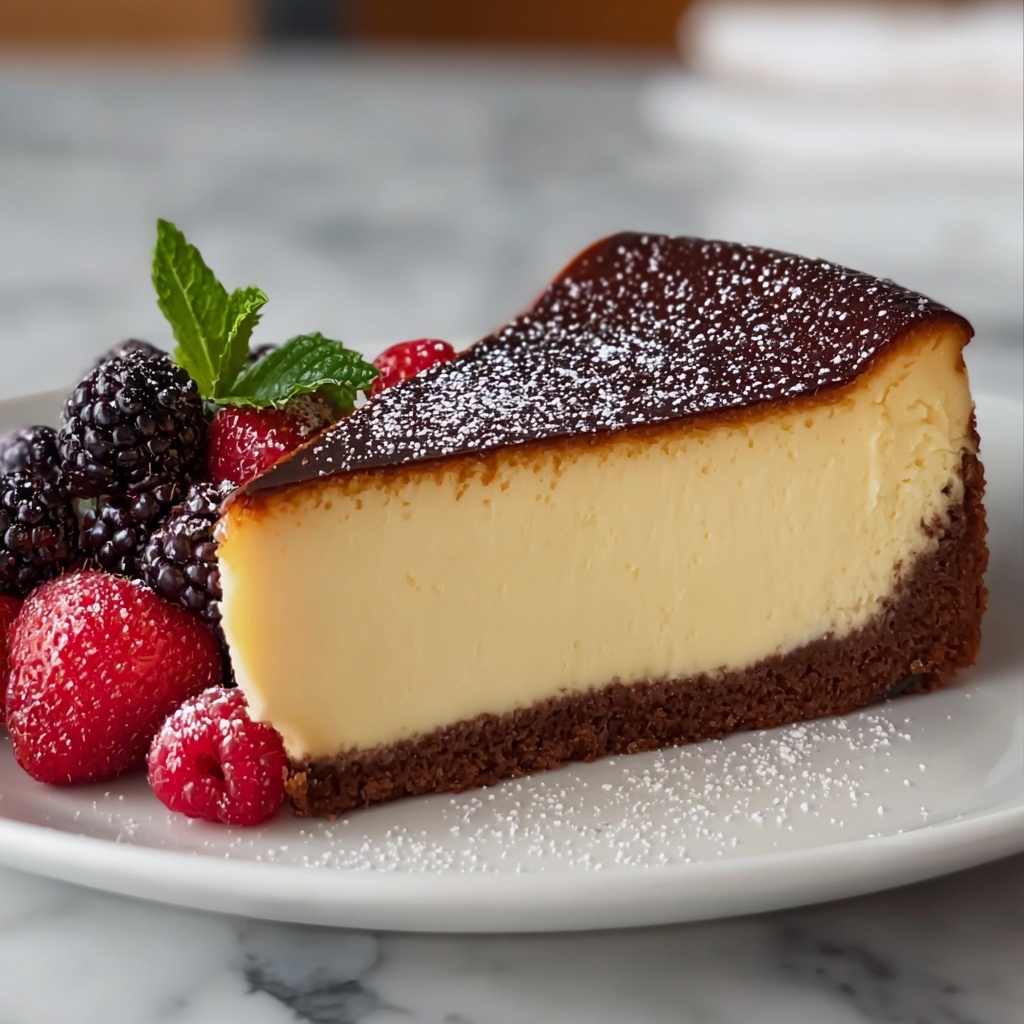
While the Creamy Burnt Basque Cheesecake Recipe is stunning on its own, simple garnishes like fresh berries, a dusting of powdered sugar, or a drizzle of honey can accentuate its flavors without overshadowing the burnt caramel notes. A sprig of mint adds a refreshing contrast and beautiful color.
Side Dishes
Serve this cheesecake alongside a vibrant fruit compote or a scoop of vanilla bean ice cream to complement its richness. For a cozy comfort dessert, pairing it with a cup of strong espresso or aromatic black tea works wonderfully.
Creative Ways to Present
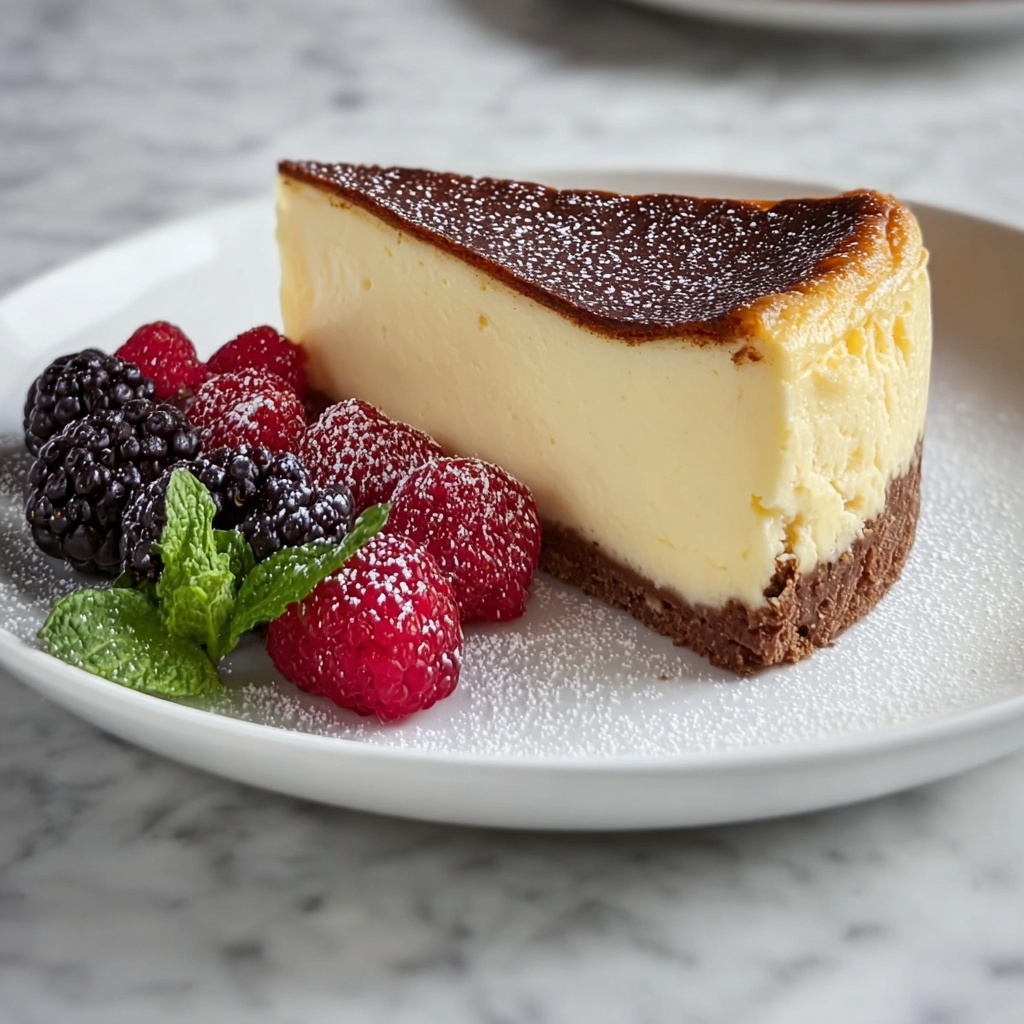
For a memorable presentation, serve slices on rustic wooden boards or colorful plates to highlight the burnt exterior. You can also cut the cheesecake into smaller square bites for parties, garnished with edible flowers or a sprinkle of crushed nuts for texture and visual appeal.
Make Ahead and Storage
Storing Leftovers
Cover any leftover cheesecake tightly with plastic wrap or store in an airtight container and keep it refrigerated. The flavors continue to develop after resting, so leftovers can be even more delicious the next day.
Freezing
If you want to save the cheesecake for longer, wrap it securely in plastic wrap and then aluminum foil before placing it in the freezer. When frozen properly, it stays fresh for up to one month without losing its creamy texture.
Reheating
Though typically enjoyed chilled, if you prefer the cheesecake slightly warmed, allow it to come to room temperature first, then gently warm a slice in the microwave for 10-15 seconds. This softens it just enough without melting the beautiful burnt top.
FAQs
Can I use a different type of cheese instead of cream cheese?
Cream cheese is essential for achieving the classic creamy texture of this Basque cheesecake. Substituting with other cheeses like mascarpone or ricotta will change the texture and might not produce the same signature result.
Why is the top of the cheesecake burnt?
The burnt top is the defining feature of a Basque cheesecake. Baking at a high temperature creates a deeply caramelized, slightly smoky crust that contrasts beautifully with the silky inside, adding complexity and character to the dessert.
Do I need a water bath for this cheesecake?
No water bath is needed for this Creamy Burnt Basque Cheesecake Recipe. Its high baking temperature and the parchment lining allow it to develop that perfect burnt top and creamy interior without the extra moisture from a water bath.
How do I know when the cheesecake is done baking?
The cheesecake is done when the top is deeply golden brown with darker burnt spots and the center still jiggles slightly when you gently shake the pan. It will firm up completely after chilling.
Can I make this cheesecake gluten-free?
Yes, you can substitute the all-purpose flour with a gluten-free flour blend to make the cheesecake gluten-free. Just make sure the blend you use has similar binding properties to ensure the cheesecake sets properly.
Final Thoughts
This Creamy Burnt Basque Cheesecake Recipe is truly a showstopper with its perfect blend of simplicity, decadence, and that unforgettable burnt finish. It’s a dessert that invites you to indulge time and time again, with its custardy texture and caramelized top that makes every bite a celebration. I can’t wait for you to try it and share this delicious experience with your loved ones!
Print
Creamy Burnt Basque Cheesecake Recipe
- Prep Time: 15 minutes
- Cook Time: 55 minutes
- Total Time: 4 hours 10 minutes
- Yield: 8 servings
- Category: Dessert
- Method: Baking
- Cuisine: Basque, Spanish
Description
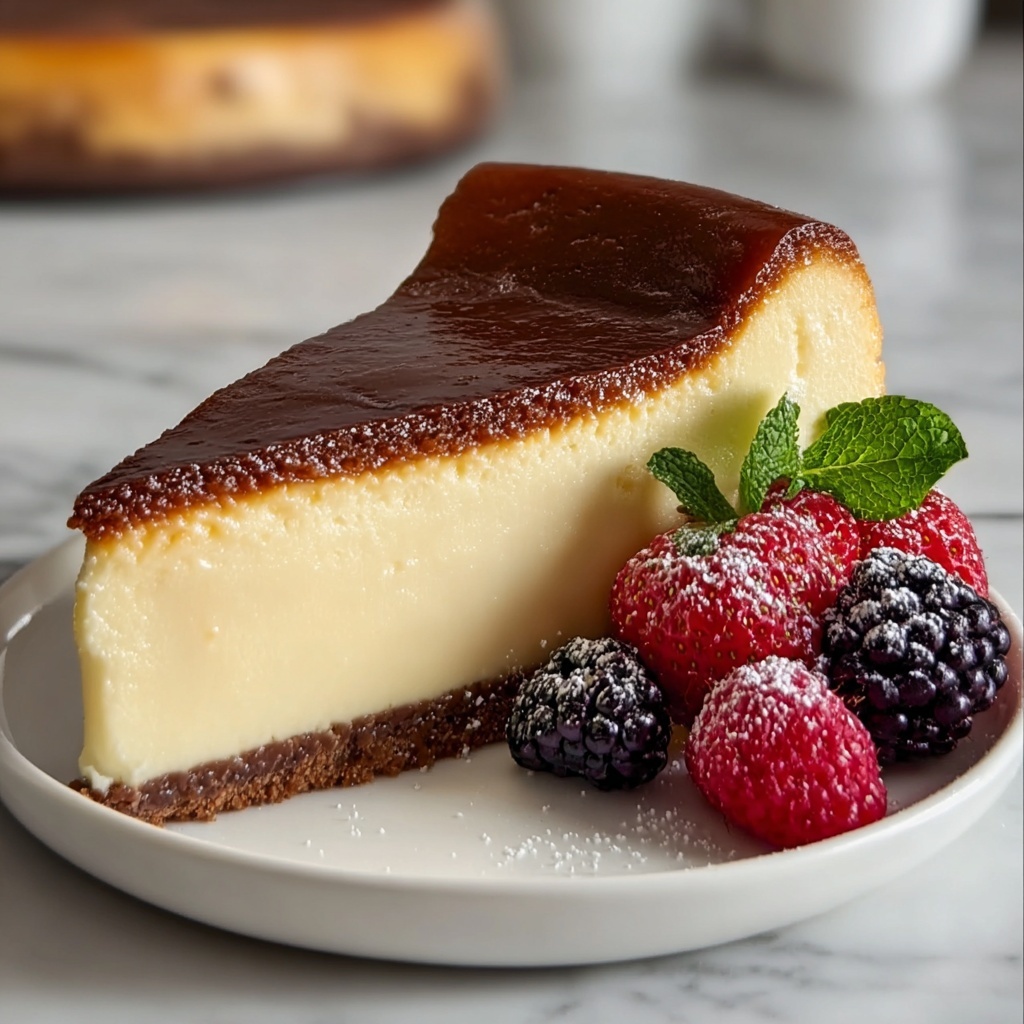
This Creamy Burnt Basque Cheesecake features a luscious, velvety interior with a signature deeply caramelized and slightly burnt top that adds a rich depth of flavor. Originating from the Basque region of Spain, this no-crust cheesecake is simple to prepare, using minimal ingredients and resulting in a delectably creamy texture that melts in your mouth. Perfect for a sophisticated dessert or special occasion, its unique burnt exterior contrasts beautifully with the smooth, creamy filling.
Ingredients
Cheesecake Ingredients
- 2 pounds cream cheese, softened
- 1 1/4 cups granulated sugar
- 1 teaspoon vanilla extract
- 1/4 teaspoon salt
- 6 large eggs
- 1 cup heavy cream
- 1/4 cup all-purpose flour
Instructions
- Preheat Oven: Preheat your oven to 400°F (200°C) ensuring it reaches the right temperature for baking.
- Prepare Pan: Line a 9-inch springform pan with parchment paper, allowing the paper to hang over the edges for easy removal later.
- Beat Cream Cheese: In a large mixing bowl, beat the cream cheese thoroughly until smooth and creamy with no lumps remaining.
- Add Sugar and Flavorings: Add granulated sugar, vanilla extract, and salt to the cream cheese mixture. Mix until well combined and smooth.
- Incorporate Eggs: Add the eggs one at a time, beating well after each addition to ensure they’re fully incorporated without overmixing.
- Mix Cream and Flour: Stir in the heavy cream and all-purpose flour until the batter is completely smooth and homogeneous.
- Pour Batter: Pour the prepared batter into the springform pan lined with parchment paper, smoothing the top gently.
- Bake: Bake in the preheated oven for 50-60 minutes or until the surface is richly golden to dark brown (the characteristic ‘burnt’ top) and the center remains slightly jiggly.
- Cool: Remove the cheesecake from the oven and let it cool at room temperature slightly to set before transferring to the refrigerator.
- Chill: Refrigerate the cheesecake for at least 4 hours, preferably overnight, to fully develop its creamy texture.
- Serve: Carefully remove the cheesecake from the springform pan using the parchment paper overhang, slice, and serve chilled.
Notes
- Ensure the cream cheese is fully softened before mixing for a lump-free batter.
- Do not overbake; the cheesecake center should jiggle slightly to ensure it remains creamy.
- Use full-fat cream cheese and heavy cream for the best creamy texture and flavor.
- Allow the parchment paper to extend well above the pan to easily lift the cheesecake out after baking.
- The burnt top is intentional and adds a signature slightly bitter depth; don’t remove it.
- Chilling time is key for texture and flavor development; overnight refrigeration is recommended.


