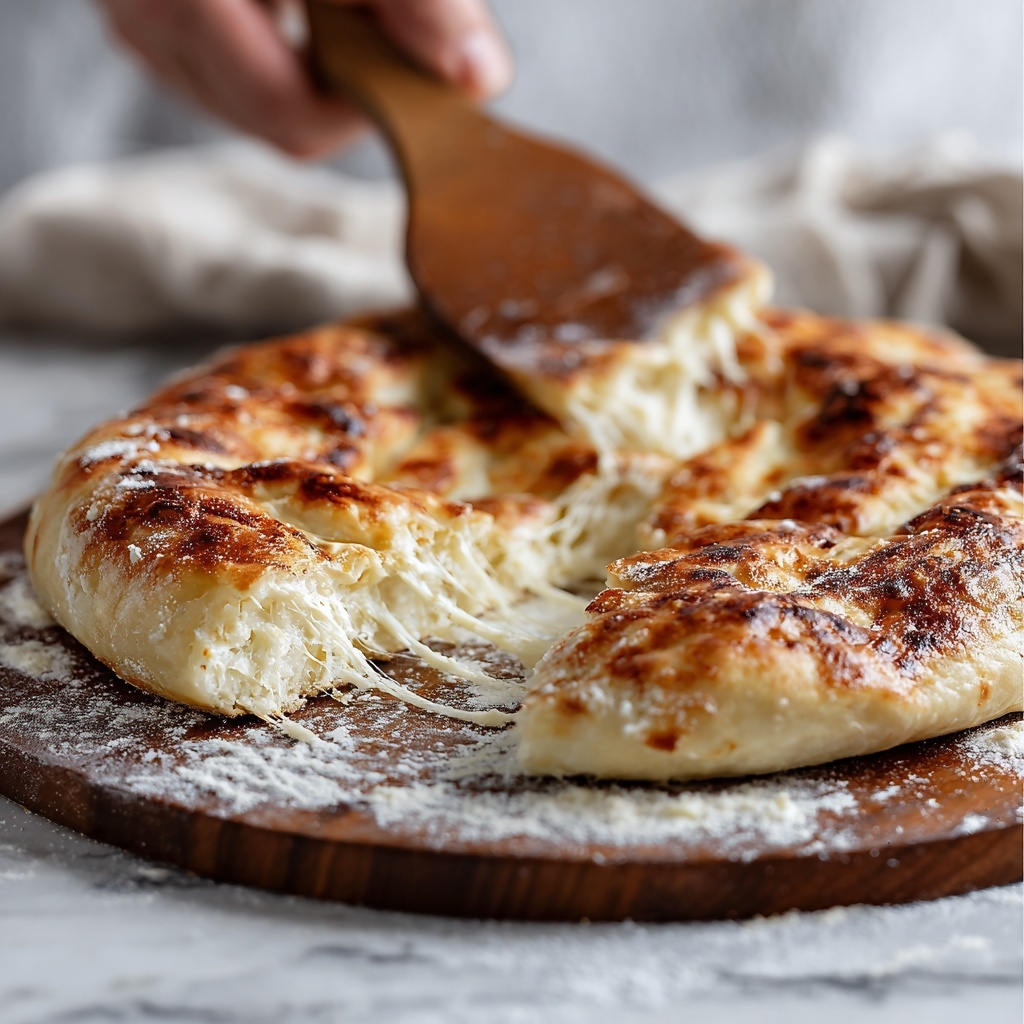
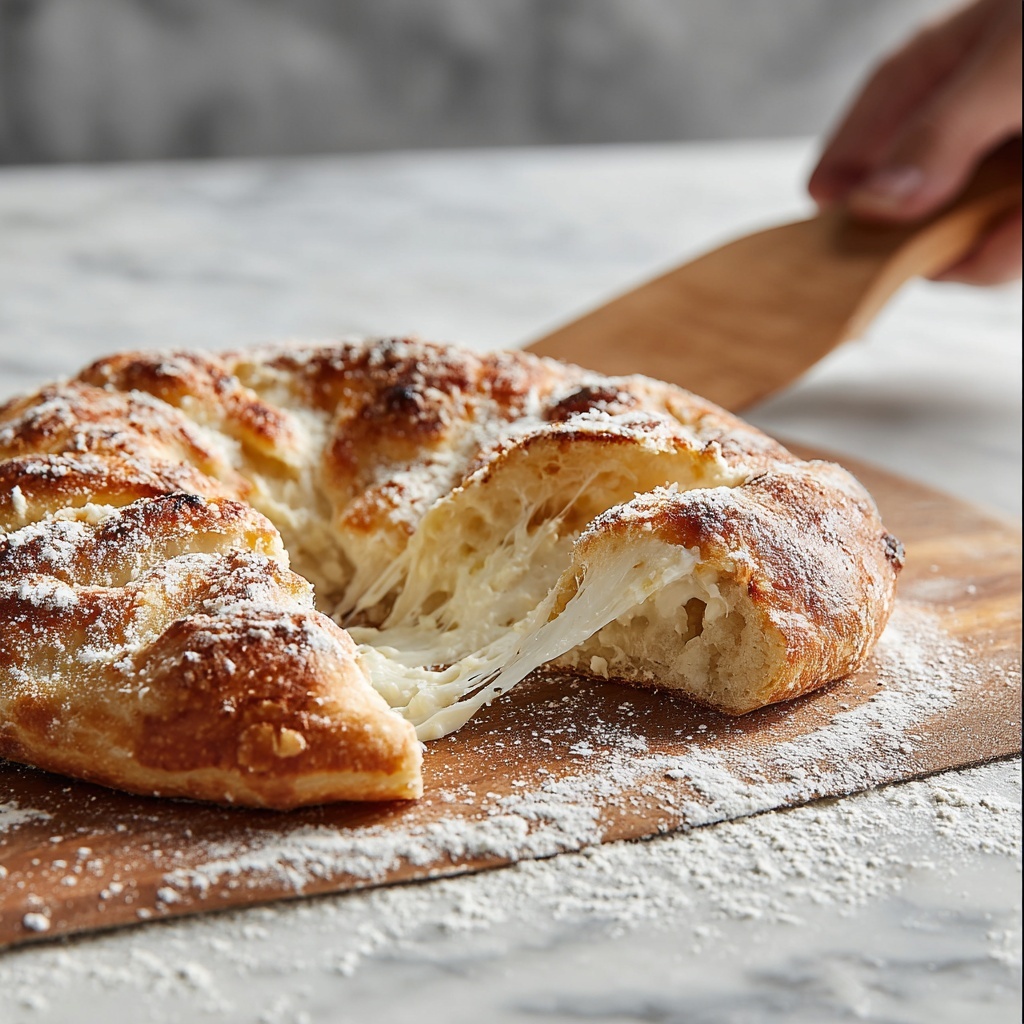
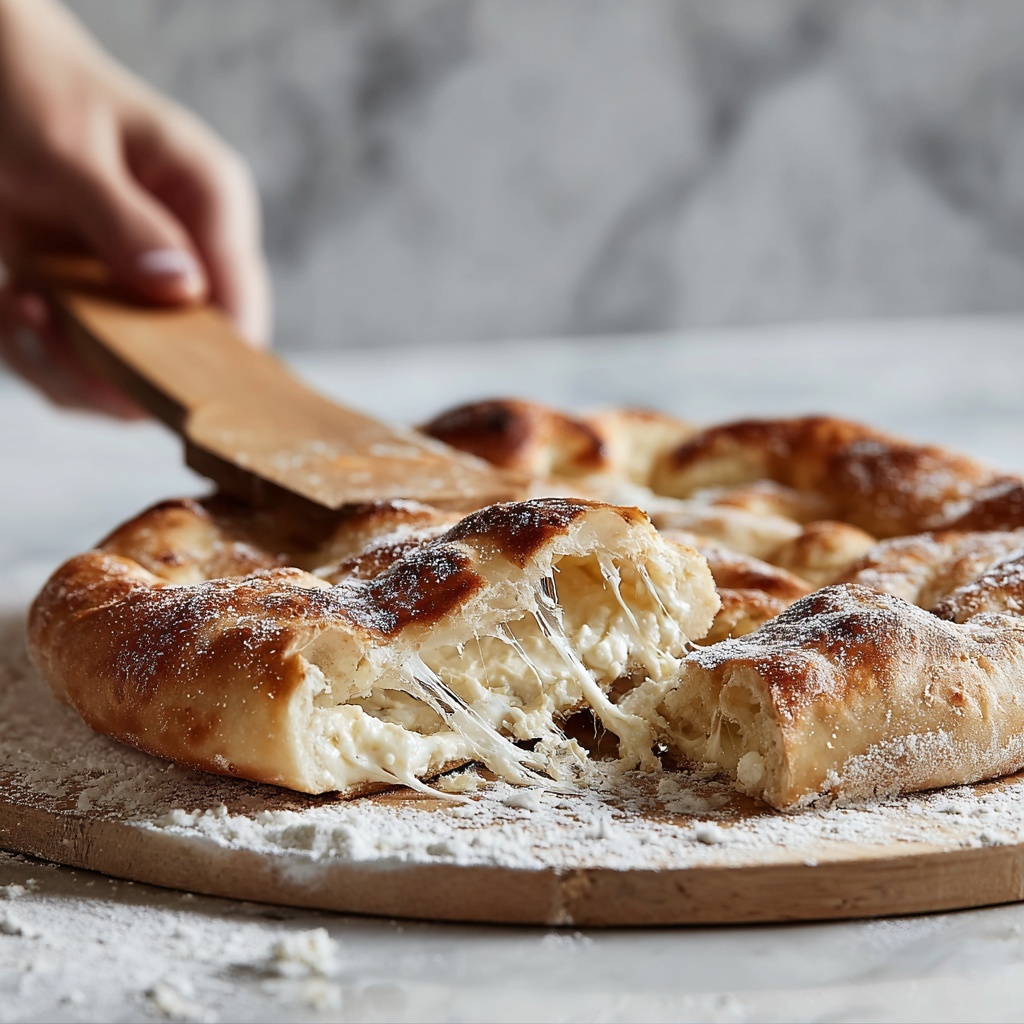
If you’ve ever dreamed of achieving that perfect pizzeria crust at home, then this Artisan Pizza Dough (Crispy, Chewy, Bubbly Crust) Recipe is your golden ticket. It’s a masterclass in simplicity and technique that results in a dough boasting a crackling crisp exterior, a satisfyingly chewy bite, and those gorgeous airy bubbles that make every slice a joy to eat. Whether you’re a seasoned home cook or just dipping your toes into pizza making, this recipe unlocks the secrets to artisan-quality crust that will have friends and family asking for more.
Ingredients You’ll Need
Creating this dough requires only a handful of ingredients, each playing a crucial role in crafting that ideal texture and flavor. From the robust bread flour that builds structure to the delicate balance of salt and yeast that breathes life into the dough, these staples come together effortlessly to pave the way for delicious pizza nights.
- Bread Flour (500 grams): Provides the high protein content necessary for strong gluten development which yields that chewy, elastic texture.
- Water (375 grams, room temperature): Hydrates the dough and activates the yeast, contributing to a tender crumb and crisp crust after baking.
- Fine Sea Salt (2 teaspoons): Enhances flavor and regulates yeast activity to ensure a balanced rise and taste.
- Instant Yeast (1/2 teaspoon): Creates the airy bubbles in the dough that give pizza that irresistible lightness and rise.
- Olive Oil (1 tablespoon): Used for coating, it prevents sticking while adding a subtle richness and glossy finish.
How to Make Artisan Pizza Dough (Crispy, Chewy, Bubbly Crust) Recipe
Step 1: Mix the Dough
Begin by combining the bread flour and instant yeast in a large bowl. Slowly pour in the water, stirring until no dry flour remains. Don’t worry if the dough feels sticky and shaggy at this stage — that tackiness is a good sign that your hydration levels are just right for the perfect crust.
Step 2: Autolyse
Once mixed, cover the dough with a damp towel and let it rest for 30 minutes. This allows the flour to fully absorb the water, improving gluten development and flavor without any extra kneading effort.
Step 3: Add Salt and Fold
After the autolyse, sprinkle the fine sea salt evenly over the dough. Fold the dough over itself multiple times until it feels smooth and slightly less sticky. This folding process helps to distribute the salt and build structure gently.
Step 4: First Rise
Cover the bowl and let your dough rise at room temperature for 2 to 3 hours or until it has doubled in size. This slow rise deepens the flavor and creates the foundation for those signature airy bubbles.
Step 5: Stretch and Fold During Rise
Every 30 minutes during this initial rise, perform a “stretch and fold”: reach under the dough, stretch it gently, and fold it back over itself. This technique encourages gluten strength and an open, airy crumb that you’ll love biting into.
Step 6: Cold Fermentation
After the first rise, cover the dough and refrigerate it for 24 to 72 hours. This cold fermentation further develops flavor complexity and improves the dough’s handling when shaping later.
Step 7: Shape the Dough
Once chilled, bring the dough back to room temperature and divide it into portion-sized balls. Let these rest for 30 minutes to relax the gluten, making them much easier to stretch without tearing.
Step 8: Preheat Oven
Preheat your oven to at least 500°F (260°C) with a pizza stone or steel inside. The intense heat is critical for achieving that blistered, crispy crust while keeping the inside chewy and soft.
Step 9: Stretch and Bake
Gently stretch the dough balls into beautiful pizza rounds without using a rolling pin to preserve the air bubbles. Add your favorite toppings, then transfer to the preheated stone and bake for 7 to 10 minutes until the crust is bubbly and golden—pure bliss!
How to Serve Artisan Pizza Dough (Crispy, Chewy, Bubbly Crust) Recipe
Garnishes
Fresh herbs like basil or oregano add a fragrant freshness that highlights the rustic charm of this dough. A drizzle of high-quality olive oil or a sprinkle of flaky sea salt just before serving can elevate the flavor even more.
Side Dishes
Serve your pizza alongside a crisp green salad dressed in lemon vinaigrette or a bowl of roasted vegetables. These lighter sides balance the richness of the crust and cheese for a well-rounded meal.
Creative Ways to Present
Try turning your artisan pizza dough into mini personal pizzas, calzones, or even flatbread appetizers topped with seasonal ingredients. The versatility of this recipe lets you experiment and impress at any gathering.
Make Ahead and Storage
Storing Leftovers
If you have leftover pizza dough, keep it tightly wrapped in the refrigerator for up to 48 hours. This preserves its freshness and lets flavors continue to develop, though it’s best baked within a couple of days.
Freezing
For longer storage, portion your dough balls and freeze them in airtight bags for up to three months. Thaw in the refrigerator overnight before bringing them to room temperature prior to shaping and baking.
Reheating
To reheat baked pizza, warm it in a hot oven or on a skillet to maintain that delightful crispness and chewy texture, avoiding the sogginess that microwaves can cause.
FAQs
Can I use all-purpose flour instead of bread flour?
While all-purpose flour can work in a pinch, bread flour is preferred for this recipe due to its higher protein content, which is key to building the chewy, sturdy structure of the crust.
Why is the dough sticky? Am I doing something wrong?
A sticky, shaggy dough is completely normal for this recipe and indicates the proper hydration that creates a light, bubbly crust. Resist the urge to add extra flour and instead use folding techniques to manage stickiness.
How important is the cold fermentation step?
Cold fermentation is crucial for flavor development and dough texture. It allows the yeast to work slowly, deepening the dough’s complexity and enhancing that artisan quality in your pizza crust.
Can I make this dough without a pizza stone or steel?
Yes, though a stone or steel helps achieve an evenly crisp and blistered crust by retaining high heat. If you don’t have one, use a preheated heavy baking sheet, but your results may vary slightly.
How do I know when the pizza is done baking?
Look for a crust that is golden brown with dark bubbly spots and toppings that are sizzling. The edges should be crisp but not burned, and the bottom sturdy but not overly crunchy.
Final Thoughts
There’s something truly magical about working with this Artisan Pizza Dough (Crispy, Chewy, Bubbly Crust) Recipe at home. It’s not just about the end result—a perfectly baked pizza—but the joy found in the process of mixing, folding, and watching the dough transform. Give it a try, and you’ll find your homemade pizza game soaring to delicious new heights.
Print
Artisan Pizza Dough (Crispy, Chewy, Bubbly Crust) Recipe
- Prep Time: 40 minutes (includes mixing, autolyse, shaping, and resting times excluding fermentation)
- Cook Time: 7-10 minutes
- Total Time: Approximately 27 to 75 hours (includes 2-3 hours first rise and 24-72 hours cold fermentation)
- Yield: 2 servings (2 medium-sized pizzas)
- Category: Baking
- Method: Baking
- Cuisine: Italian
Description
This Artisan Pizza Dough recipe yields a crispy, chewy, and bubbly crust perfect for homemade pizzas. It features a simple dough made with bread flour, water, salt, and instant yeast, incorporating techniques like autolyse, stretch and fold, cold fermentation, and high-temperature baking on a pizza stone or steel for the best texture and flavor.
Ingredients
Dry Ingredients
- 500 grams (about 4 cups) bread flour
- 2 teaspoons fine sea salt
- 2 grams (1/2 teaspoon) instant yeast
Wet Ingredients
- 375 grams (1 1/2 cups plus 1 tablespoon) water, room temperature
- 1 tablespoon olive oil (for coating)
Instructions
- Mix the Dough: In a large bowl, combine the bread flour and instant yeast. Gradually add the room temperature water while mixing until there is no dry flour left, forming a sticky and shaggy dough.
- Autolyse: Cover the dough with a damp towel and let it rest for 30 minutes to allow the flour to hydrate fully, which helps develop gluten and improves dough extensibility.
- Add Salt: Sprinkle the fine sea salt evenly over the dough. Fold the dough over itself repeatedly until the salt is incorporated and the dough becomes smooth.
- First Rise: Cover the dough and let it rise at room temperature for 2 to 3 hours until it doubles in size.
- Stretch and Fold: During the first rise, perform a series of stretch and folds every 30 minutes by stretching the dough and folding it onto itself. This strengthens the gluten network and improves dough structure.
- Cold Fermentation: After the first rise, cover the dough tightly and refrigerate it for 24 to 72 hours. This slow fermentation develops complex flavors and improves texture.
- Shape the Dough: Remove the dough from the refrigerator and let it come to room temperature. Divide it into portions and shape each into tight balls. Let the balls rest for 30 minutes to relax the gluten before stretching.
- Preheat Oven: Preheat your oven to 500°F (260°C) or higher, with a pizza stone or steel inside to ensure a hot baking surface for optimal crust development.
- Stretch and Bake: Stretch the rested dough balls into pizza shapes, add your favorite toppings, and bake on the preheated stone or steel for 7 to 10 minutes until the crust is bubbly and golden brown.
Notes
- Using a pizza stone or steel significantly improves crust texture by simulating a brick oven environment.
- Cold fermentation is key for flavor development; you can refrigerate dough up to 72 hours, but even 24 hours will improve taste and texture.
- If you don’t have instant yeast, you can substitute with active dry yeast, but activate it in water before mixing.
- Allowing the dough to come to room temperature before shaping makes it easier to stretch without tearing.
- For an even crisper crust, bake on the lowest rack of your oven.


