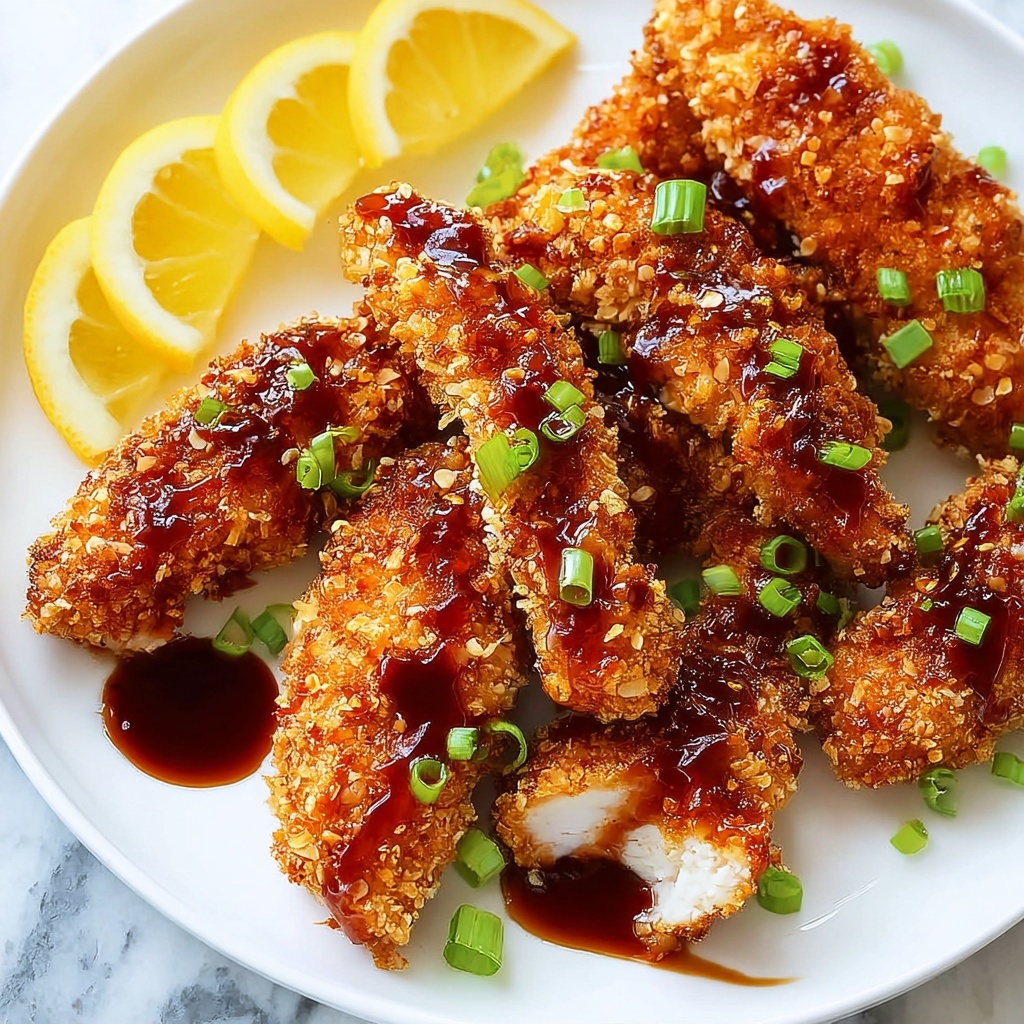
If you love dishes that perfectly balance sweet, spicy, and savory flavors, then this Asian Glazed Chicken Fingers Recipe is about to become your new favorite go-to comfort food. These golden, crispy chicken strips are generously coated in a sticky glaze that’s bursting with honey, soy, and just the right kick of sriracha and Chinese five-spice. It’s a fantastic dish that’s as fun to make as it is to eat, easy enough for weeknights yet fabulous for impressing friends at gatherings. Trust me, once you try this recipe, you’ll wonder how you ever lived without it!
Ingredients You’ll Need
The magic of this recipe lies in its simple but powerful ingredients, each handpicked to build layers of incredible flavor and texture. From the sweet honey to the aromatic five-spice, every component plays a vital role in making these chicken fingers irresistibly tasty and beautifully glazed.
- Honey: Adds natural sweetness and helps create that glossy, sticky finish on the glaze.
- Low-sodium soy sauce: Provides a savory depth without overpowering the other flavors.
- Sriracha sauce: Injects just the right amount of heat for balance.
- Chili flakes: Enhances the spicy kick subtly throughout the glaze.
- Chinese five-spice powder: Brings an aromatic warmth and complexity that’s uniquely Asian-inspired.
- Garlic powder: Adds a mellow garlic flavor that complements the glaze beautifully.
- Olive oil: Helps bring everything together and keeps the chicken moist.
- Rice vinegar: Provides a gentle tang to balance the sweetness.
- Salt and pepper: Essential for seasoning both the chicken and dredging ingredients.
- Boneless skinless chicken breasts: The star of the dish, sliced into perfect finger-sized strips.
- Buttermilk: Tenderizes the chicken and helps the coating stick like a dream.
- Panko breadcrumbs: Gives the chicken fingers a light, crispy crunch.
- All-purpose flour: Used for dredging, creating a base layer for the coating.
- Green onions (optional): Fresh garnish that adds a pop of color and mild onion flavor.
How to Make Asian Glazed Chicken Fingers Recipe
Step 1: Preheat and Make Glaze
Start by preheating your oven to 400°F (200°C) and lining a baking sheet with parchment paper to keep things mess-free. Next, whisk together all the glaze ingredients—honey, soy sauce, sriracha, chili flakes, five-spice powder, garlic powder, olive oil, rice vinegar, salt, and pepper—in a saucepan and set it aside. The glaze will come to life later as you simmer it down to that perfect thick consistency.
Step 2: Prep Chicken
Cut the chicken breasts into thin, finger-sized strips. This helps them cook evenly and creates the perfect shape for dipping and dipping again. Place these strips into a bowl with the buttermilk; this step is key for tender, juicy bites. Then prepare three shallow dishes: one with seasoned flour, one with the remaining buttermilk, and one with the seasoned breadcrumbs. This setup is your secret for crispy, flavorful chicken fingers that hold up beautifully after glazing.
Step 3: Dredge Chicken
One by one, dredge each chicken strip first in the flour, then dip it back into the buttermilk, and finally coat it thoroughly in the breadcrumbs. Make sure every piece is evenly coated for maximum crunch. Place the coated chicken strips onto your prepared baking sheet, giving them enough space to crisp nicely.
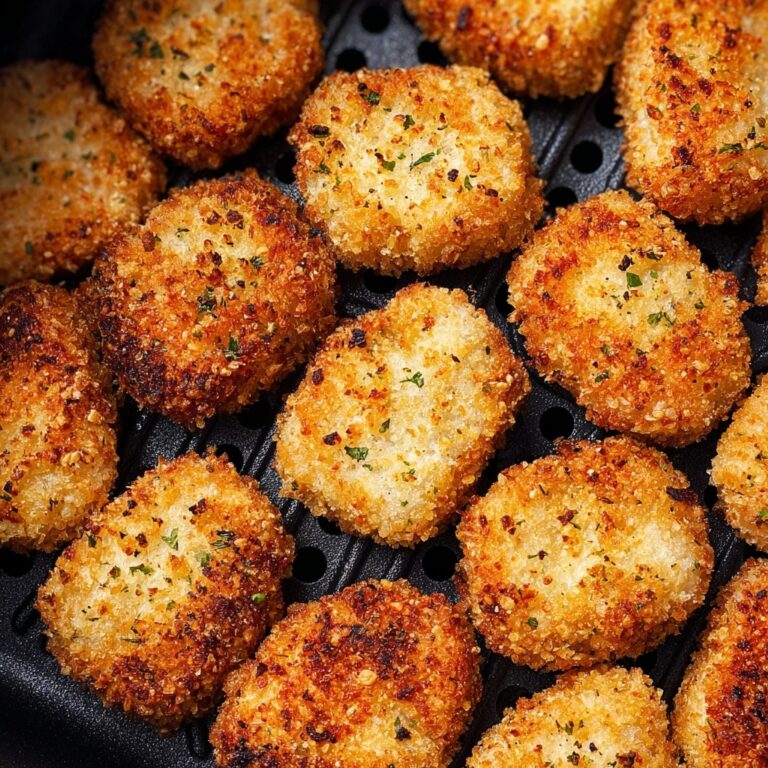
Step 4: Bake the Chicken Fingers
Bake the chicken fingers in your preheated oven for 30 to 45 minutes, until they turn golden brown and are cooked through. The combination of crispy breadcrumbs and juicy chicken inside will be just irresistible at this point. If you’re short on time or prefer a different texture, you can also fry the chicken fingers in hot vegetable oil until they’re beautifully golden and crispy.
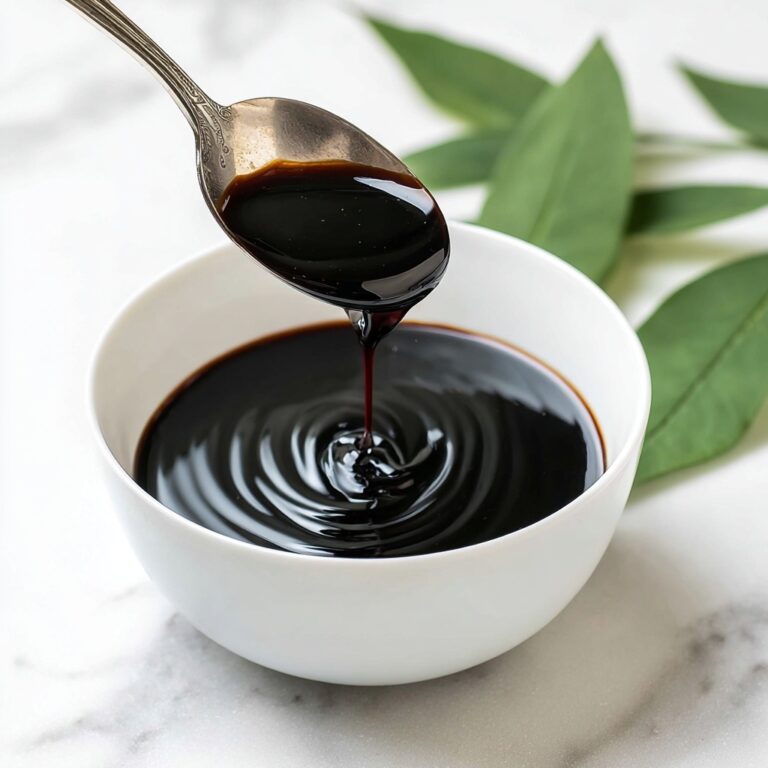
Step 5: Finish the Glaze
While the chicken cooks, bring your prepared glaze to a boil over medium-high heat. Then reduce the heat and let it simmer until it thickens and reduces by about half. This concentrated glaze will cling perfectly to the chicken, giving it its signature sticky, flavorful coating.
Step 6: Glaze and Serve
Once the chicken fingers are done baking or frying, drizzle the thickened glaze generously over each piece. If you like, sprinkle chopped green onions on top for a fresh burst of color and flavor. These glazed chicken fingers are now ready to wow your taste buds and anyone lucky enough to share them with you.
How to Serve Asian Glazed Chicken Fingers Recipe
Garnishes
For an extra touch of freshness and brightness, chopped green onions are the perfect garnish. Their mild oniony crunch contrasts beautifully with the sticky, sweet glaze and crunchy coating. You can also add a sprinkle of toasted sesame seeds for a nutty twist that pairs brilliantly with the Asian flavors.
Side Dishes
Asian Glazed Chicken Fingers are incredibly versatile when it comes to sides. Serve them alongside jasmine rice or steamed sticky rice to soak up any leftover glaze. A simple cucumber salad with a light sesame dressing also adds refreshing coolness to balance the richness. For a heartier pairing, try sautéed bok choy or garlic green beans—they’ll bring vibrant color and a touch of green to your plate.
Creative Ways to Present
Want to impress your guests or just make your meal extra fun? Serve your chicken fingers on a platter lined with banana leaves or parchment paper, scattered with fresh herbs like cilantro or mint for a fragrant lift. Alternatively, thread the glazed chicken fingers onto skewers for easy finger food at parties. Pairing them with small bowls of extra glaze or a complementary dipping sauce, like creamy sriracha mayo, makes for a playful, interactive dining experience.
Make Ahead and Storage
Storing Leftovers
These chicken fingers keep well in an airtight container in the refrigerator for up to three days. Store them separately from the glaze if you want to maintain maximum crispiness, and then re-glaze just before serving to refresh those fantastic flavors.
Freezing
If you want to make a batch in advance, these chicken fingers freeze beautifully. Freeze them in a single layer on a baking sheet first, then transfer to a freezer-safe container or bag. They’ll keep for up to two months. When you’re ready, simply thaw overnight in the refrigerator before reheating and glazing.
Reheating
To reheat, preheat your oven to 350°F (175°C) and place the chicken fingers on a baking sheet. Warm them for about 10-15 minutes until heated through and the coating turns crispy again. Reapply the glaze after reheating to revive that mouthwatering sticky finish.
FAQs
Can I use chicken thighs instead of breasts?
Yes! Chicken thighs will give you a juicier, more flavorful bite, though they may take a few extra minutes to cook through. Just make sure to slice them thinly for even cooking.
Is it possible to make this recipe gluten-free?
Absolutely. Swap the all-purpose flour and panko breadcrumbs for gluten-free alternatives, and double-check your soy sauce is gluten-free to keep this Asian Glazed Chicken Fingers Recipe safe for gluten-sensitive diners.
How spicy is this dish?
The heat level is moderate thanks to the sriracha and chili flakes, but you can easily adjust these amounts to make it milder or hotter depending on your personal preference.
Can I prepare the chicken fingers without baking?
Yes, frying the chicken fingers in hot vegetable oil is a great alternative that yields an extra crunchy exterior. Just keep an eye on them to avoid overcooking.
What can I do with leftover glaze?
Leftover glaze makes a fantastic dipping sauce for vegetables, spring rolls, or even drizzled over rice bowls. Just store it in a sealed jar in the fridge for up to a week.
Final Thoughts
There’s nothing quite like the soul-satisfying crunch and sticky-sweet punch of the Asian Glazed Chicken Fingers Recipe to brighten up your weeknight dinners or add flair to your next gathering. With its straightforward ingredients and easy steps, this recipe invites you to create a dish that feels homemade and special every time. So grab your apron and get ready to delight your taste buds — you’re going to love every bite!
Print
Asian Glazed Chicken Fingers Recipe
- Prep Time: 20 minutes
- Cook Time: 40 minutes
- Total Time: 1 hour
- Yield: 6 servings
- Category: Appetizer
- Method: Baking
- Cuisine: Asian
Description
Delight in these crispy Asian Glazed Chicken Fingers with a perfect balance of sweet, spicy, and savory flavors. Tender chicken strips are coated in a seasoned breadcrumb crust and baked to golden perfection, then drizzled with a flavorful honey-soy glaze featuring sriracha and Chinese five-spice. An irresistible appetizer or main dish that’s sure to impress.
Ingredients
Glaze Ingredients
- ¼ cup honey
- ½ cup low-sodium soy sauce
- 1 teaspoon sriracha sauce
- ½ teaspoon chili flakes
- ½ teaspoon Chinese five-spice powder
- ½ teaspoon garlic powder
- 1 tablespoon olive oil
- 1 tablespoon rice vinegar
- Salt and pepper, to taste
Chicken Coating Ingredients
- 2 pounds boneless, skinless chicken breasts, cut into thin strips
- 1 cup buttermilk
- 2 cups breadcrumbs (Panko recommended)
- 1–2 cups all-purpose flour, for dredging
- Salt and pepper, to taste
Garnish
- Green onions, chopped, for garnish (optional)
Instructions
- Preheat and Prepare Glaze: Preheat your oven to 400°F (200°C) and line a baking sheet with parchment paper. In a medium saucepan, whisk together the honey, low-sodium soy sauce, sriracha sauce, chili flakes, Chinese five-spice powder, garlic powder, olive oil, and rice vinegar. Set this mixture aside for now.
- Prepare the Chicken: Cut the boneless, skinless chicken breasts into thin strips. Place the chicken strips in a bowl and add the buttermilk, ensuring they are well coated. This will tenderize the chicken and help the coating stick.
- Set Up Dredging Stations: Arrange three shallow dishes: one with all-purpose flour seasoned with salt and pepper, one with the remaining buttermilk, and one with seasoned breadcrumbs (Panko recommended). This setup will allow you to coat the chicken strips thoroughly.
- Dredge the Chicken: Take each chicken strip and coat it first in the flour, then dip it into the buttermilk, and finally dredge it thoroughly in the breadcrumbs. Place each coated strip onto the prepared baking sheet, spacing them adequately.
- Bake the Chicken: Bake the chicken strips in the preheated oven for 30 to 45 minutes, or until they turn golden brown and are cooked through. The baking ensures a crispy texture without excess oil.
- Alternative Frying Method (Optional): For an extra crispy exterior, you may fry the chicken strips in hot vegetable oil until golden brown instead of baking. Drain the fried chicken on paper towels to remove excess oil.
- Reduce the Glaze: While the chicken cooks, place the pre-prepared glaze mixture on medium-high heat. Bring it to a boil, then reduce the heat and simmer until the glaze thickens and reduces by half. This step intensifies the flavors and helps the glaze coat the chicken better.
- Glaze and Serve: Once the chicken is cooked, drizzle the thickened glaze generously over the chicken fingers. Garnish with chopped green onions if desired for a fresh, vibrant finish. Serve immediately for best taste and texture.
Notes
- You can adjust the sriracha amount to control the spice level in the glaze.
- Panko breadcrumbs provide a superior crispy texture, but regular breadcrumbs can be used as a substitute.
- Make sure not to overcrowd the baking sheet to allow even cooking and crisping.
- If using the frying method, use a thermometer to maintain oil temperature around 350°F (175°C) for optimal crispiness.
- Leftover glazed chicken fingers can be refrigerated and reheated in the oven to retain crispness.

