“`html
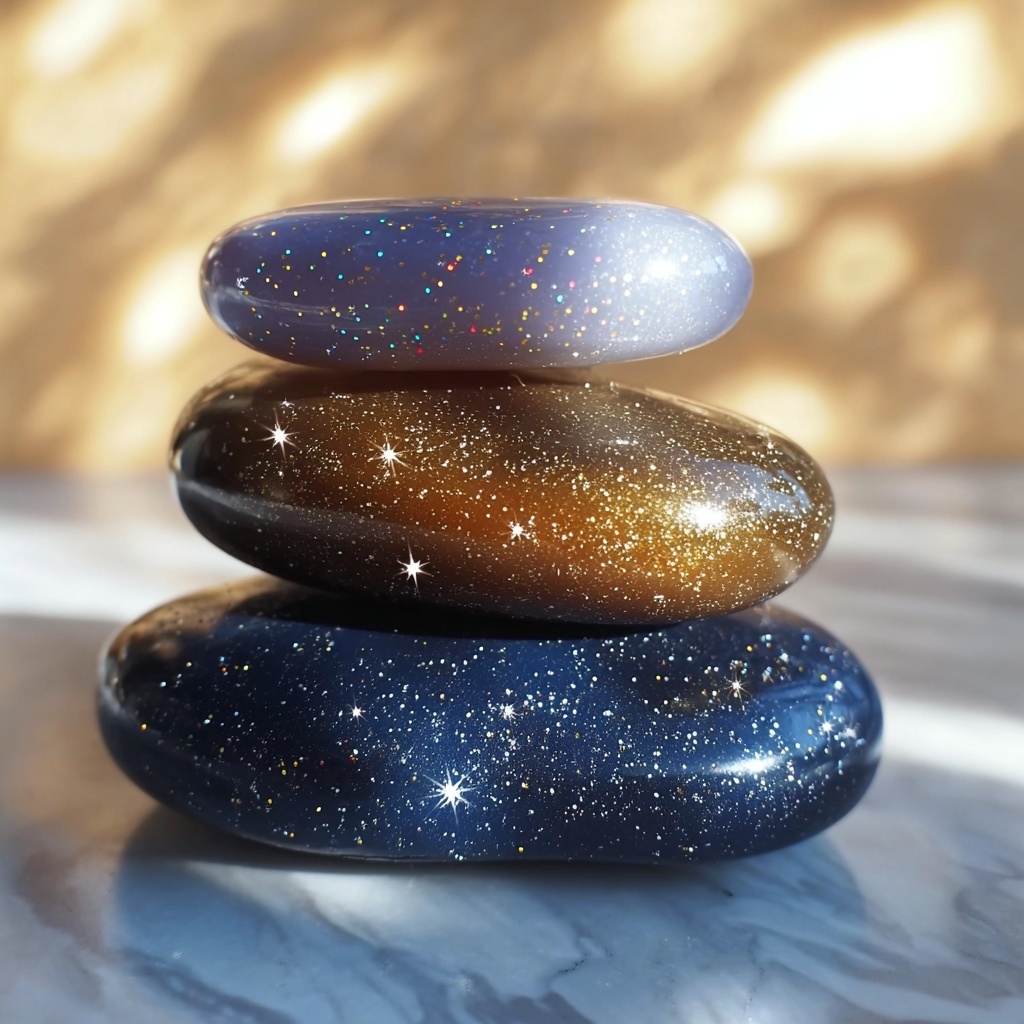
There is something incredibly satisfying about creating your own little pocket-sized treasures, and DIY worry stones: Craft Your Own Calming Gems Recipe offers exactly that joy. These handmade calming gems are not only charming but also soothing to the touch, crafted from simple ingredients that transform into delightful tactile stones. Whether you’re looking to unwind or gift someone a token of tranquility, this recipe turns humble materials into beautiful, personalized stress-relievers that you’ll cherish for a long time.
Ingredients You’ll Need
Ingredients You’ll Need
Thankfully, crafting these calming gems is a breeze thanks to the simple, everyday ingredients that come together to create the perfect tactile experience. Each component plays a vital role, from texture to color—making the stones both durable and visually appealing.
- All-purpose flour: Provides the base with a soft yet sturdy texture perfect for shaping.
- Salt: Adds structure and helps harden the mix as it dries, ensuring durability.
- Warm water: Binds the dry ingredients and brings the dough together smoothly.
- Gel food coloring: Delivers vibrant, lasting hues without altering the dough’s consistency.
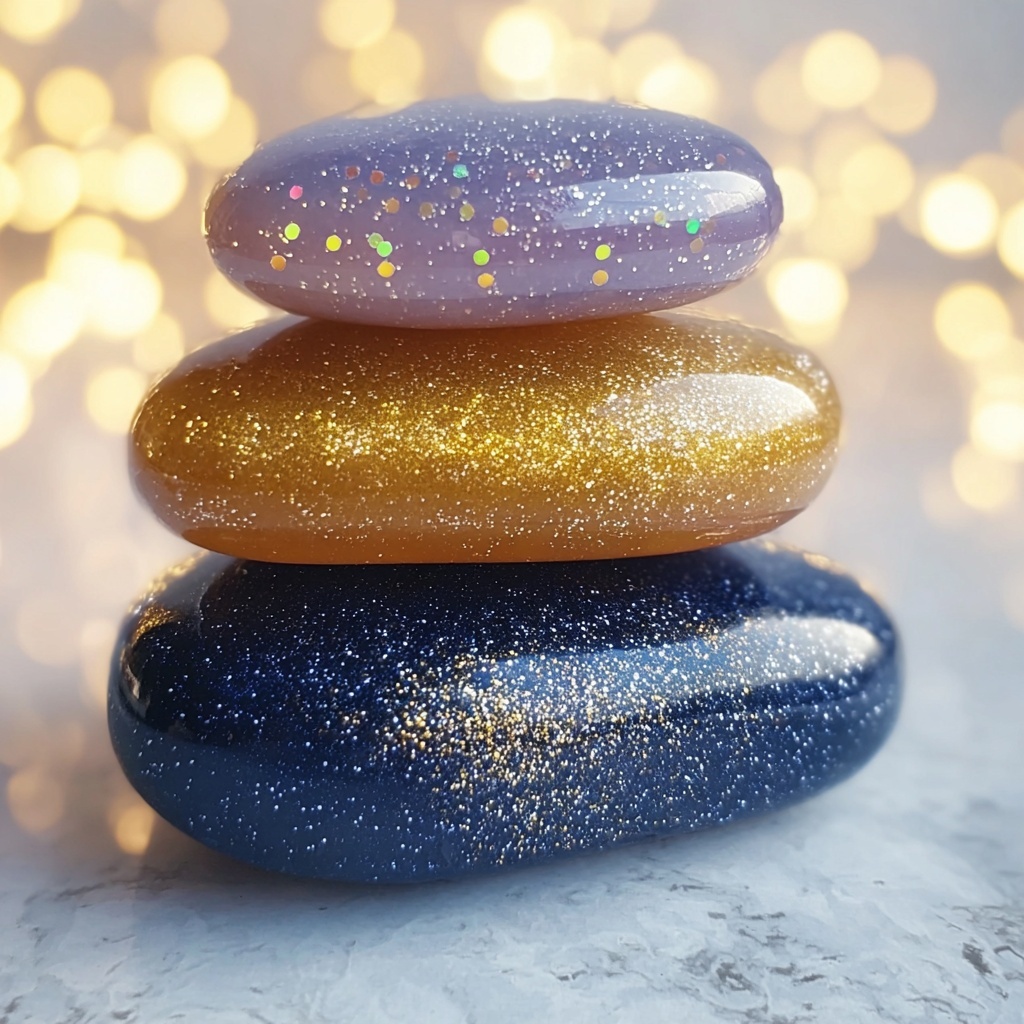
- Sparkly glitter (optional): Gives your worry stones a magical sparkle that catches the light and lifts the spirit.
How to Make DIY worry stones: Craft Your Own Calming Gems Recipe
Step 1: Blend Dry Ingredients
Start by patiently combining the all-purpose flour and salt in a mixing bowl. This even blend forms the essential foundation of your worry stones, setting the stage for a smooth and workable dough.
Step 2: Add Warm Water Gradually
Pour in warm water slowly while mixing continuously. Your goal is a perfect dough consistency—not too sticky and not too dry. Feel free to adjust with little extra water or flour until it feels just right for kneading.
Step 3: Infuse with Color
Choose your favorite shade of gel food coloring and fold it into the dough. Knead the color in thoroughly until your dough boasts an even, eye-catching vibrancy. This step is what turns plain dough into your very own calming gems!
Step 4: Add a Touch of Sparkle (Optional)
For some extra magic, sprinkle in fine or chunky glitter. Knead it well through your dough so the shimmer is distributed evenly—your stones will not just feel calming but will also shine beautifully.
Step 5: Shape Your Stones
Pinch off small portions and shape each into smooth ovals or pebbles. Don’t forget to press a thumb indent into the center of each piece—that signature groove is what turns a simple stone into a genuine worry stone, perfect for rubbing away stress.
Step 6: Let Them Dry
Arrange your crafted stones on a parchment-lined tray and set them aside for 24 to 48 hours to air-dry completely. This patient wait transforms your soft dough into firm, lasting calming gems ready to soothe your day.
How to Serve DIY worry stones: Craft Your Own Calming Gems Recipe
Garnishes
While these calming stones are not edible, you can enhance their presentation with decorative touches. Consider painting delicate designs or adding tiny symbols with permanent markers. These artistic garnishes personalize each stone with meaning and style.
Side Dishes
Since these are calming gems, the perfect “side dishes” are other relaxing ritual items. Why not complement your stones with a box of scented candles, a small journal for mindful thoughts, or even a calming herbal tea? Together, these create a full soothing experience.
Creative Ways to Present
Present your worry stones nestled in small, cushioned wooden boxes or wrapped gently in soft fabric bags. You can even gift them in mini terrariums or display them as part of a decorative zen garden. Their beauty and calming presence make an unforgettable thoughtful gift.
Make Ahead and Storage
Storing Leftovers
If you find yourself with extra calming gems, keep them in a dry, airtight container to maintain their texture and prevent any moisture damage. Stored properly, they will remain firm and ready whenever you need a moment of calm.
Freezing
Freezing is not recommended for these handcrafted worry stones since moisture can alter their texture and cause damage during thawing. It’s best to store them at room temperature in a dry spot.
Reheating
Reheating does not apply to worry stones. Instead, allow any residual moisture to evaporate naturally at room temperature before storage to keep them in prime calming condition.
FAQs
Can I use different types of flour?
All-purpose flour is preferred because of its texture and binding properties, but you can experiment with whole wheat or rice flour for subtle differences. Just note the drying time or texture might change a bit with substitutions.
How long do the worry stones take to dry?
Drying can take anywhere from 24 to 48 hours depending on the thickness of each stone and the humidity of your environment. Patience during this step ensures firm, long-lasting calming gems.
Is the glitter safe to use?
Yes, as long as you use non-toxic craft glitter meant for arts and crafts. It’s purely decorative but adds a lovely sparkle that elevates your worry stones’ appearance and joy factor.
Can kids make these worry stones?
Absolutely! This recipe is a fantastic, hands-on craft for children under supervision. They’ll love mixing colors, adding glitter, and shaping the stones while learning a wonderful relaxation tool.
What if my dough is too sticky?
If your dough sticks too much to your hands, sprinkle in more flour in small amounts while kneading. Achieving the right consistency is crucial for easy shaping and smooth drying.
Final Thoughts
Making DIY worry stones: Craft Your Own Calming Gems Recipe is not only a delightful craft but also a soothing self-care ritual you can share with friends and family. These calming gems are little pockets of peace that spring from simple ingredients, vibrant colors, and your own hands. Give it a try, and watch how these tactile treasures brighten your moments of stress and bring cheerful calm to your day.
“`
Print
DIY worry stones: Craft Your Own Calming Gems Recipe
- Prep Time: 10 minutes
- Cook Time: 24-48 hours (air drying)
- Total Time: 24 hours 10 minutes to 48 hours 10 minutes
- Yield: Variable, depending on stone size; yields approximately 6-8 medium worry stones
- Category: Craft
- Method: No-Cook
Description
Create your own calming worry stones with this simple DIY craft using basic ingredients like flour, salt, and water. Customize your stones with vibrant gel food coloring and optional glitter for a sparkling touch. Perfect for a mindful and creative activity that results in smooth, tactile gems to help ease anxiety and promote relaxation.
Ingredients
Basic Dough
- 2 parts all-purpose flour
- 2 parts salt
- 1 part warm water
Add-Ins
- Gel food coloring (your choice, a few drops)
- Sparkly glitter (fine or chunky, optional)
Instructions
- Mix Dry Ingredients: In a mixing bowl, combine the all-purpose flour and salt until they’re perfectly blended, creating an even base for your dough.
- Add Water Gradually: Slowly pour in the warm water while mixing continuously. Aim for a dough that is neither too dry nor too sticky; adjust by adding more water or flour as needed.
- Color the Dough: Select your favorite gel food coloring and add a few drops to the dough. Knead thoroughly until the color is vivid and the texture is smooth.
- Add Glitter: Optionally, sprinkle glitter into the dough and knead it in evenly to give your worry stones a sparkling effect.
- Shape the Stones: Pinch off small portions of dough and mold them into oval or pebble shapes. Press an indent in the center with your thumb to mimic the feel of traditional worry stones.
- Dry the Stones: Place your shaped stones on a parchment-lined tray and allow them to air dry for 24 to 48 hours until they are completely firm and dry to the touch.
Notes
- Ensure the dough is not too sticky before shaping; if it is, dust your hands with flour while forming the stones.
- Drying time may vary based on humidity and stone thickness; thinner stones dry faster.
- Store your finished worry stones in a dry place to maintain their durability.
- Use gel food coloring for vibrant colors that mix well without altering dough consistency drastically.
- Adding glitter is optional but enhances the visual appeal of your stones.


