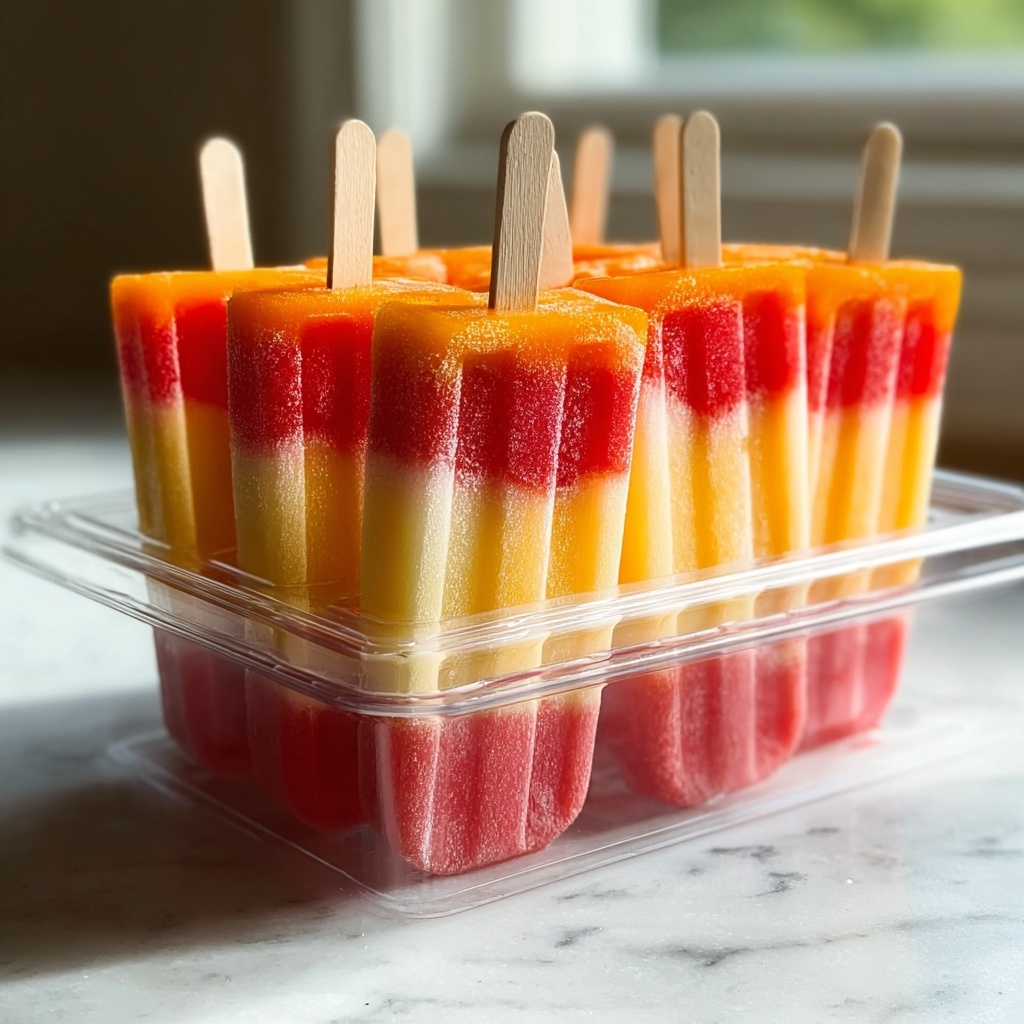
If you’re searching for a treat that’s both delightful and nourishing, look no further than this Fruit Popsicles: A Refreshing and Healthy Treat for All Ages Recipe. Bursting with vibrant colors and natural sweetness, these popsicles capture the essence of fresh fruit in every bite. Perfect for hot days, family gatherings, or just a little pick-me-up, they offer a guilt-free way to indulge your sweet tooth while staying hydrated and energized. I promise once you try these, they’ll quickly become a beloved classic in your freezer!
Ingredients You’ll Need
The magic of this recipe lies in its simplicity and freshness. Each ingredient is chosen not only for flavor but also for texture and natural sweetness, allowing the fruit to truly shine in this refreshing treat.
- 2 cups mixed fresh fruit: Use a colorful combo like berries, kiwi, and mango for a juicy, nutrient-packed base.
- 1/4 cup honey or agave nectar: Adds just the right amount of natural sweetness without overpowering the fruit flavors.
- 1/4 cup water: Helps to blend everything smoothly and ensures the perfect icy texture.
- Popsicle molds: Essential for shaping your popsicles; silicone molds work wonderfully for easy release.
- Popsicle sticks: A must-have for that classic, handheld frozen treat experience.
How to Make Fruit Popsicles: A Refreshing and Healthy Treat for All Ages Recipe
Step 1: Prepare Your Fresh Fruit
Start by washing all your fruit lovingly to remove any dirt or residue. Then chop them into small, manageable pieces so they blend evenly. The mixture of berries, kiwi, and mango not only looks beautiful but gives a vibrant mix of sweet and tangy flavors that are the star of this recipe.
Step 2: Blend the Ingredients
Pop your chopped fruit, honey or agave nectar, and water into a blender. Blend until everything turns into a perfectly smooth, colorful liquid. This ensures your popsicles will have a consistent texture and balanced sweetness with every bite.
Step 3: Fill the Popsicle Molds
Carefully pour the blended mixture into your molds. Try not to smudge the sides for a clean appearance. Insert your popsicle sticks firmly in the center of each mold—they’ll be your popsicle’s handle for enjoying later!
Step 4: Freeze Until Solid
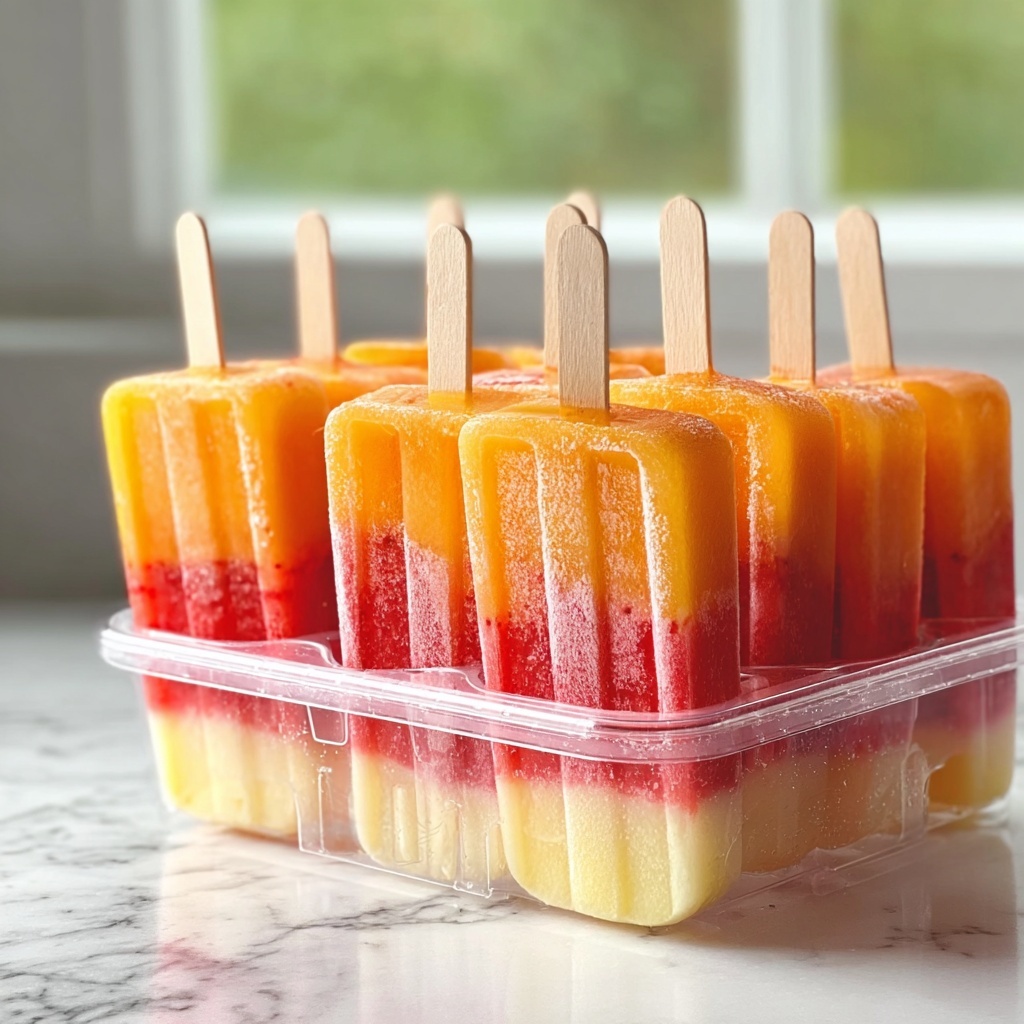
Pop your molds into the freezer for at least four hours. During this time, each popsicle freezes into a refreshing solid, locking in all the fruity goodness and chilling you down on the hottest days.
Step 5: Enjoy!
To release your popsicles, hold the mold briefly under warm water—this loosens them just enough without melting. Then, savor a healthy, refreshing snack that’s perfect for all ages and any occasion.
How to Serve Fruit Popsicles: A Refreshing and Healthy Treat for All Ages Recipe
Garnishes
Add a little extra flair by serving your popsicles with a sprinkle of finely chopped fresh mint or a drizzle of yogurt on the side. These subtle touches bring brightness and sophistication to this casual treat.
Side Dishes
Pair your fruity popsicles with light bites like a crisp green salad or a small bowl of cottage cheese for a balanced summer snack that’s both satisfying and healthy.
Creative Ways to Present
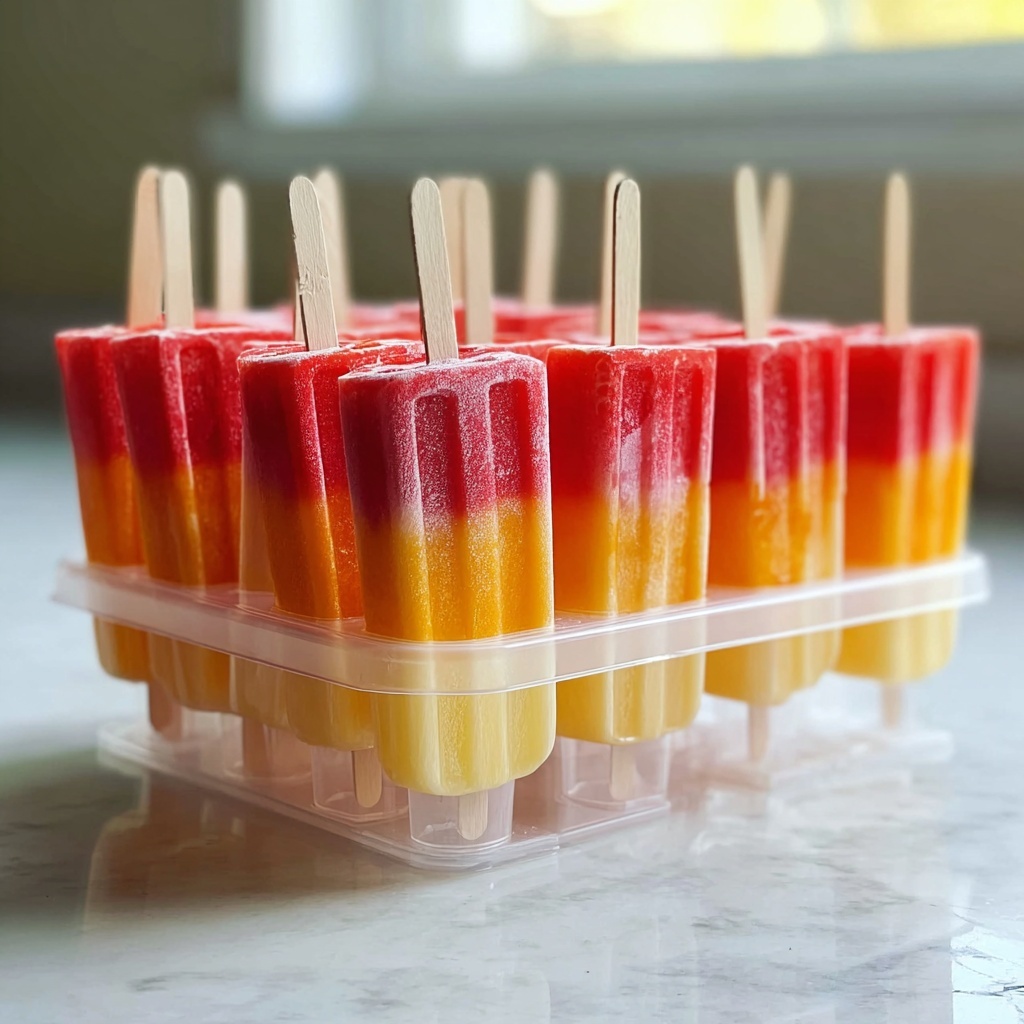
Get creative by layering different fruit blends in the molds before freezing for a beautiful rainbow effect. You can also freeze edible flowers inside the popsicles for a stunning and whimsical touch that’s sure to impress friends and family.
Make Ahead and Storage
Storing Leftovers
Since these popsicles freeze solid, they’re super easy to store. Keep them in their molds or transfer to an airtight container or freezer bag to protect against freezer odors and ice crystals.
Freezing
Once frozen solid, these popsicles will keep well for up to two weeks without losing their freshness or flavor, making them a great make-ahead option for quick snacks or dessert.
Reheating
No reheating needed here! The best part about Fruit Popsicles: A Refreshing and Healthy Treat for All Ages Recipe is diving straight into their cold, refreshing goodness right from the freezer.
FAQs
Can I use frozen fruit instead of fresh?
Absolutely! Frozen fruit works just fine and might even make the blending process easier. Just make sure to adjust the water quantity slightly if needed to help with blending.
Is it possible to make these popsicles vegan?
Yes! Simply choose agave nectar instead of honey to keep this recipe completely plant-based and just as sweet and delicious.
Can I add fruit chunks instead of blending everything smooth?
Definitely! Leaving tiny fruit pieces adds a fun texture and surprise bursts of flavor in each bite, perfect if you enjoy a little chewiness along with the cool popsicle.
How long do these popsicles last in the freezer?
They’re best eaten within two weeks for the freshest taste, but properly stored, they can last up to a month without sacrificing too much quality.
Are these popsicles suitable for kids?
Yes, they’re a fantastic healthy treat that kids love because of the natural sweetness and fruity flavors. Just be sure to avoid any fruit allergies and always supervise young children when enjoying popsicles.
Final Thoughts
There’s something truly special about making a treat yourself that tastes amazing and feels good to eat. This Fruit Popsicles: A Refreshing and Healthy Treat for All Ages Recipe offers that perfect blend of fun, flavor, and wholesome ingredients that will brighten any day. I encourage you to try making these at home—you might find they become your new favorite way to beat the heat while nourishing your body and soul!
Print
Fruit Popsicles: A Refreshing and Healthy Treat for All Ages Recipe
- Prep Time: 10 minutes
- Cook Time: 4 hours
- Total Time: 4 hours 10 minutes
- Yield: 6 servings
- Category: Dessert
- Method: Freezing
- Cuisine: American
- Diet: Vegetarian
Description
These Fruit Popsicles are a refreshing, healthy treat perfect for all ages. Made with fresh mixed fruit and sweetened naturally with honey or agave nectar, these homemade popsicles provide a delicious way to cool down with a wholesome snack. Easy to prepare and customizable with your favorite fruits, they are ideal for hot summer days or anytime you crave a fruity, icy delight.
Ingredients
Fruit Mixture
- 2 cups mixed fresh fruit (such as berries, kiwi, and mango), washed and chopped
- 1/4 cup honey or agave nectar
- 1/4 cup water
Others
- Popsicle molds
- Popsicle sticks
Instructions
- Prepare the Fruit: Wash and chop the fresh mixed fruit into small pieces to ensure smooth blending and easy freezing.
- Blend Ingredients: Place the chopped fruit, honey or agave nectar, and water into a blender. Blend until you achieve a smooth, consistent mixture.
- Fill Molds: Pour the blended fruit mixture evenly into the popsicle molds, making sure to leave a little space at the top for expansion. Insert popsicle sticks carefully into each mold.
- Freeze: Place the filled molds in the freezer and let them freeze for at least 4 hours, or until completely solid.
- Release and Serve: To remove the popsicles from the molds, run warm water over the outside of the molds for a few seconds and gently pull the popsicles out. Enjoy your refreshing homemade fruit popsicles!
Notes
- You can customize the popsicles by using your favorite seasonal fruits or adding herbs like mint for extra flavor.
- For a smoother texture, strain the blended mixture to remove seeds or pulp if desired.
- Use agave nectar as a vegan-friendly sweetener or honey for a natural alternative with a floral taste.
- To speed up setting time, use smaller molds or make mini popsicles.
- Store leftover popsicles in an airtight container or plastic bag in the freezer to prevent freezer burn.

