
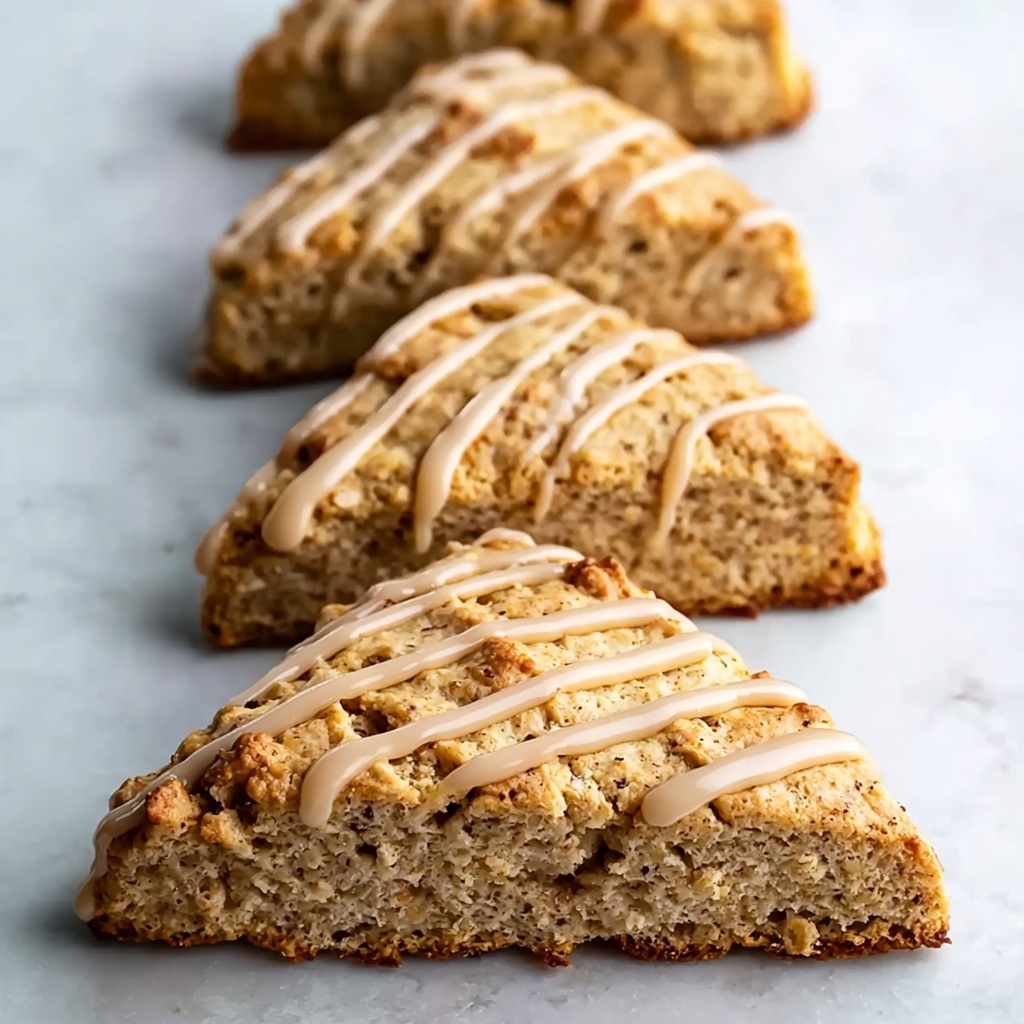
If you’re on the hunt for the ultimate fall treat that feels like a warm hug in every bite, you’ve just found it with this Pumpkin Snickerdoodle Scones Recipe. Imagine tender, flaky scones infused with the cozy spices of snickerdoodles and the rich, comforting flavor of real pumpkin puree—all topped with a subtle crunch of cinnamon sugar. This recipe is a celebration of autumn’s best flavors, baked up into a delightful pastry that’s perfect any time of day. Whether you’re serving breakfast, brunch, or a sweet snack, these scones never disappoint and always leave you craving one more.
Ingredients You’ll Need
This Pumpkin Snickerdoodle Scones Recipe calls for simple and wholesome ingredients that come together harmoniously to create its signature taste and texture. Each ingredient plays a crucial role, from the flaky butter that builds structure to the fragrant spices that make these scones irresistibly aromatic and flavorful.
- All-purpose flour (2 cups, preferably unbleached): Provides the perfect balance of structure and tenderness for the scones.
- Unsalted butter (1/2 cup, frozen): The chilled butter creates flaky layers, making every bite delightfully tender.
- Light brown sugar (1/2 cup): Adds a subtle molasses sweetness that complements the pumpkin beautifully.
- Pumpkin puree (1/2 cup, blotted): Brings moistness, rich color, and that unmistakable fall flavor.
- Heavy cream (1/3 cup + 2 tablespoons): Enhances the scones’ richness and ensures a tender crumb.
- Large egg (1, room temperature): Binds the ingredients together and adds moisture.
- Pure vanilla extract (1 teaspoon): Gives a warm, sweet depth that elevates all the spices.
- Baking powder (2 1/2 teaspoons, fresh): Essential for lightness and rise.
- Ground cinnamon (1 teaspoon, high-quality): Infuses that signature snickerdoodle warmth.
- Pumpkin pie spice (1 1/2 teaspoons): A blend of cinnamon, nutmeg, and cloves to evoke fall magic.
- Salt (1/2 teaspoon): Balances sweetness and enhances flavor complexity.
- Coarse sugar (optional, for topping): Adds a delightful crunch and sparkle on top.
How to Make Pumpkin Snickerdoodle Scones Recipe
Step 1: Prepare Your Oven and Baking Sheet
Start by preheating your oven to 400°F (204°C). Position the oven rack in the middle for even baking. Line your baking sheets with parchment paper or lightly grease them to prevent sticking, which will help your scones come out perfectly shaped and golden.
Step 2: Mix the Dry Ingredients
In a large bowl, whisk together the flour, baking powder, cinnamon, pumpkin pie spice, and salt. This step distributes your leavening agents and spices evenly so every bite bursts with flavor.
Step 3: Add the Butter
Grate the frozen unsalted butter directly into the flour mixture using a box grater. This technique creates small, cold butter pieces that bake into flaky pockets inside the scones—key to their tender, buttery layers. Gently toss the flour and butter together to coat those butter bits without warming them.
Step 4: Combine the Wet Ingredients
In a separate bowl, whisk together the blotted pumpkin puree, egg, heavy cream, and vanilla extract until smooth and uniform. Mixing the wet ingredients separately helps your dough come together perfectly without overworking it.
Step 5: Bring Wet and Dry Ingredients Together
Pour your wet mix into the bowl with the dry ingredients and fold gently just until the dough begins to hold together. Resist the urge to overmix; a few crumbs here and there are totally fine and actually lead to a lighter scone. If your dough feels too sticky, add an extra tablespoon of flour slowly until it firms up enough to handle.
Step 6: Shape the Dough
Turn the dough out onto a well-floured surface. Pat it into a roughly 8-inch (20 cm) diameter disc, around 1-inch thick. This thickness ensures the perfect fluffy center while the disc shape allows for even baking and easy slicing. If the dough feels soft or sticky, chilling it for 15 minutes will make it easier to handle.
Step 7: Add the Finishing Touches
Brush the top of the dough lightly with heavy cream to promote a golden crust. Then sprinkle a generous layer of coarse sugar for a sweet crunch that perfectly contrasts the tender crumb inside.
Step 8: Bake Until Golden
Place your scones on the prepared baking sheet and bake for 20 to 25 minutes. You’re looking for a golden, slightly browned top that signals those delicious layers have puffed up beautifully. Halfway through baking, rotate your pan for even browning.
Step 9: Prepare the Maple Glaze
While the scones bake, whisk together your favorite maple glaze. A little drizzle goes a long way—it adds luxuriously sweet, sticky goodness that makes these scones glow.
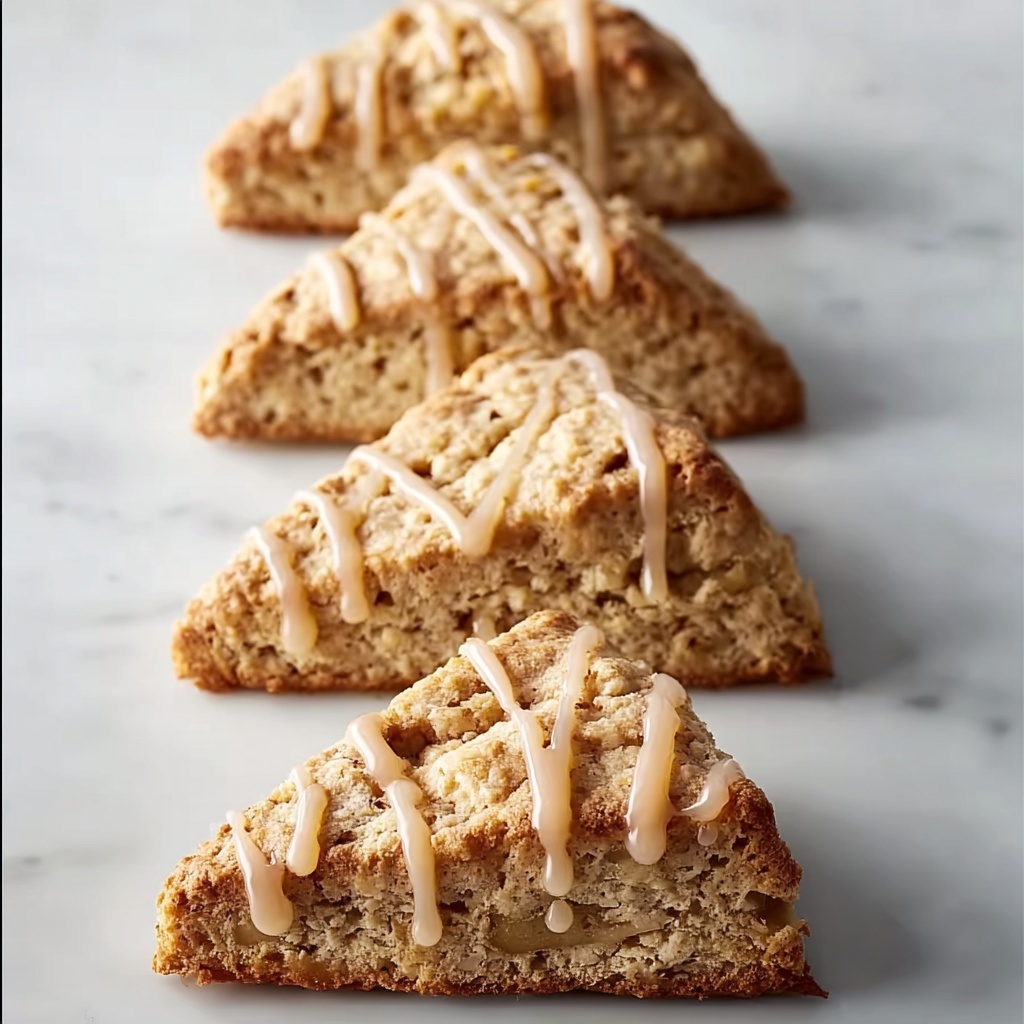
Step 10: Glaze While Warm
Once out of the oven, allow the scones to cool just slightly before drizzling the glaze on top. The warmth helps the glaze soak in gently, marrying flavors and texture in every mouthful.
How to Serve Pumpkin Snickerdoodle Scones Recipe
Garnishes
For an extra inviting touch, garnish your scones with a sprinkle of cinnamon sugar or a few toasted pumpkin seeds. These small details add fascinating textures and elevate the visual appeal, making the scones feel like a special homemade gift.
Side Dishes
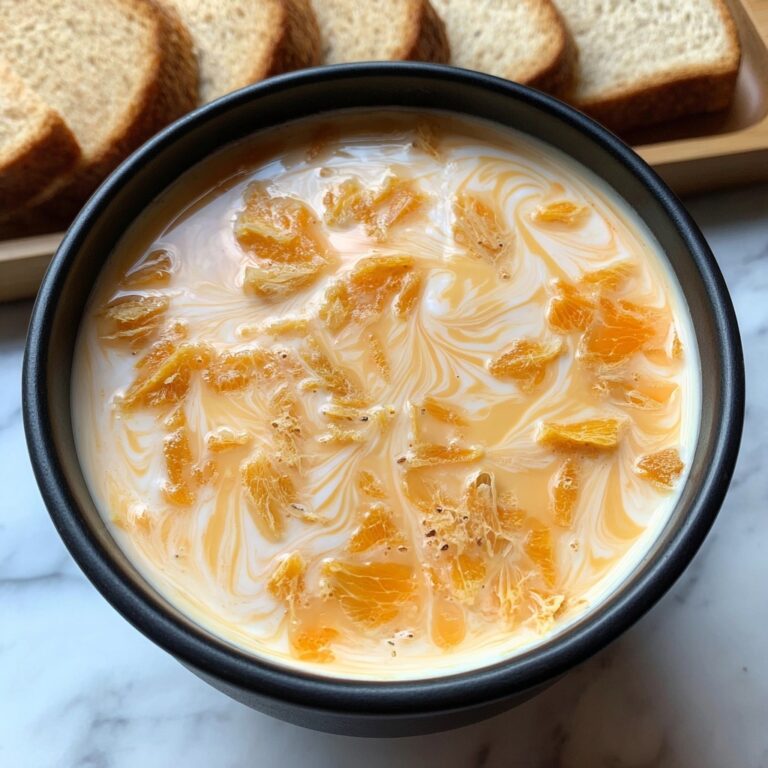
These pumpkin snickerdoodle scones pair wonderfully with a steaming cup of chai tea, a strong coffee, or perhaps some whipped cream on the side. For a heartier brunch, try serving with scrambled eggs or spiced apple butter to enhance all those autumn flavors.
Creative Ways to Present
Arrange scones on a rustic wooden board garnished with mini pumpkins and cinnamon sticks for an instant fall centerpiece. Alternatively, serve in a basket lined with a cozy linen napkin, perfect for sharing at a casual gathering or cozy afternoon treat.
Make Ahead and Storage
Storing Leftovers
If you happen to have leftovers from this Pumpkin Snickerdoodle Scones Recipe (though they rarely last long), store them in an airtight container at room temperature for up to 2 days to maintain their tenderness and flavor.
Freezing
You can freeze these scones either before or after baking. Wrap them tightly in plastic wrap and then foil or place in a freezer-safe bag. Frozen scones keep well for up to 2 months, making them perfect for meal prepping or last-minute cozy treats.
Reheating
To bring your scones back to life, reheat them in a preheated 350°F oven for about 10 minutes or until warmed through. This method refreshes the flaky texture better than a microwave, preserving that glorious buttery goodness.
FAQs
Can I use fresh pumpkin instead of canned puree?
Absolutely! Just roast and puree fresh pumpkin, then blot excess moisture as you would with canned. This will maintain the right texture and flavor for your scones, though canned pumpkin offers convenience and consistent moisture levels.
What if I don’t have pumpkin pie spice?
No worries! You can easily make your own blend with cinnamon, nutmeg, ginger, and cloves. This gives you control over the flavors and keeps the warm, cozy profile that defines these scones.
Can I make this recipe dairy-free?
Yes, swap the butter for a high-quality dairy-free substitute and use coconut cream or another thick plant-based cream instead of heavy cream. The texture might shift slightly, but the pumpkin and spices shine through beautifully.
How do I prevent tough scones?
Gentle mixing is key. Overworking dough develops gluten, making scones dense and tough. Mix just until combined, and avoid adding too much extra flour if the dough is sticky—add it sparingly to keep that tender crumb.
Can these scones be made gluten-free?
Try using a 1-to-1 gluten-free flour blend with xanthan gum. The results can be fantastic with this recipe but watch the dough consistency closely, as gluten-free flours vary in absorption.
Final Thoughts
I hope you feel inspired to dive into this Pumpkin Snickerdoodle Scones Recipe and bring a bit of autumn warmth to your kitchen. It’s one of those recipes that feels both comforting and special, perfect for sharing or savoring all to yourself. Once you taste those tender, cinnamon-spiced bites packed with pumpkin love, I promise you’ll be reaching for the recipe again and again. Enjoy every delicious moment!
Print
Pumpkin Snickerdoodle Scones Recipe
- Prep Time: 20 minutes
- Cook Time: 25 minutes
- Total Time: 45 minutes
- Yield: 8 scones
- Category: Breakfast, Brunch, Snack
- Method: Baking
- Cuisine: American
Description
These Pumpkin Snickerdoodle Scones are a delightful autumn treat combining the classic snickerdoodle flavors of cinnamon and sugar with the moist, tender texture of pumpkin. Perfectly spiced with pumpkin pie spice and topped with a crunchy coarse sugar coating, these scones bake to golden perfection and finish with a luscious maple glaze for an irresistible flavor boost.
Ingredients
Dry Ingredients
- 2 cups (250 g) all-purpose flour, preferably unbleached
- 2 1/2 teaspoons baking powder, fresh
- 1 teaspoon ground cinnamon, high-quality
- 1 1/2 teaspoons pumpkin pie spice
- 1/2 teaspoon salt
- 1/2 cup (100 g) light brown sugar
- Coarse sugar (optional), for topping
Wet Ingredients
- 1/2 cup (120 g) canned pumpkin puree, blotted to remove excess moisture
- 1/3 cup + 2 tablespoons (112 ml total) heavy cream
- 1 large egg, room temperature
- 1 teaspoon pure vanilla extract
Fat
- 1/2 cup (113 g) unsalted butter, frozen
Instructions
- Preheat Oven and Prepare Baking Sheets: Set your oven to 400°F (204°C) and let it fully heat. Place the baking rack in the middle position. Line baking sheets with parchment paper or lightly grease them to prevent sticking.
- Combine Dry Ingredients: In a large bowl, whisk together the all-purpose flour, baking powder, ground cinnamon, pumpkin pie spice, and salt. This helps distribute the leavening agents and spices evenly throughout the dough.
- Incorporate Butter: Using a box grater, grate the frozen unsalted butter directly into the dry ingredients. This method creates small butter pieces that yield a flaky texture. Gently mix the butter into the flour mixture until the butter pieces are coated but still distinct.
- Mix Wet Ingredients: In a separate bowl, whisk together the blotted pumpkin puree, egg, heavy cream, and vanilla extract until no liquid pockets remain and the mixture is smooth.
- Form the Dough: Pour the wet mixture into the dry ingredients. Stir gently just until the dough comes together; it will be slightly crumbly. If the dough is too sticky to handle, add flour one tablespoon at a time, folding carefully to incorporate.
- Shape the Dough into a Disc: Turn the dough out onto a floured surface. Pat or roll it into an 8-inch (20 cm) diameter disc. If the dough feels too soft or sticky and spreads too much, chill it in the refrigerator for 15 minutes before shaping.
- Prepare for Baking: Brush the top of the dough disc lightly with heavy cream to promote browning and to help coarse sugar stick on top. Sprinkle coarse sugar generously over the surface.
- Bake the Scones: Transfer the dough disc onto the prepared baking sheet. Bake in the preheated oven for 20 to 25 minutes, until the tops are golden brown and the scones are cooked through. Rotate the baking sheet halfway through for even browning.
- Prepare Maple Glaze: While baking, whisk together ingredients for a maple glaze (refer to your preferred maple glaze recipe) to complement the scones.
- Glaze and Serve: Once the scones are warm out of the oven, drizzle the maple glaze evenly over the tops. The warm scones will absorb the glaze for a delicious finish. Serve fresh and enjoy!
Notes
- For best texture, use frozen butter grated directly into the flour mixture.
- Blot canned pumpkin puree with a paper towel to remove excess moisture to avoid a wet dough.
- Avoid overmixing the dough to keep the scones tender and flaky.
- Chill the dough if it becomes too soft and sticky to handle easily.
- If you don’t have coarse sugar, sanding sugar or granulated sugar can be used but may result in less crunch.
- Adjust the amount of heavy cream slightly if dough consistency varies due to pumpkin moisture content.
- The maple glaze is optional but adds a lovely sweet finish that pairs perfectly with pumpkin and cinnamon flavors.

