
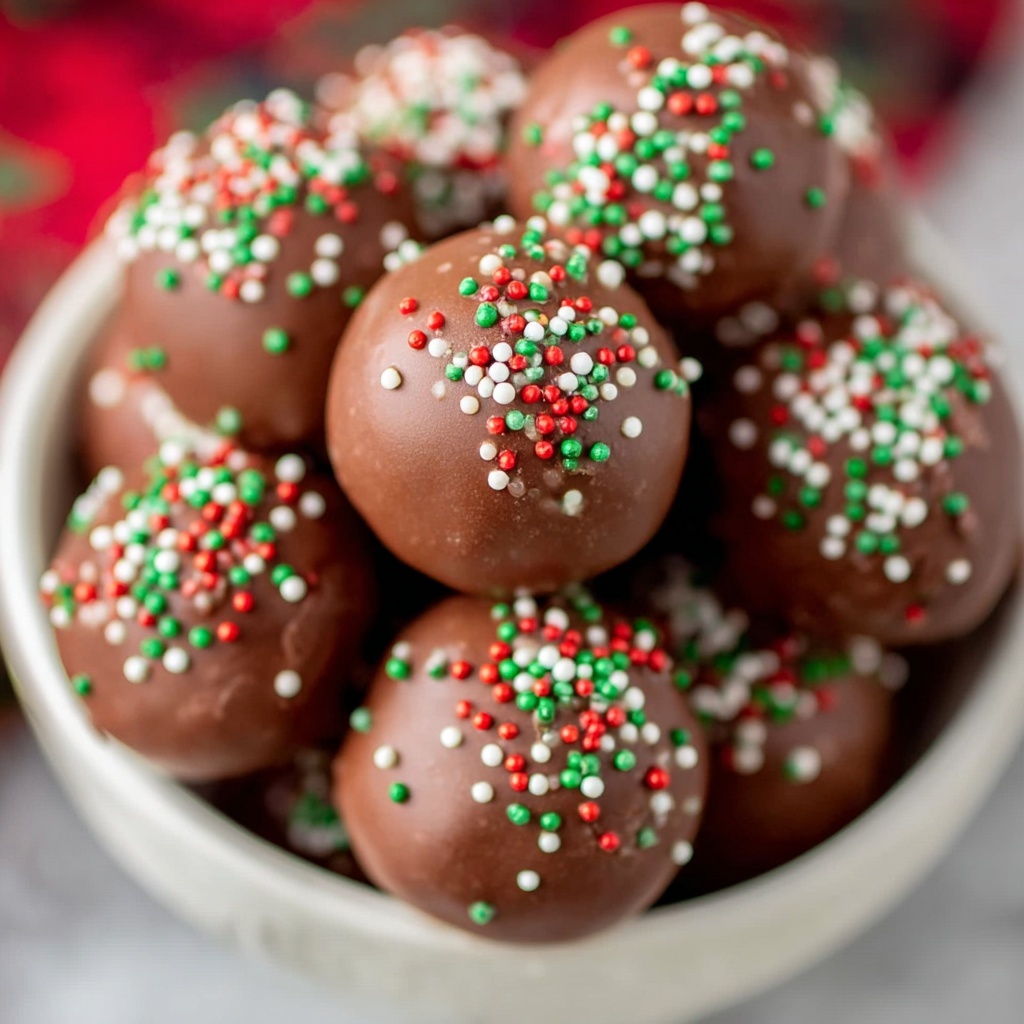
There is something incredibly irresistible about this Butterfinger Balls Recipe that makes it a standout treat for any occasion. These bite-sized delights blend the crunchy, buttery charm of Butterfinger bars with creamy peanut butter and sweet powdered sugar, all wrapped in a luscious chocolate coat. They are easy to whip up, no baking required, and absolutely perfect for sharing or sneaking a few extra in your own secret stash. If you love a combination of sweet, salty, and crunchy textures that melt in your mouth, this recipe will quickly become one of your all-time favorites.
Ingredients You’ll Need
Gathering the ingredients for this Butterfinger Balls Recipe is surprisingly simple, yet each one plays a crucial role in achieving that perfect balance of flavor and texture. From the rich buttery notes to the satisfying crunch of the Butterfinger pieces, these components come together beautifully.
- Powdered sugar: Provides the sweet base that binds the mixture and adds a smooth texture.
- Graham cracker crumbs: Adds a subtle crunch and a hint of toasty flavor that complements the nutty elements.
- Butterfinger bars (crushed): The star ingredient that delivers iconic crunchy peanut butter and chocolate taste.
- Butter (melted): Binds the dry ingredients and adds rich creaminess for smooth, cohesive balls.
- Crunchy peanut butter: Boosts the peanut flavor and adds satisfying texture with its nutty crunch.
- Chocolate almond bark or candy coating: Creates a glossy, firm shell that seals in the decadence and provides that perfect final touch.
How to Make Butterfinger Balls Recipe
Step 1: Mix Your Base Ingredients Together
Start by grabbing a large bowl and combining the powdered sugar, graham cracker crumbs, crushed Butterfinger bars, melted butter, and crunchy peanut butter. This is where the magic begins, as the sweet, buttery, and peanutty flavors meld into a thick, pliable mixture that you’ll soon roll into tiny treasures.
Step 2: Shape and Chill the Balls
Once your mixture is ready, roll it into 1-inch balls. Don’t worry about making them perfect—homemade charm is in the slight imperfections! Place the balls on a tray and pop them in the refrigerator for about 30 minutes. Chilling is key because it firms them up, making the next steps a breeze.
Step 3: Melt the Chocolate Almond Bark
While your Butterfinger balls are chilling, follow the package instructions to melt the chocolate almond bark. This coating will be the elegant wrapping that seals in all those luscious flavors inside each ball.
Step 4: Dip the Chilled Balls in Chocolate
After half an hour, pull the balls out of the fridge and dip each one into the melted chocolate. Use a fork or dipping tool to fully coat the balls, ensuring every bite has that smooth chocolate goodness on the outside.
Step 5: Set the Chocolate Coating
Place the chocolate-coated balls onto parchment or wax paper and let them sit at room temperature until the coating hardens completely. This final step gives you that perfect snap when you bite into these little gems.
How to Serve Butterfinger Balls Recipe
Garnishes
To elevate your Butterfinger Balls Recipe even further, consider lightly sprinkling crushed Butterfinger bits or chopped peanuts on top while the chocolate is still wet. It adds a pretty finish and a little extra crunch that guests will adore.
Side Dishes
These balls shine as a rich dessert on their own, but pairing them with fresh fruit like strawberries or banana slices can balance the sweetness beautifully. Coffee or a cold glass of milk make excellent companions for enjoying these sweet bites.
Creative Ways to Present
Serve your Butterfinger balls in colorful mini cupcake liners for a festive touch at parties or family gatherings. Alternatively, arrange them on a tiered dessert stand for an impressive display that invites everyone to dive in.
Make Ahead and Storage
Storing Leftovers
Butterfinger balls keep well when stored in an airtight container in the refrigerator. This will maintain their texture and flavor for up to a week, so you can enjoy them over multiple days without worry.
Freezing
If you want to keep these treats longer, they freeze beautifully. Place them in a single layer on a tray until firm, then transfer to a freezer-safe container or bag. They can be frozen for up to 2 months without losing their delicious character.
Reheating
Since these are best enjoyed chilled or at room temperature, it’s best not to heat them. Instead, allow frozen balls to thaw in the refrigerator overnight and then bring them to room temperature before serving to get the best texture and flavor.
FAQs
Can I use a different candy bar instead of Butterfinger?
Absolutely! While Butterfinger bars give this recipe its signature crunch and flavor, you can experiment with other crunchy peanut butter candy bars like Butterfingers’ close cousins or even chopped peanut butter cups for a twist.
Is it possible to make these balls nut-free?
Since peanut butter is a key ingredient, it’s a bit tricky. You might try substituting a seed butter like sunflower seed butter, but it will change the flavor and texture somewhat. Also, check that your candy coating and graham crackers are nut-free.
Why do I need to chill the balls before dipping?
Chilling firms the mixture, which prevents the balls from falling apart when dipped in warm chocolate. It also helps the chocolate set quickly and gives you that clean, professional look.
Can I use regular chocolate instead of almond bark?
Yes, you can melt regular chocolate, but almond bark or candy coating is easier to work with because it sets up firmer and faster, which is perfect for dipping and handling.
How long do Butterfinger Balls last?
If stored properly in the fridge, they can last about a week. Freezing extends their lifespan to about two months, making them an excellent make-ahead treat.
Final Thoughts
This Butterfinger Balls Recipe is a delightful little indulgence that you’ll want to make again and again. With its easy preparation, irresistible flavors, and versatility, it truly is a crowd-pleaser. Whether sharing at holiday parties or simply treating yourself, these balls of buttery, crunchy, chocolaty goodness are sure to bring a smile to anyone’s face. Go ahead and give this recipe a try—you won’t regret it!
Print
Butterfinger Balls Recipe
- Prep Time: 15 minutes
- Cook Time: 0 minutes
- Total Time: 45 minutes
- Yield: 3.3 dozen (approximately 40 balls)
- Category: Dessert
- Method: No-Cook
- Cuisine: American
Description
Butterfinger Balls are a delightful no-bake treat combining the crunch of crushed Butterfinger bars with creamy peanut butter, graham cracker crumbs, and powdered sugar. Coated in a smooth chocolate almond bark, these bite-sized desserts offer a perfect balance of sweet and crunchy textures, making them an irresistible snack or party favor.
Ingredients
Dry Ingredients
- 1 (16-oz) box powdered sugar
- 2½ cups graham cracker crumbs
- 5 (1.9-oz) Butterfinger bars, crushed
Wet Ingredients
- 1¼ cup butter, melted
- 1½ cups crunchy peanut butter
Coating
- 1 (24-oz) package chocolate almond bark or chocolate candy coating
Instructions
- Mix Ingredients: In a large bowl, combine the powdered sugar, graham cracker crumbs, crushed Butterfinger bars, melted butter, and crunchy peanut butter until thoroughly mixed to form a consistent dough.
- Shape Balls: Shape the mixture into 1-inch balls using your hands or a small cookie scoop, then place them on a tray and refrigerate for 30 minutes to firm up.
- Melt Chocolate: While the balls chill, melt the chocolate almond bark according to the package directions, ensuring it is smooth and ready for dipping.
- Dip the Balls: Remove the chilled balls from the refrigerator and dip each one into the melted chocolate coating, fully covering each ball.
- Set the Coating: Place the dipped balls on parchment or wax paper and allow the chocolate to set at room temperature or in the refrigerator until firm and fully hardened.
Notes
- Use crunchy peanut butter for added texture that complements the Butterfinger bits.
- Chilling the balls before dipping helps them hold their shape and makes dipping easier.
- Store Butterfinger Balls in an airtight container in the refrigerator for up to one week.
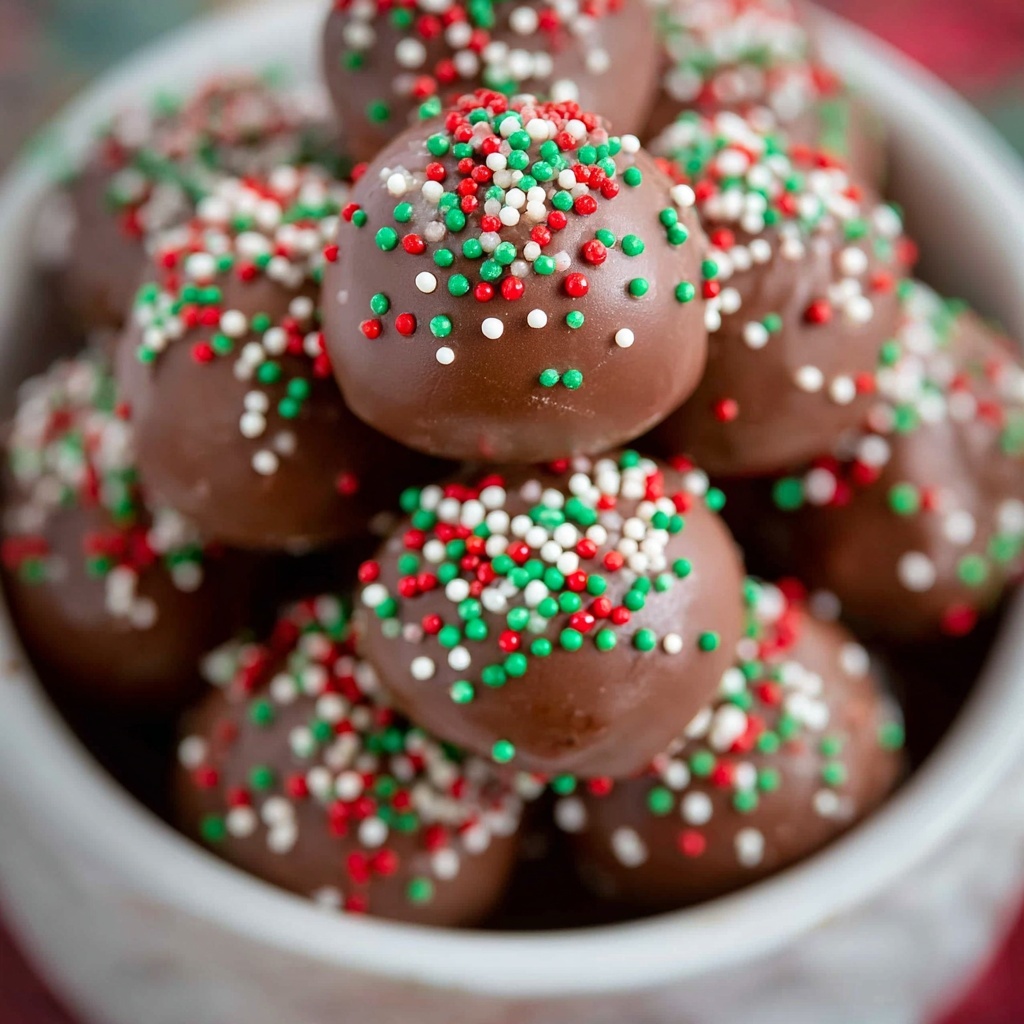
- For a festive twist, decorate the chocolate coating with drizzles of white chocolate or colorful sprinkles before the coating sets.
- If almond bark is unavailable, you can substitute with high-quality chocolate chips melted with a teaspoon of vegetable oil for smoothness.


