
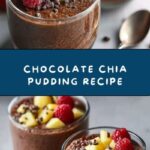
If you have a sweet tooth but still want to keep things healthy and simple, this Chocolate Chia Pudding Recipe is the perfect go-to treat. It combines rich, velvety cocoa flavor with the nutritional powerhouse of chia seeds, creating a dessert that feels indulgent yet nourishing. Imagine a creamy, chocolatey pudding that requires no cooking and comes together in minutes, then thickens into a luscious texture overnight. This recipe is so easy and satisfying, you’ll wonder why you haven’t made it sooner!
Ingredients You’ll Need
The beauty of this Chocolate Chia Pudding Recipe lies in its straightforward, wholesome ingredients. Each one plays an essential role in flavor, texture, or nutritional punch—making it a simple yet brilliant blend from start to finish.
- 2 tablespoons unsweetened cocoa powder: Your source of deep, chocolatey flavor without any added sugar.
- 2 tablespoons maple syrup (or honey): Adds natural sweetness that balances the bitterness of the cocoa perfectly.
- 1/2 teaspoon vanilla extract: Enhances the overall flavor with a warm, aromatic touch.
- 1 cup unsweetened almond milk (or any milk of choice): Acts as the creamy liquid base that binds everything together and keeps it dairy-free.
- 3 tablespoons chia seeds: The star ingredient that thickens the pudding and provides amazing fiber and omega-3s.
- Pinch of salt: Elevates flavors and rounds out the sweetness for a perfectly balanced taste.
How to Make Chocolate Chia Pudding Recipe
Step 1: Combine the Cocoa and Sweeteners
Start by whisking together the unsweetened cocoa powder, maple syrup, vanilla extract, and a pinch of salt in a medium bowl. This step ensures that your chocolate flavor is evenly distributed, and the sweetener dissolves properly before adding liquid, which helps prevent any clumps.
Step 2: Add the Almond Milk Slowly
Pour the unsweetened almond milk into the bowl gradually while whisking continuously. This careful mixing helps create a smooth, rich chocolate base without lumps, setting the stage for that silky pudding texture you’ll crave.
Step 3: Stir in the Chia Seeds
Once your chocolate mixture is perfectly combined, fold in the chia seeds. These tiny seeds might seem unassuming, but they swell up beautifully, absorbing the liquid and transforming the mixture into a creamy pudding overnight. Give everything a good stir to make sure the seeds are evenly distributed.
Step 4: Refrigerate and Thicken
Cover your bowl and pop it into the refrigerator for at least 4 hours or ideally overnight. Stir once after about 30 minutes to prevent the chia seeds from clumping together. After chilling, give it a final stir, and you’ll have a perfectly set, smooth chocolate chia pudding ready to enjoy.
How to Serve Chocolate Chia Pudding Recipe
Garnishes
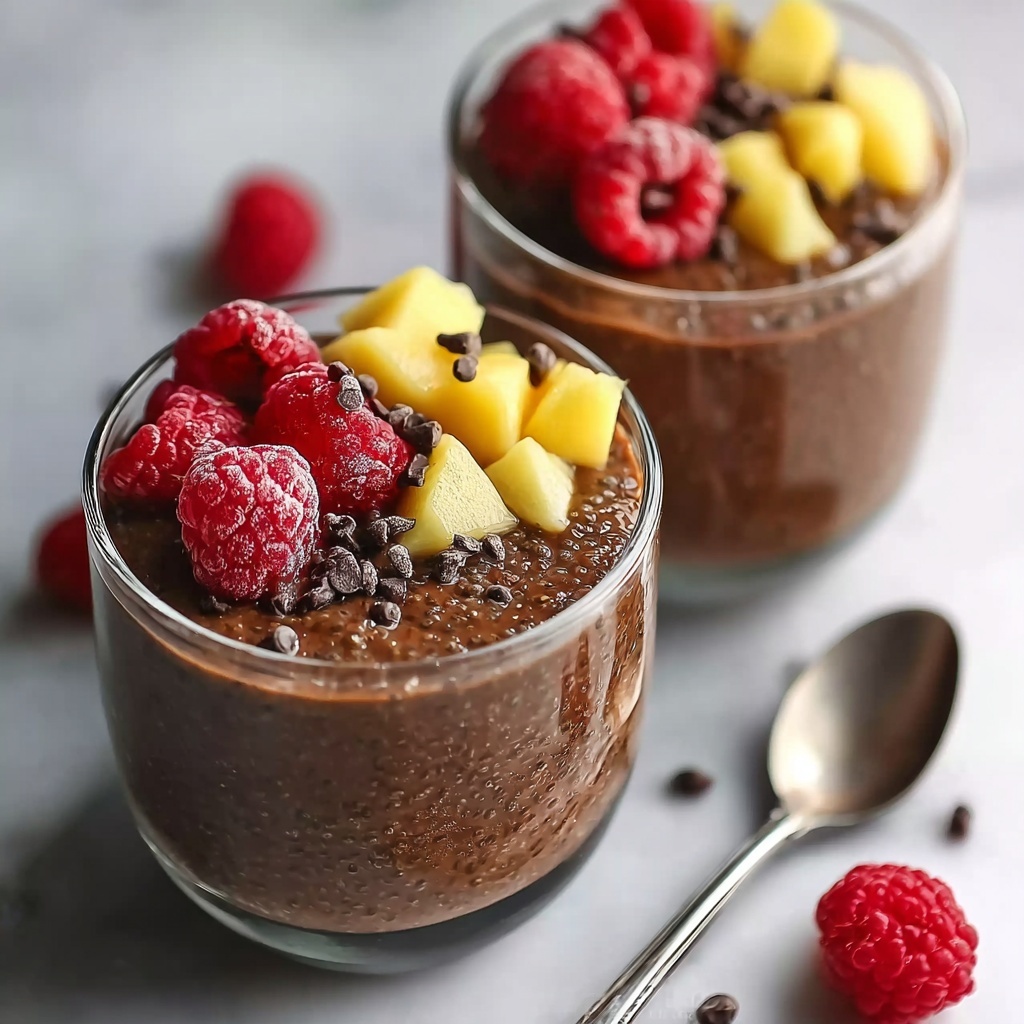
While this Chocolate Chia Pudding Recipe is delicious on its own, a thoughtful garnish brings the dish to life. Fresh berries, a sprinkle of coconut flakes, crunchy nuts, or even a dollop of whipped cream add texture and burst of flavor, turning the pudding into a truly decadent treat.
Side Dishes
Pair your pudding with fresh fruit slices or a small handful of granola for a bit of crunch. This works wonderfully whether you’re enjoying it as a healthy dessert or a nutrient-rich breakfast option. The balance between creamy pudding and crisp sides keeps every bite exciting.
Creative Ways to Present
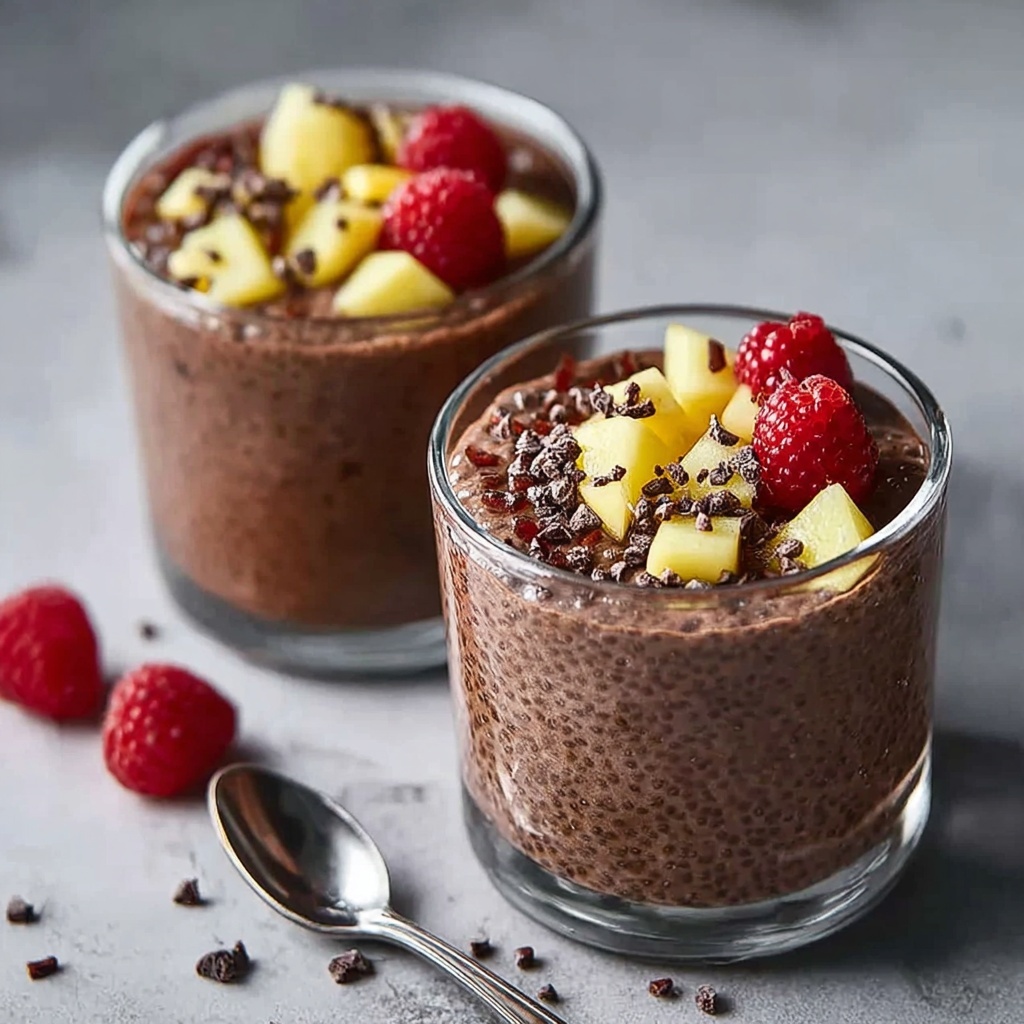
Serve this pudding in clear glass jars or pretty bowls to showcase the rich chocolate color and pudding’s silky consistency. For a fun twist, layer it with alternating scoops of yogurt or fruit puree to create a visually stunning parfait. It’s a sure crowd-pleaser for gatherings or a special occasion.
Make Ahead and Storage
Storing Leftovers
You can keep any leftover Chocolate Chia Pudding in an airtight container in your refrigerator for up to 4 days. The pudding maintains its creamy texture, making it a perfect grab-and-go snack or quick dessert any time you crave a healthy chocolate fix.
Freezing
While freezing isn’t usually recommended for chia pudding due to the change in texture, you can freeze portions in small containers for up to a month if necessary. Just be aware it might get a bit grainy after thawing, so stirring well before serving is key.
Reheating
This Chocolate Chia Pudding Recipe is best enjoyed chilled, but if you prefer it warm, gently heat a small portion in the microwave or on the stovetop. Stir frequently to keep the pudding smooth and avoid overheating, which can affect the texture of the chia seeds.
FAQs
Can I use different types of milk for this recipe?
Absolutely! Whether it’s almond, soy, oat, or coconut milk, you can tailor the pudding to your taste and dietary needs. Just keep it unsweetened to control the sweetness balance in the recipe.
How thick should the pudding be after refrigeration?
After chilling, it should have a thick, creamy, spoonable consistency, similar to traditional pudding. If it’s too runny, let it sit longer, or add a touch more chia seeds next time to achieve your preferred thickness.
Is there a way to make the pudding smoother?
Yes! For an extra silky texture, blend the mixture before refrigeration. This breaks down the chia seeds more completely and creates a very smooth, velvety pudding perfect for those who prefer no texture.
Can I add protein to this recipe?
Definitely! Adding a scoop of your favorite protein powder during Step 2 is an easy way to boost nutrition. Just whisk it well to make sure it blends evenly without clumping.
What are some creative toppings to try?
The options are endless! Consider roasted cacao nibs for crunch, sliced bananas for natural sweetness, a drizzle of nut butter for richness, or a sprinkle of cinnamon or chili powder for a unique twist.
Final Thoughts
This Chocolate Chia Pudding Recipe is a delightful way to indulge your chocolate cravings while keeping things wholesome and easy. It’s perfect for busy days, lazy mornings, or anytime you want a delicious dessert that feels special but doesn’t require hours in the kitchen. Give it a try—you might just find your new favorite chocolate treat!
Print
Chocolate Chia Pudding Recipe
- Prep Time: 5 minutes
- Cook Time: 0 minutes
- Total Time: 4 hours 5 minutes
- Yield: 2 servings
- Category: Dessert
- Method: No-Cook
- Cuisine: American
- Diet: Vegan, Gluten Free
Description
This easy and healthy Chocolate Chia Pudding combines the rich flavor of unsweetened cocoa with creamy almond milk and fiber-packed chia seeds. Perfect as a vegan and gluten-free dessert, it requires no cooking and can be prepared ahead, making it a convenient, nutritious treat.
Ingredients
Chocolate Chia Pudding Ingredients
- 2 tablespoons unsweetened cocoa powder
- 2 tablespoons maple syrup (or honey)
- 1/2 teaspoon vanilla extract
- 1 cup unsweetened almond milk (or any milk of choice)
- 3 tablespoons chia seeds
- Pinch of salt
Instructions
- Mix dry and wet ingredients: In a medium bowl, whisk together the unsweetened cocoa powder, maple syrup, vanilla extract, and a pinch of salt until well combined. Slowly pour in the almond milk while whisking to create a smooth, lump-free mixture.
- Add chia seeds: Stir in the chia seeds thoroughly to ensure they are evenly distributed throughout the liquid.
- Refrigerate: Cover the bowl and refrigerate the mixture for at least 4 hours or overnight to allow the chia seeds to absorb the liquid and thicken into pudding consistency. After 30 minutes of refrigeration, stir once to prevent clumping.
- Serve: Before serving, stir the pudding again to even out the texture. Serve chilled and optionally garnish with fresh berries, coconut flakes, or a dollop of whipped cream.
Notes
- For a smoother texture, blend the mixture before chilling.
- Top with fresh berries, coconut flakes, or whipped cream for extra flavor and presentation.
- Adjust the sweetness by adding more or less maple syrup or honey according to taste.
