
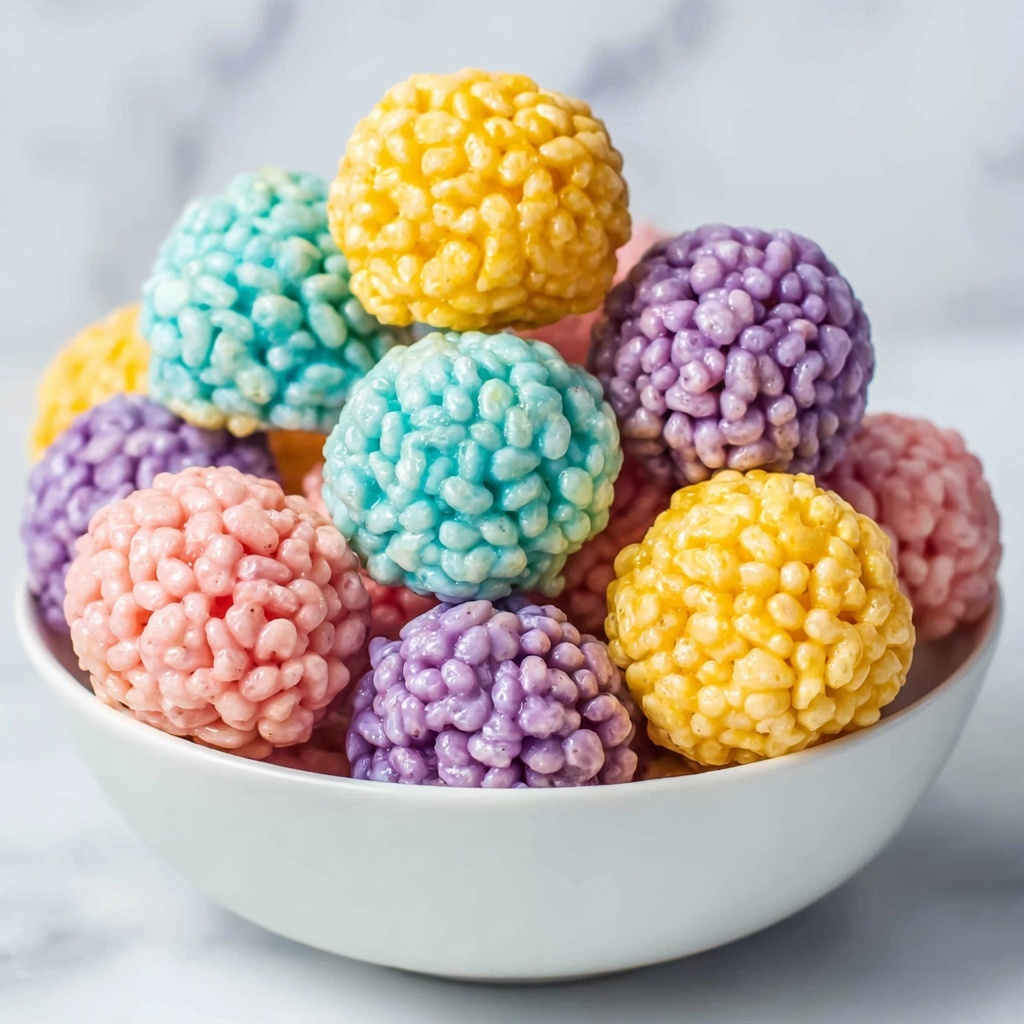
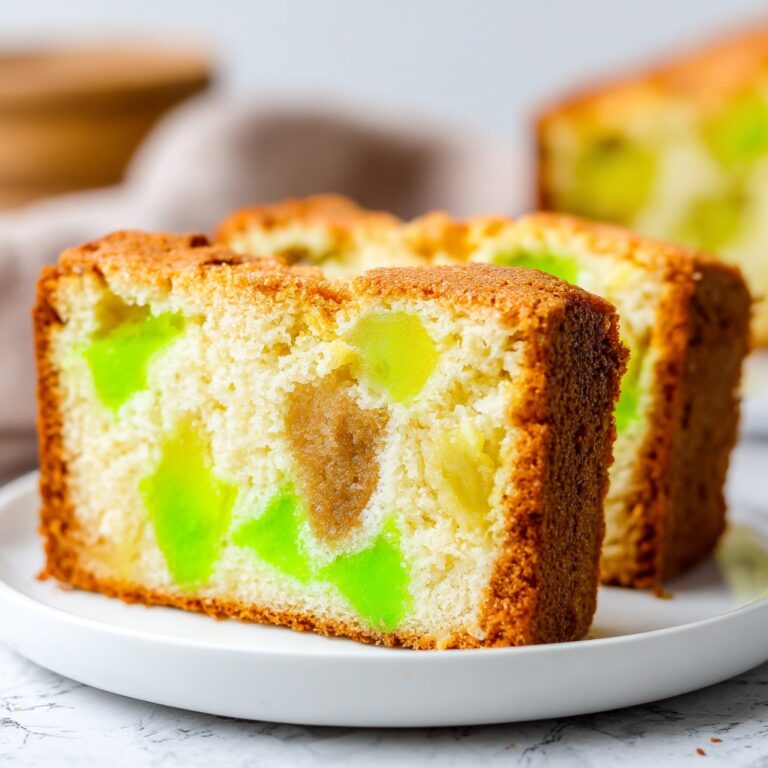
If you’re on the hunt for a fun, festive treat that will bring a burst of color and a whole lot of smiles to your Easter celebrations, look no further than this Easter Egg Rice Krispie Treats Recipe. Chewy, crispy, and delightfully pastel, these treats capture the joy of spring in every bite. The magic lies not only in their irresistible marshmallow sweetness but also in how you can transform classic Rice Krispies into adorable Easter egg shapes, dyed with vibrant colors that are just begging to be shared with family and friends. Whether it’s for an Easter party, a classroom snack, or simply a homemade gift, these treats are sure to become a beloved tradition.
Ingredients You’ll Need
Gathering your ingredients for this Easter Egg Rice Krispie Treats Recipe is easy and rewarding. Each item plays a crucial role—from the butter that provides rich flavor to the colorful food coloring that brings your treats to life with a cheerful Easter vibe.
- 18 cups Mini Marshmallows: These melt smoothly and give you that classic, gooey texture every Rice Krispie treat dreams of.
- 12 Tablespoons Butter: Adds creaminess and helps prevent the marshmallows from sticking to your pan and utensils.
- 16 cups Rice Krispies Cereal: The crispy base that provides that satisfying crunch we all love.
- Pink Food Coloring: Brings a sweet, rosy hue perfect for springtime Easter eggs.
- Purple Food Coloring: Adds a rich, playful pop of color to brighten your treats.
- Yellow Food Coloring: A sunny shade that makes your Easter eggs cheerfully inviting.
- Blue Food Coloring: A calming, cool tone that rounds out your pastel palette beautifully.
How to Make Easter Egg Rice Krispie Treats Recipe
Step 1: Melt the Butter and Marshmallows
Start by melting your butter in a large pot over low heat. Once melted, gently add all the mini marshmallows and stir continuously until they’re completely melted into a glossy, smooth mixture. This step requires gentle heat to keep the marshmallows from browning and to achieve that perfect, sticky consistency you’ll need to mold your treats.
Step 2: Divide and Color the Marshmallow Mixture
Remove the melted marshmallow mixture from the heat and divide it evenly into four separate bowls. Here’s where the fun begins—add a few drops of each food coloring to a bowl: pink, purple, yellow, and blue. Use a sturdy spatula or spoon to mix until the color reaches a beautiful, even shade. These vibrant hues will transform your treats from simple to spectacular.
Step 3: Mix in the Rice Krispies
Working one color at a time, fold in 4 cups of Rice Krispies cereal into each bowl. Stir carefully so you don’t crush the cereal, making sure every crispy piece gets coated in that colorful marshmallow goodness. The result is a delicious, vibrant batch of Easter-colored Rice Krispie treats.
Step 4: Shape into Easter Eggs
Lightly grease your hands with butter to keep the mixture from sticking and then press each colored batch onto a parchment-lined baking sheet, shaping them into oval Easter egg shapes about 2-3 inches wide. You can go rustic or use an egg-shaped cookie cutter for more uniformity. Let your creativity fly here—the shapes and colors can be as playful or precise as you like.
Step 5: Let the Treats Set
Once shaped, let your Easter Egg Rice Krispie Treats Recipe cool and set at room temperature for at least an hour. This resting time is essential for them to firm up, making them easy to handle and perfect for sharing or gifting.
How to Serve Easter Egg Rice Krispie Treats Recipe
Garnishes
While these treats are stunning on their own, you can elevate them by adding some simple garnishes. A light dusting of powdered sugar or drizzles of colored white chocolate add texture and visual interest. Edible glitter or tiny nonpareils can also bring that magical, festive sparkle, making each treat a jewel of the Easter table.
Side Dishes
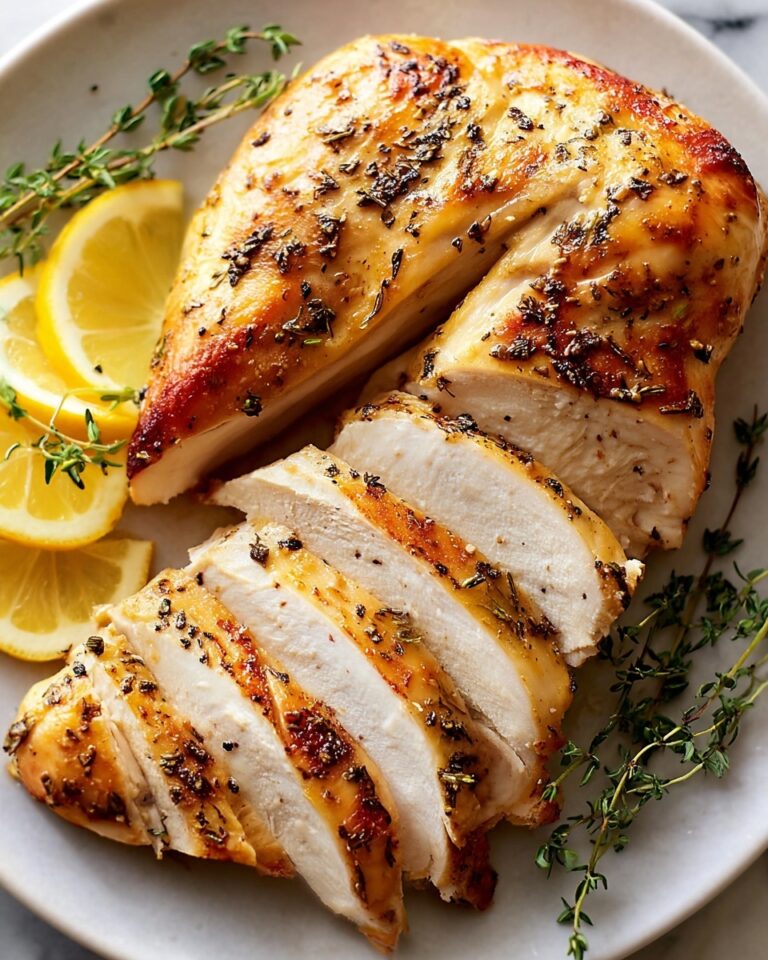
Pairing your Easter Egg Rice Krispie Treats with fresh fruit, such as strawberries or blueberries, brings a lovely balance of freshness and juiciness. For a more indulgent spread, serve alongside creamy vanilla yogurt or a scoop of lemon sherbet—both complement the sweetness with a tangy contrast that delights the palate.
Creative Ways to Present
Presentation is half the fun! Arrange your treats in a woven Easter basket lined with pastel-colored tissue paper. You can also stack them in clear cellophane bags tied with ribbon for charming party favors. Another idea is to create a colorful dessert platter mixing these treats with other Easter-themed goodies, making your celebration table as festive and inviting as possible.
Make Ahead and Storage
Storing Leftovers
If you happen to have any leftovers from your Easter Egg Rice Krispie Treats Recipe, store them in an airtight container at room temperature. This keeps them fresh and chewy for up to 3 days. Avoid refrigerating as this can dry them out and make them less enjoyable.
Freezing
For longer storage, wrap each treat individually in plastic wrap and place them in a freezer-safe bag or container. Properly frozen, they can last up to 6 weeks. When you’re ready to enjoy them, simply thaw at room temperature—easy, convenient, and still delicious.
Reheating
Reheating isn’t typically necessary since these treats are best enjoyed as is, but if you prefer a soft, warmed texture, a quick 10 to 15-second zap in the microwave can work wonders. Just be careful not to overdo it or the marshmallows might melt too much.
FAQs
Can I use regular-sized marshmallows instead of mini marshmallows?
Absolutely! Just be prepared to chop regular marshmallows into smaller pieces to ensure they melt evenly and quickly, creating the smooth, gooey texture that’s signature to this Easter Egg Rice Krispie Treats Recipe.
What if I don’t have all the food coloring colors mentioned?
No worries! You can easily customize your colors. Mix primary colors to create secondary ones or stick to your favorites. The treats will be tasty and festive regardless of the specific hues you choose.
Is there a way to make these treats gluten-free?
Yes! Make sure to use a gluten-free rice cereal version. Most Rice Krispies are not gluten-free, so look for certified gluten-free brands to keep this Easter Egg Rice Krispie Treats Recipe safe for those with gluten sensitivities.
Can I add mix-ins like chocolate chips or nuts?
While the classic recipe shines on its own, adding chocolate chips or chopped nuts can add delightful texture and flavor contrast. Just fold them in with the Rice Krispies after coloring the marshmallow mixture for best results.
How do I keep the treats from sticking to my hands when shaping?
Greasing your hands lightly with butter or using a piece of wax paper to press the mixture can prevent sticking and make shaping your Easter eggs much easier and less messy.
Final Thoughts
There’s nothing quite like sharing a batch of homemade Easter Egg Rice Krispie Treats Recipe with loved ones during the holiday season. Their cheerful colors, irresistible chewiness, and the joy of crafting them make these treats a wonderful way to celebrate springtime together. I encourage you to give this recipe a try—the smiles they bring are absolutely worth every sticky finger!
Print
Easter Egg Rice Krispie Treats Recipe
- Prep Time: 20 minutes
- Cook Time: 0 minutes
- Total Time: 20 minutes
- Yield: 32 treats
- Category: Dessert
- Method: No-Cook
- Cuisine: American
Description
These Easter Egg Rice Krispie Treats are a fun and colorful twist on the classic marshmallow cereal treat, perfect for springtime celebrations and Easter parties. Made with mini marshmallows, butter, and Rice Krispies cereal, this no-bake recipe features vibrant pastel colors to mimic the look of festive Easter eggs, making it an easy and delightful treat for kids and adults alike.
Ingredients
Batter
- 18 cups Mini Marshmallows
- 12 Tablespoons Butter
- 16 cups Rice Krispies Cereal
Coloring
- Pink Food Coloring
- Purple Food Coloring
- Yellow Food Coloring
- Blue Food Coloring
Instructions
- Prepare the pan: Grease a large rectangular baking pan thoroughly with butter or non-stick spray to prevent sticking and set aside.
- Melt butter and marshmallows: In a large pot over medium-low heat, melt the 12 tablespoons of butter. Once melted, add the 18 cups of mini marshmallows and stir continuously until fully melted and smooth.
- Divide melted marshmallow mixture: Remove the pot from heat and immediately divide the melted marshmallow mixture into four equal portions in separate heatproof bowls.
- Add food coloring: Add a few drops of pink food coloring to one bowl, purple to the second, yellow to the third, and blue to the last bowl. Stir each until the color is evenly blended.
- Add Rice Krispies cereal: To each colored marshmallow mixture, add about 4 cups of Rice Krispies cereal. Fold carefully to combine without crushing the cereal.
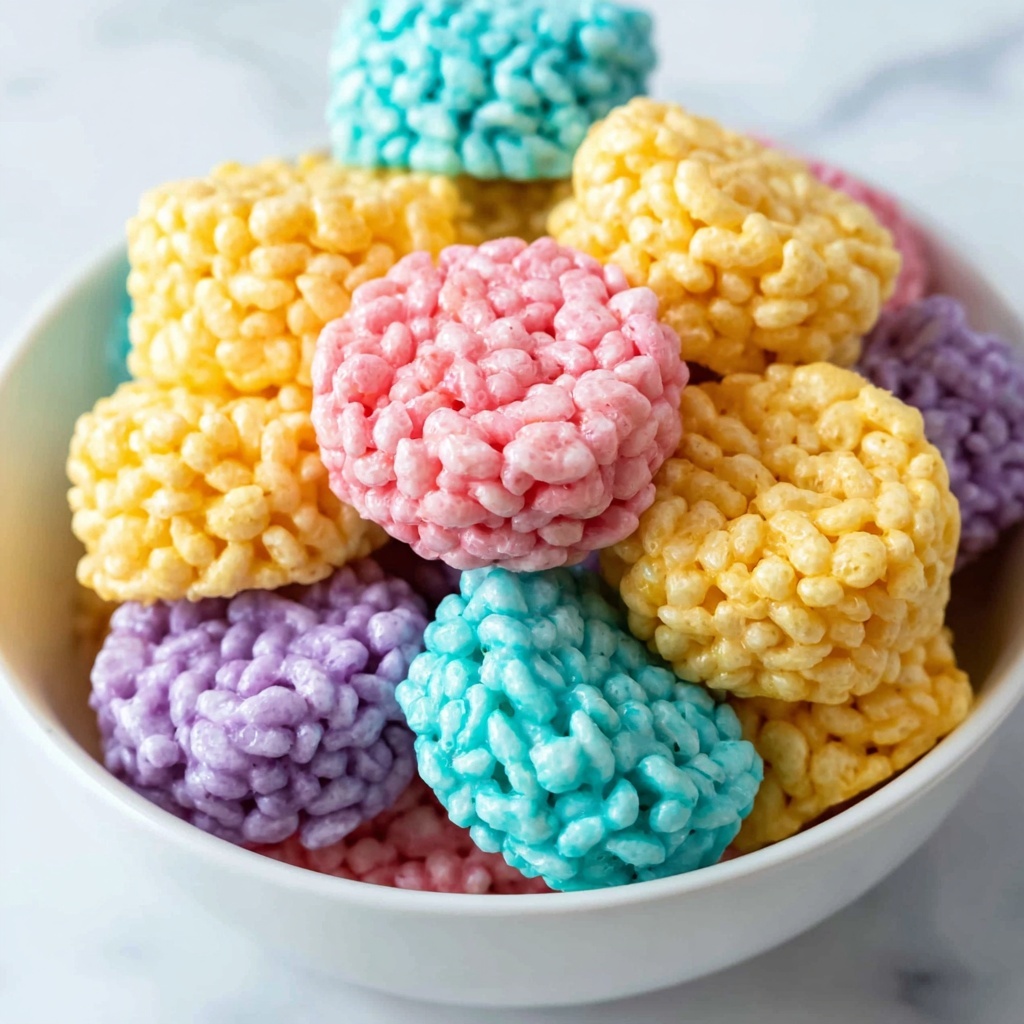
- Shape and layer treats: Starting with one color, press the mixture into the pan evenly to form a layer approximately 1 inch thick. Repeat with each color, layering on top of each previous one to create a multi-colored block of Rice Krispie treats.
- Cool and set: Allow the layered Rice Krispie treats to cool at room temperature until firm, about 30 minutes.
- Cut into Easter egg shapes: Use an Easter egg-shaped cookie cutter to cut out individual treats. Serve immediately or store in an airtight container.
Notes
- For easier cutting, slightly butter the cookie cutter or dip it in hot water before pressing into the treats.
- If desired, add a small amount of vanilla extract to the melted marshmallows for extra flavor.
- To store, keep the treats in an airtight container at room temperature for up to 3 days to maintain freshness.
- This recipe can be easily doubled or halved based on the number of servings needed.


